 I just wrote about unearthing a bunch of stones in our backyard and creating a pathway (above) and repairing the wall around our maple tree with the new stones.
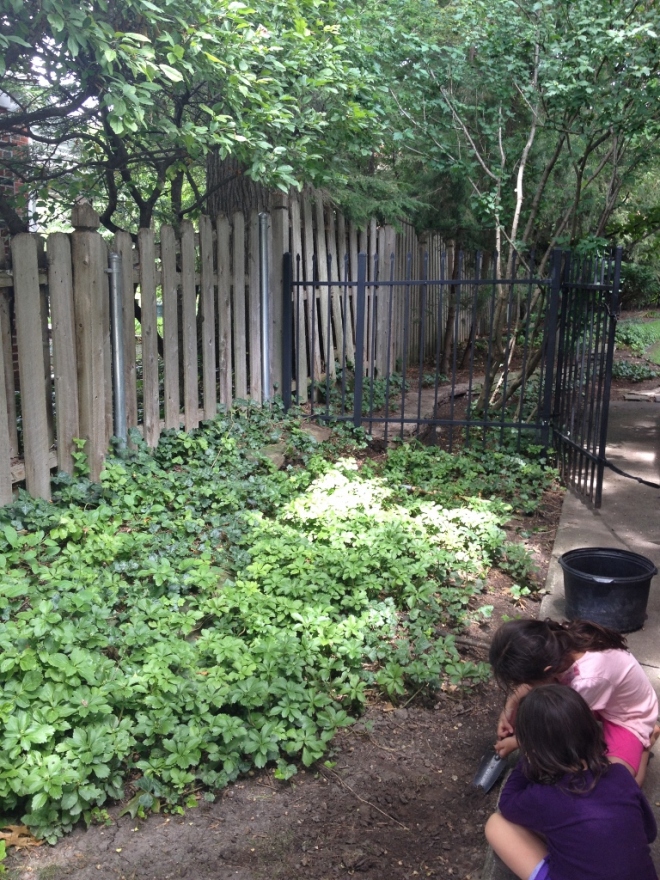
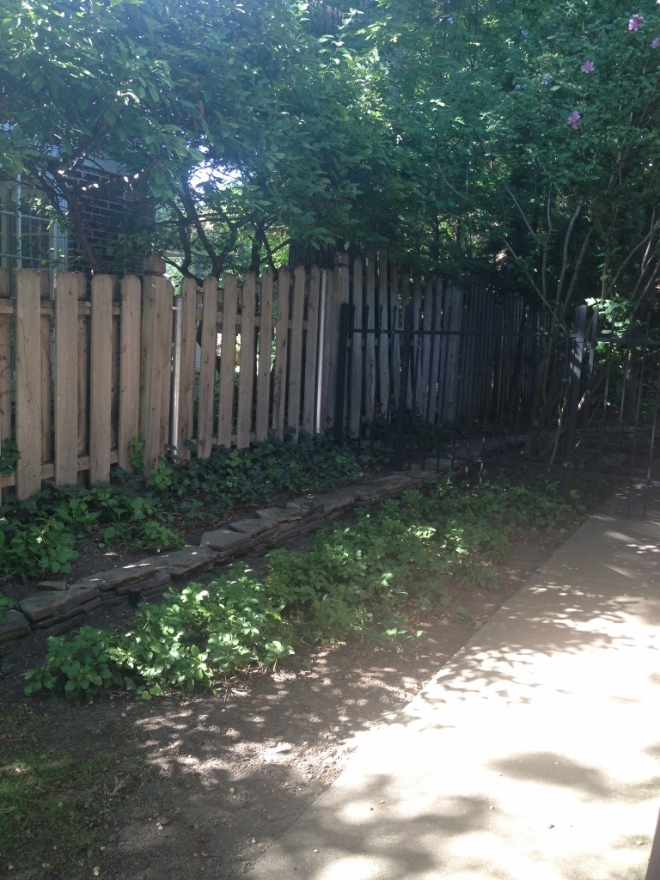
My next project was fixing our garden wall, parts of which were non-existent, mainly because the stones were buried so far underground. In the above “before” picture, you can see where the wall starts to disappear near the base of our Rose of Sharon.
 First I tackled the section of wall inside our backyard. You can see that the ivy and pachysandra have pretty much taken over.
 And here’s the finished wall with Sam inspecting the new area.
Side note: Sam is always with me when I’m planting or working outside. I love working alone because I can get into my zen space, but I do really enjoy having him out there with me. He’s very curious about the worms. He’ll poke his nose to them and then jump back when they move.
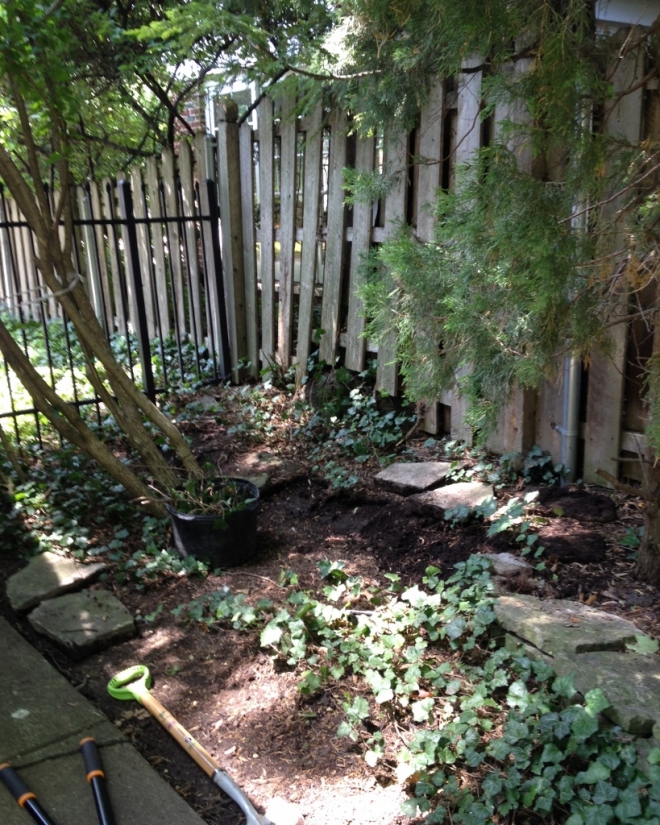
 With that section finished, I needed to now conquer the section of wall beyond our back gate. What does one call that, our side yard? (Sometimes our three-year-old hangs out with me in the yard, too, for short amounts of time, digging or watering plants.)
 A view of the section from the opposite side.
I wasn’t 100% sure where our property line was, but I was 99% sure it was either right at the wooden gate or inches after it.
However, I went ahead and emailed the neighbors, just in case to give them a heads up, since the wall extends all the way to the sidewalk (after the wooden fence ends), so essentially there is a part of the wall that we share. They appeared skeptical at first, but once I fully explained the project, I was offered help and also a wheelbarrow.
 Figuring out where to put what stone was the hardest part. I worked section by section instead of layer by layer, because it just seemed like the easiest way. At least for my brain. The worst parts were having to fix multiple layers (the stones are so heavy!) in order to get the top layer just right.
 Here’s the finished wall – woohoo!
 From the backyard.
 And from the front yard (here’s the section of wall we share with the neighbors).
As I was collecting dirt (to fill in parts of the wall) from another section of the yard, my shovel made the unmistakable “clunk” of hitting stone. I quickly covered it up and walked away.


It looks really great, just the kind of wall I’d want. And it must be so rewarding to work with your hands and get into the ground and create something beautiful and useful. Yeaaa Sam!
LikeLike
Thanks! Just got back from vaca – wahoo!
LikeLiked by 1 person
Looks great!
LikeLiked by 1 person
Thanks!
LikeLike
Wow, you are amazing!! Beautiful work. I was thinking, there might be survey markers on the lot corners you could use if they could be found, and stretch a line between them to determine the legal boundaries. Or not. Good neighbors are a beautiful thing. :)
LikeLiked by 1 person
Thanks! At some point I need to call the city to find out the property line, just because now I’m curious.
LikeLiked by 1 person