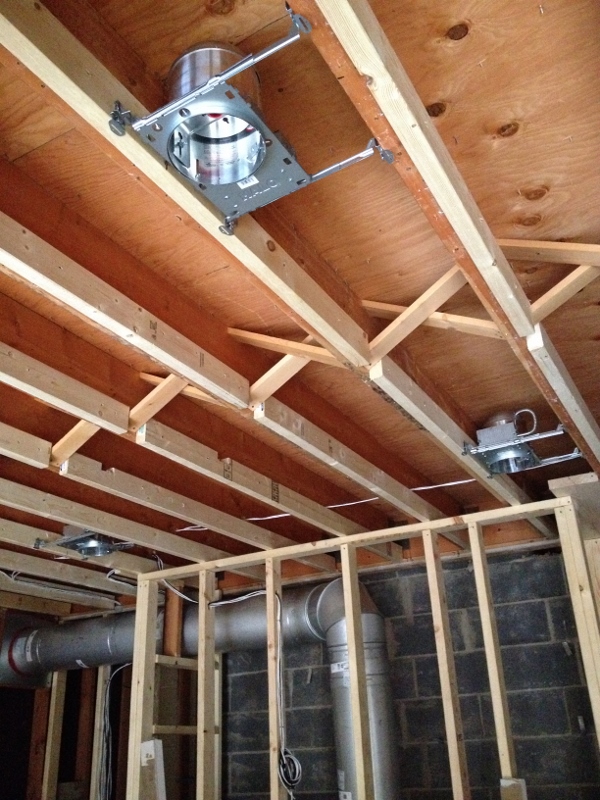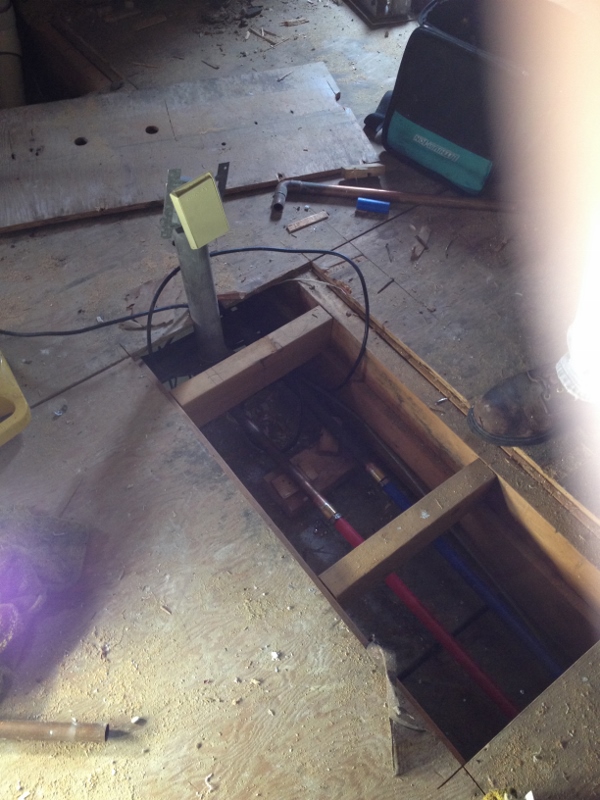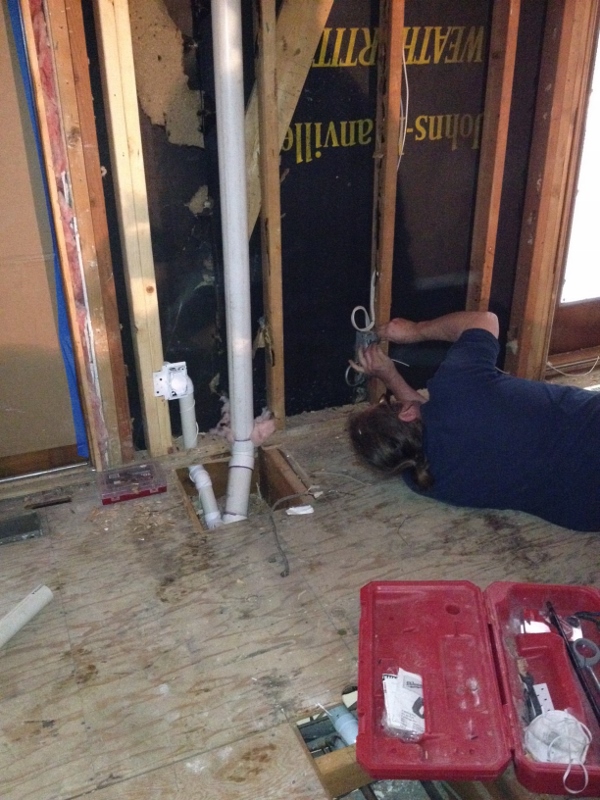
 If you’ve ever gone through a remodel, you know that just because the lockbox comes off the door and sign gets taken off your lawn, it’s not over. We had a bunch of small issues like molding separating from the ceiling, the instant-hot tasting metallic and a wonky faucet head.
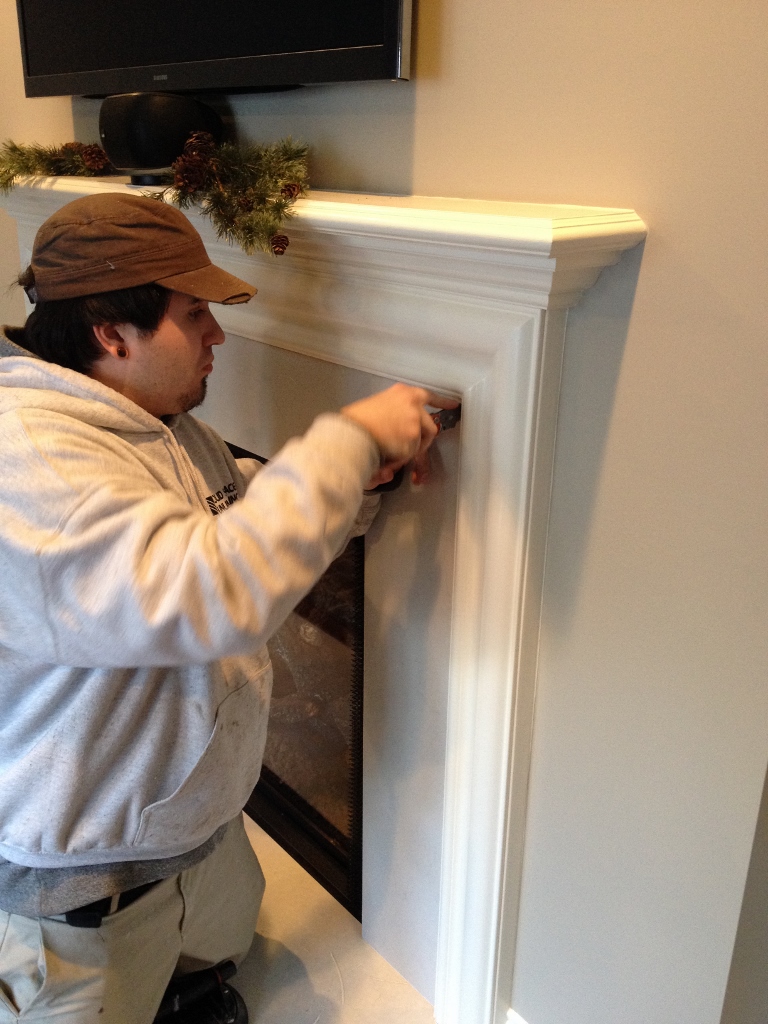
Last week the guys who installed the fireplace surround had to come back and fix the top section of the surround, which was tipping back into the wall, causing the caulking to come off.
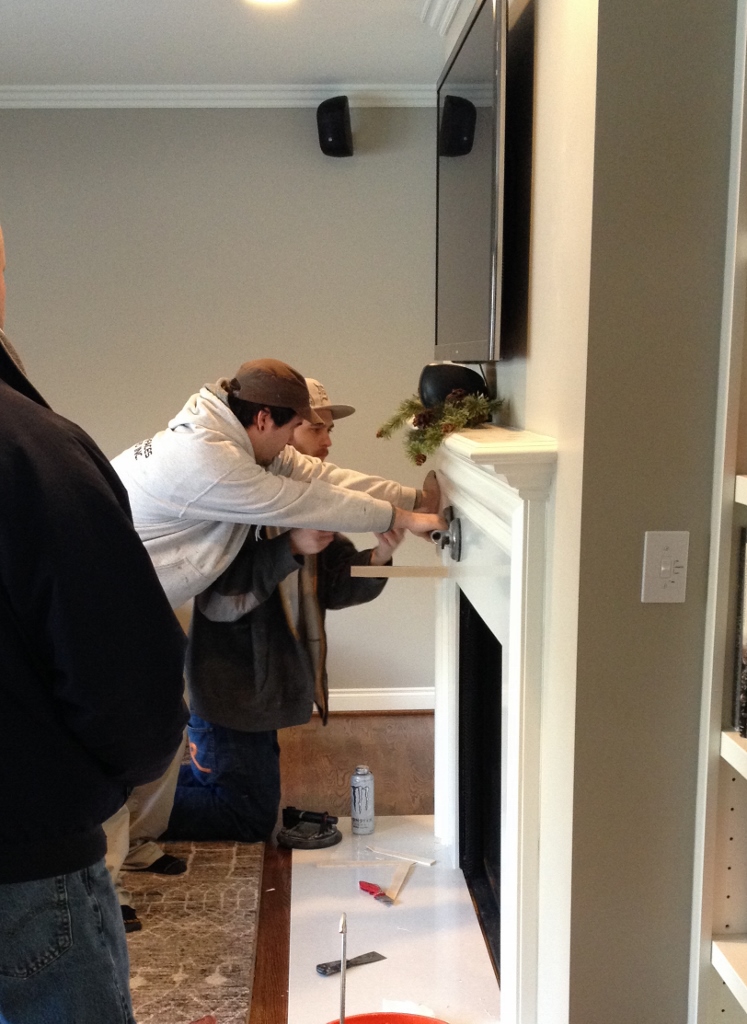 When they arrived, they were able to fix it (vs. replace it, thank goodness) by using suction tools and a wedge of scrap wood (there’s a word for this….shim? I just looked it up and I think that’s right) behind the piece to keep it from falling back again. So far it seems to be working. There is the slightest bit of separation, but as long as it doesn’t get any worse, we’re good.
New cap
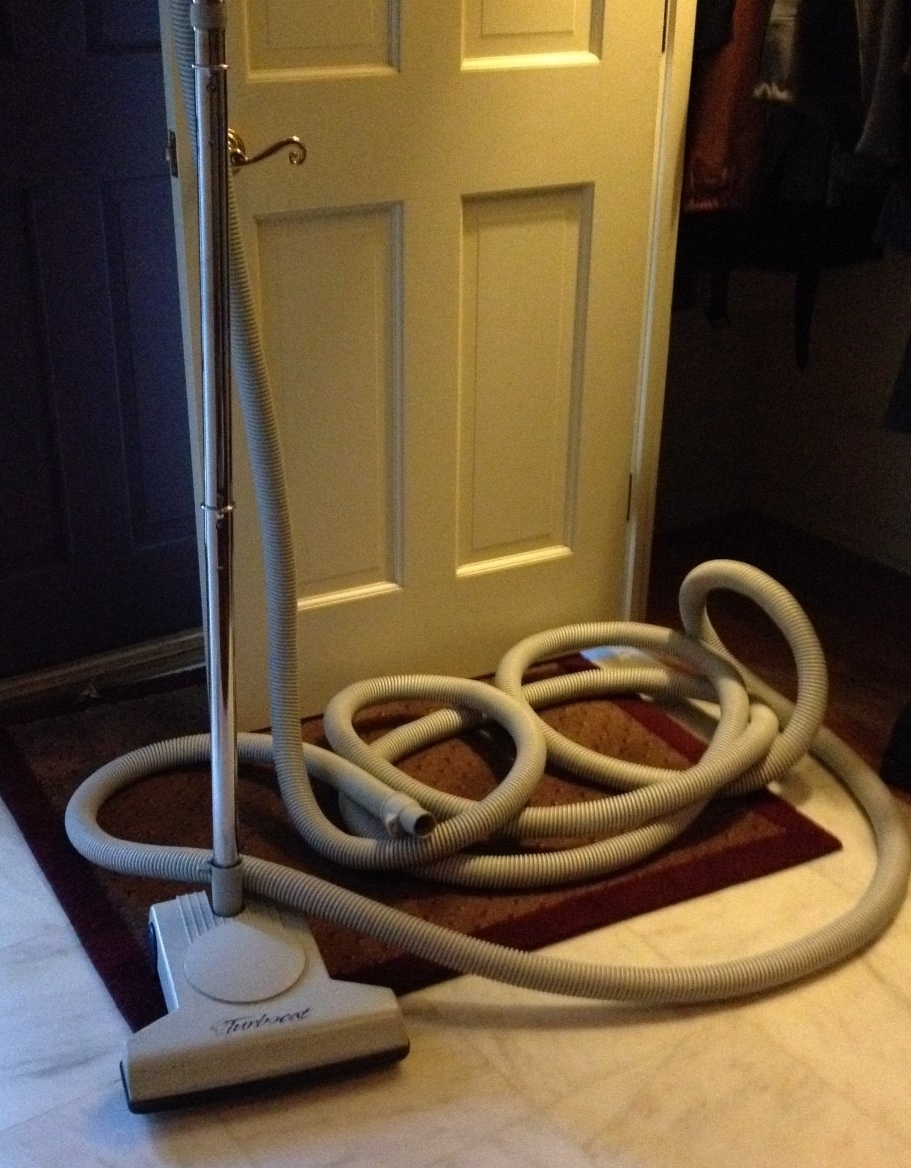
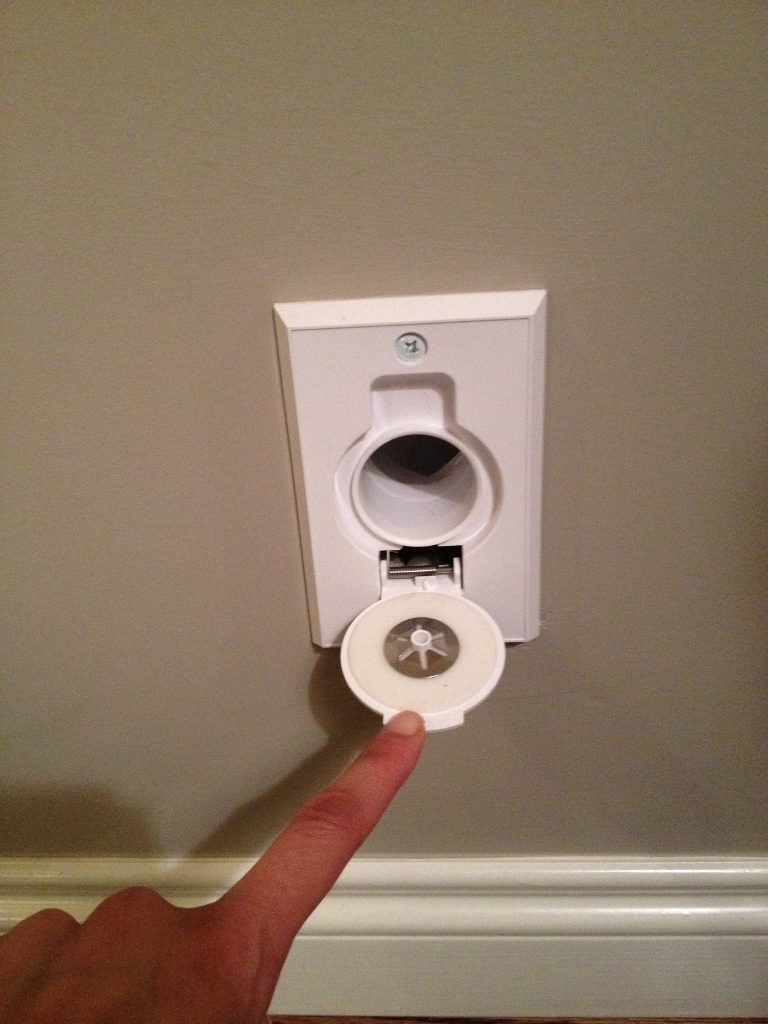
You know I love my central vacuum, so I was very excited to use the new outlet that was rerouted in the kitchen area. I go to pull down the cap and….nothing. No suction. And on top of that, the new cap does not fit our very old vacuum unit (the guy who came over to install it looked at our vacuums, so don’t blame me!).
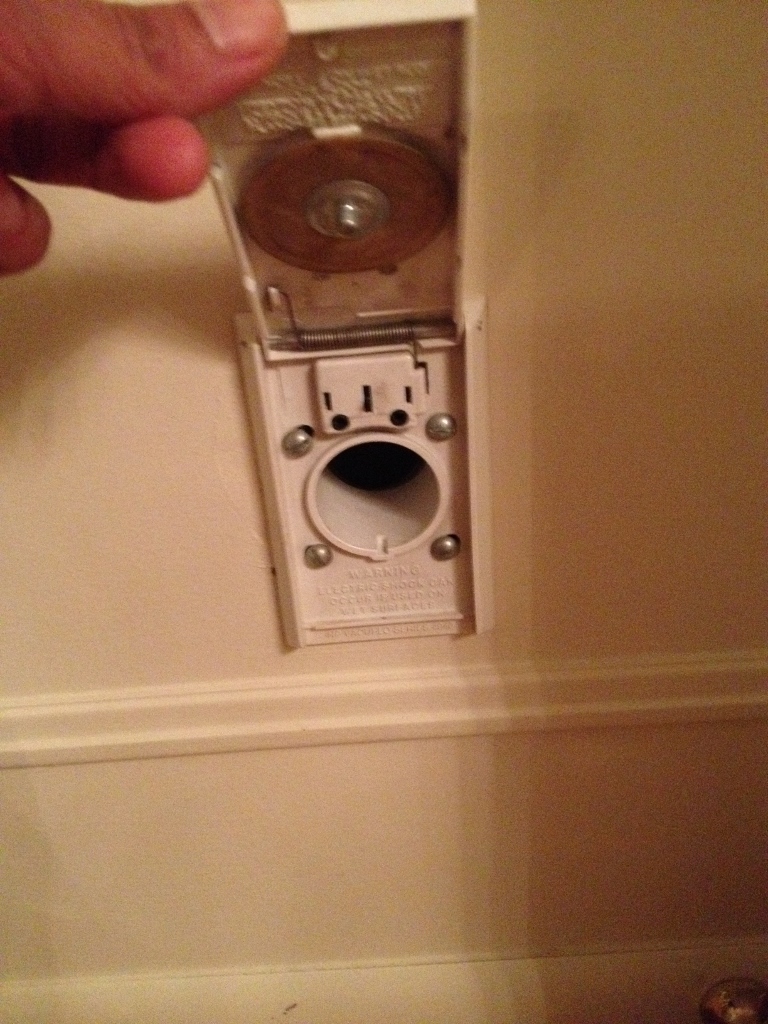
Old cap
I called him to let him know (he didn’t believe me and I had to take the above pics to send him. oy) and lucky for me, the old caps we have are no longer being sold because the unit we have is so old. SO…they are going to “make good” by replacing our hose and all seven caps in the house.
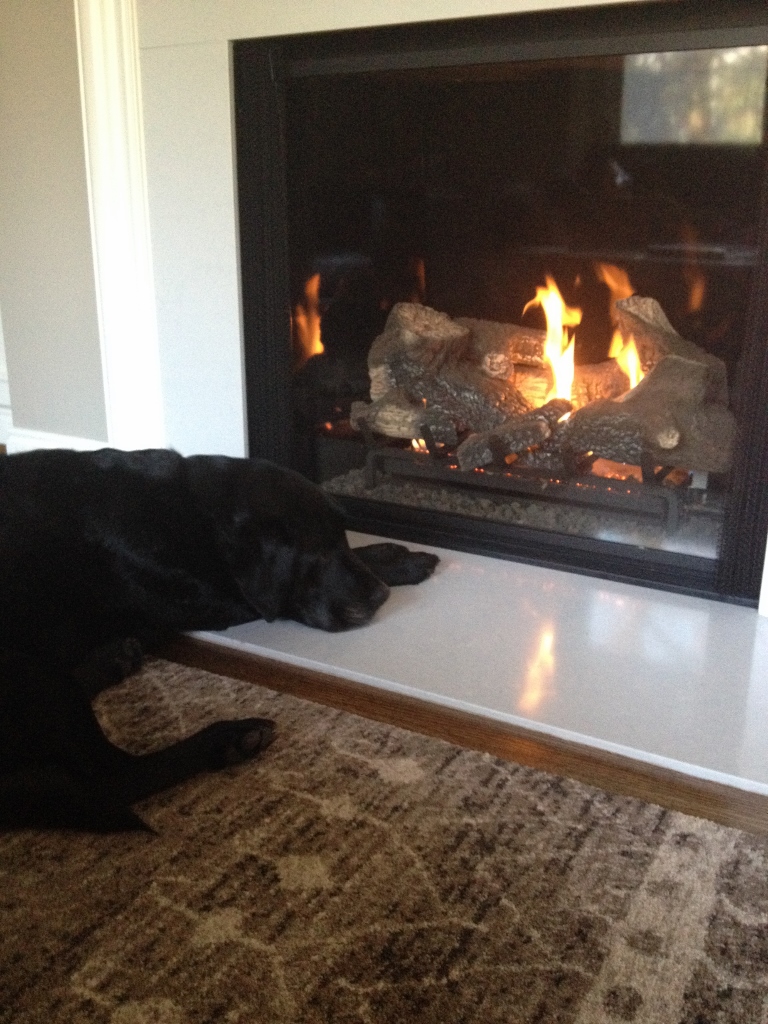 The fireplace guys are coming next week (for the actual firebox, not the guys above) to replace a faulty part and to fix the gas release valve (I totally made that up). Ever since they serviced the unit last week, there has been a six- to ten-second delay from the time the unit is turned on, to the time the flame ignites. When it does turn on, it makes a big “whoosh” sound, sometimes vibrating the glass and scaring the bejeezus out of whoever is standing nearby (usually me or the dog).
Now, if I can only get the carpet guys to deliver that carpet we ordered back in August. sigh