Kitchen Remodel – Week Two: Brickwork, Fireplace, Electrical, Plumbing, Central Vacuum

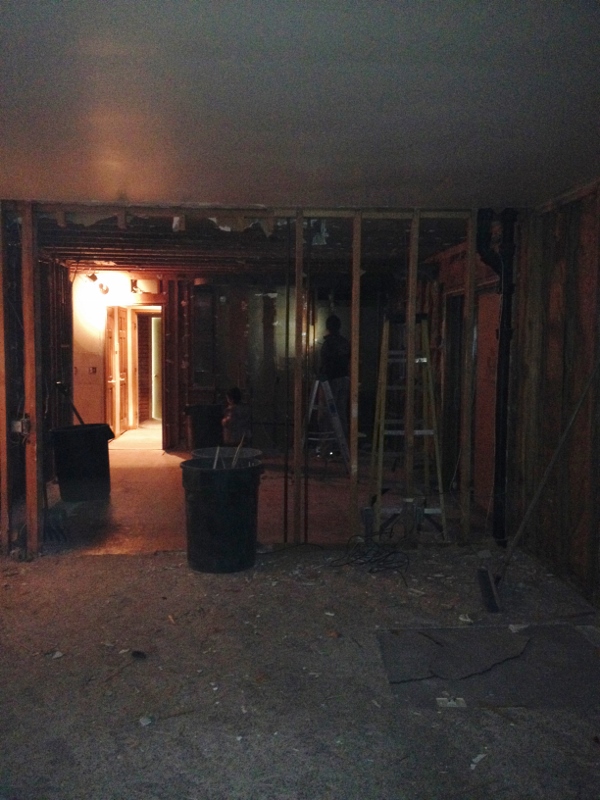
The demolition crew finished up last Saturday (the 25th).  Week two consisted of electrical work, plumbing, building the fireplace wall and installing the fireplace, installing the vent in the kitchen (above the stovetop/range), relocating the central vacuum vent/pipe and moving the kitchen window.

IMG_8771 (600x800)

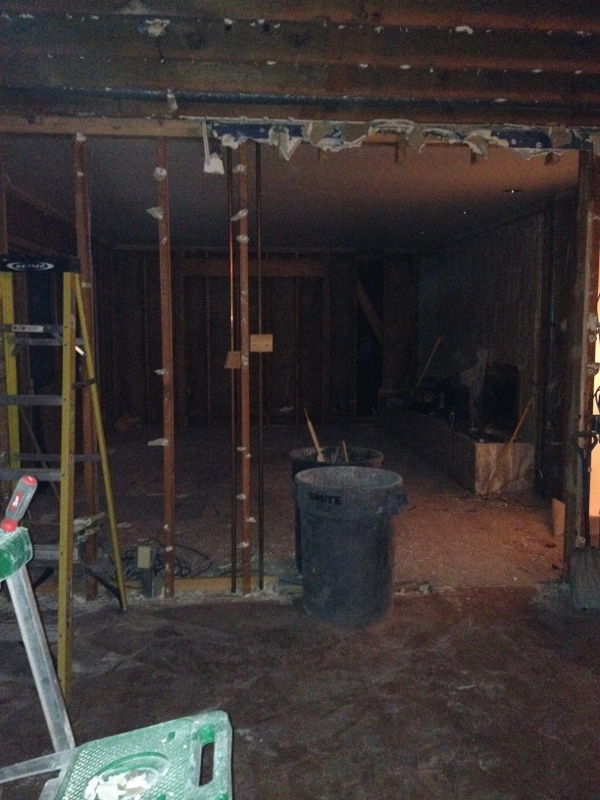
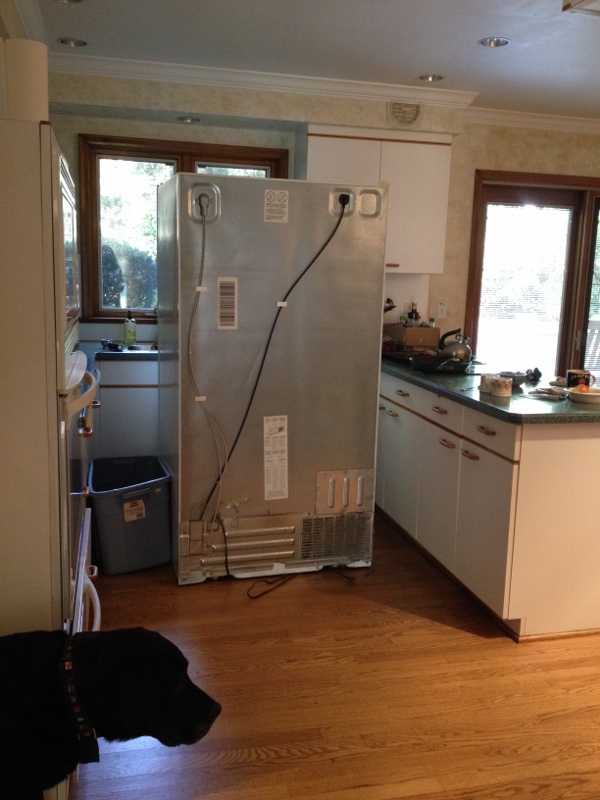
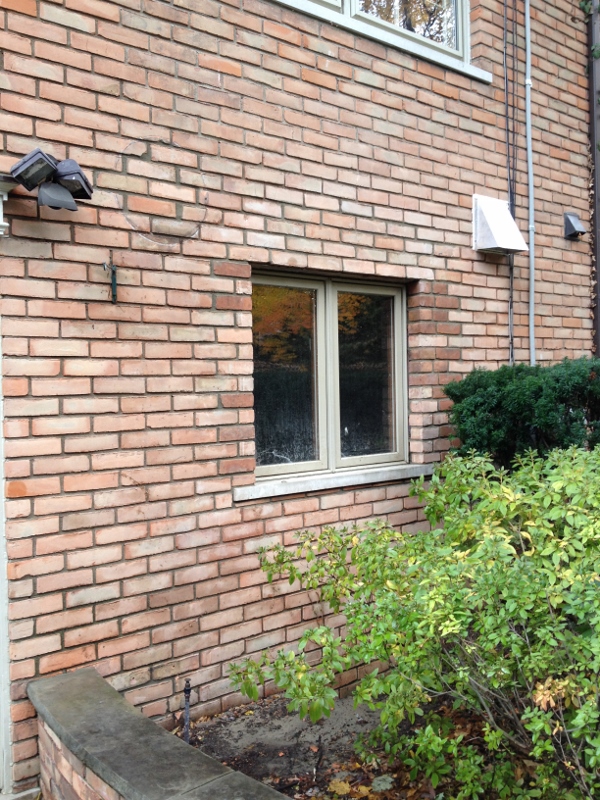
New vent (for range) installed and new window placement built out.

IMG_8792 (600x800)

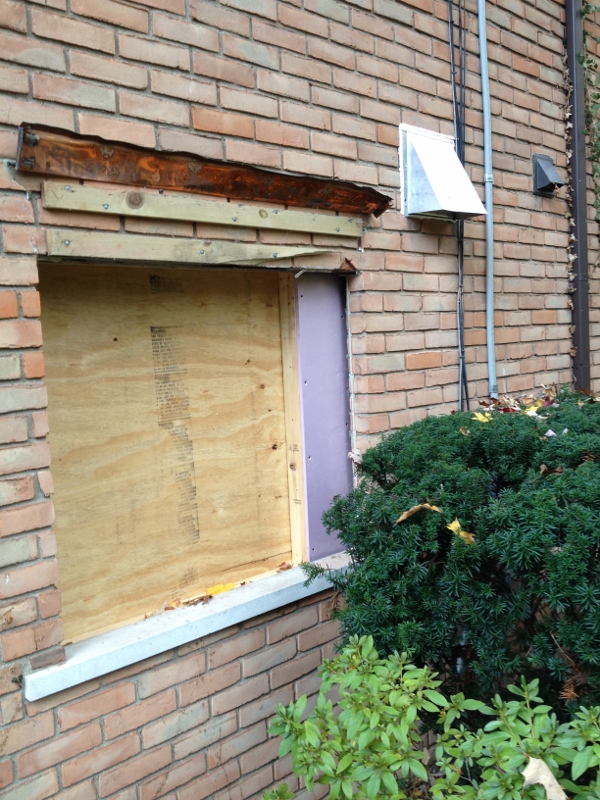
Sawing bricks lengthwise to reuse for window.

IMG_8793 (600x800)IMG_8798 (600x800)
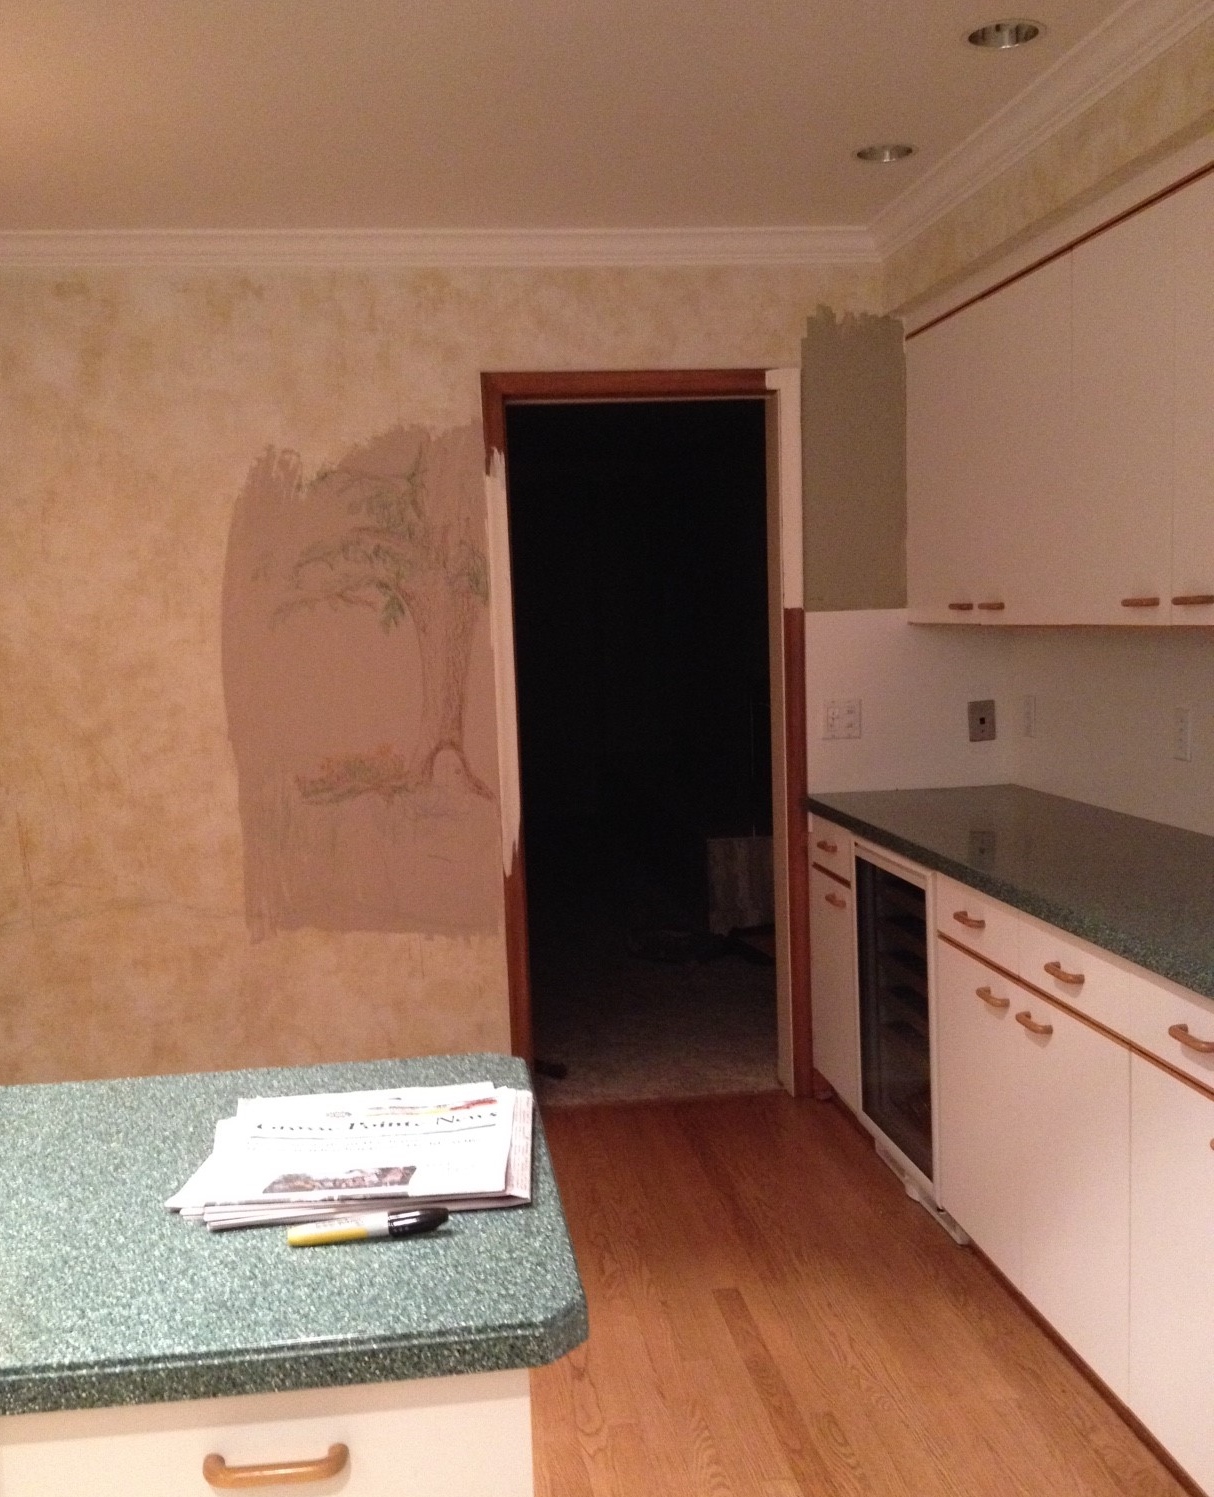
The kitchen window was moved eight inches in order to be centered on the inside wall, and to allow for a corner cabinet. A few old vents were removed and a new one was installed. The masons were no-nonsense workers and they got the job done quickly. According to our project manager, the brick used for our house was no longer in production, so they had to mix some newer (longer by an inch, I believe) brick with some of the old brick they were able to reuse.

IMG_8754 (600x800)
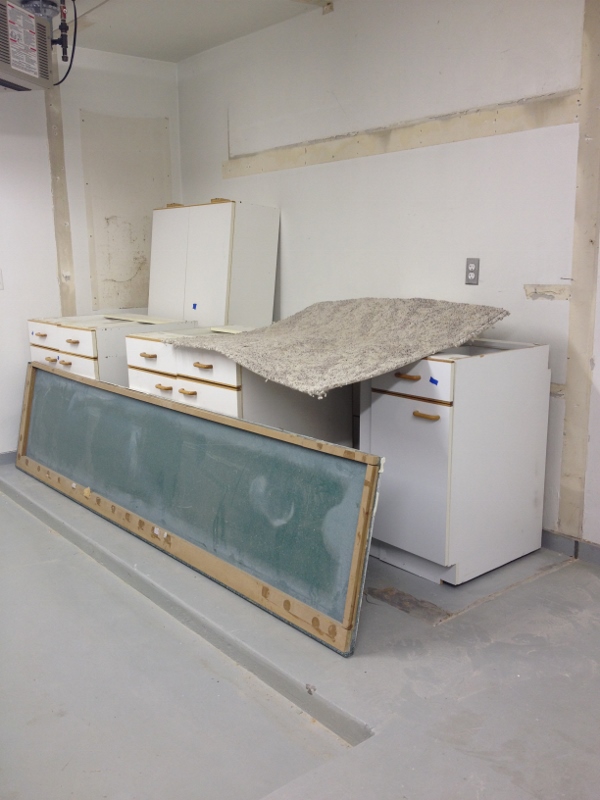
Sheetrock was delivered at the beginning of the week, but not yet installed.
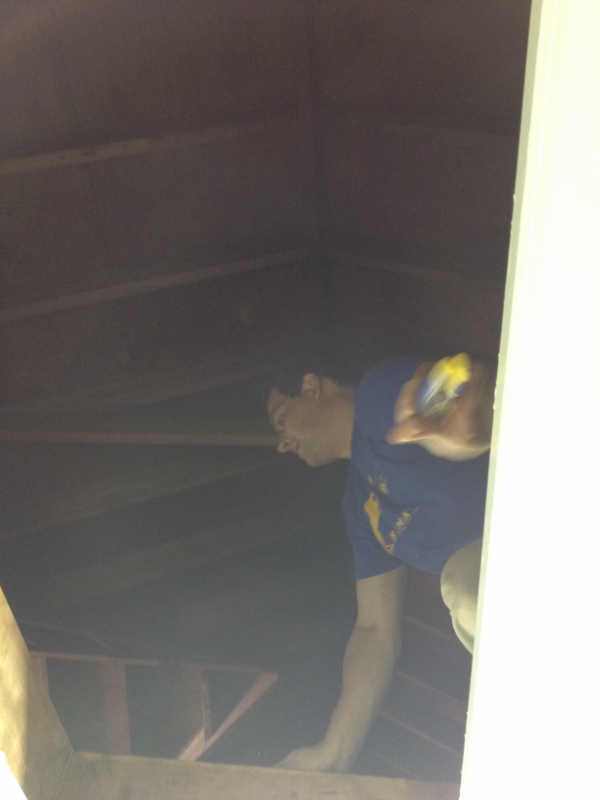
IMG_8756 (600x800)

Fireplace vent.

IMG_8767 (600x800)
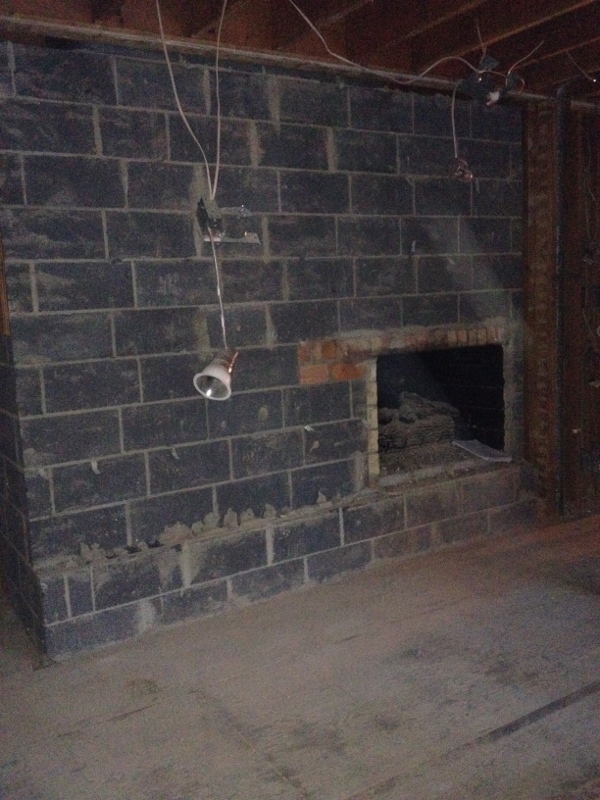
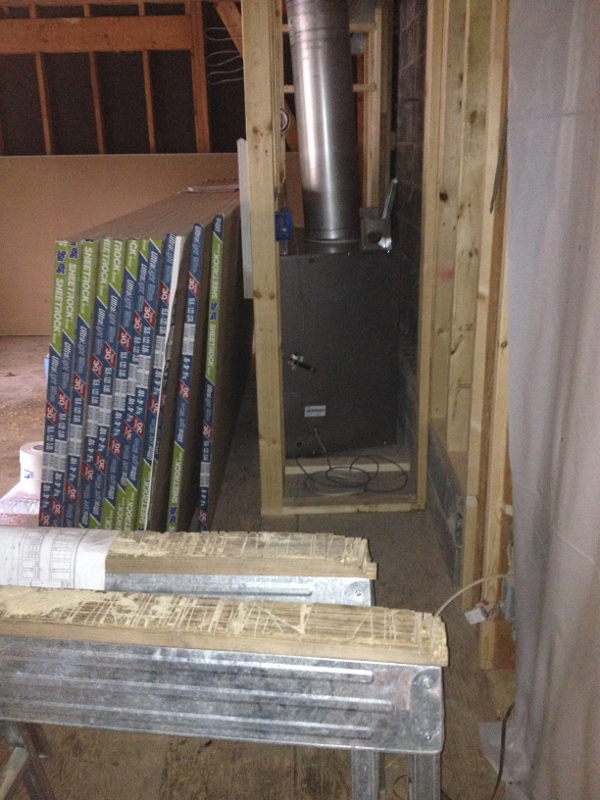
And the fireplace and flue were installed. Couldn’t get a photo or peek at the fireplace because of the sheetrock.

IMG_8768 (600x800)
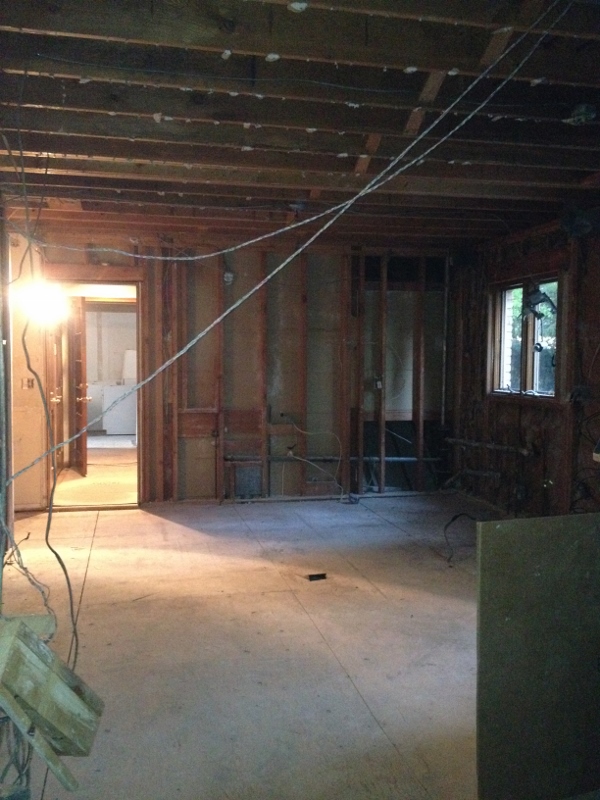
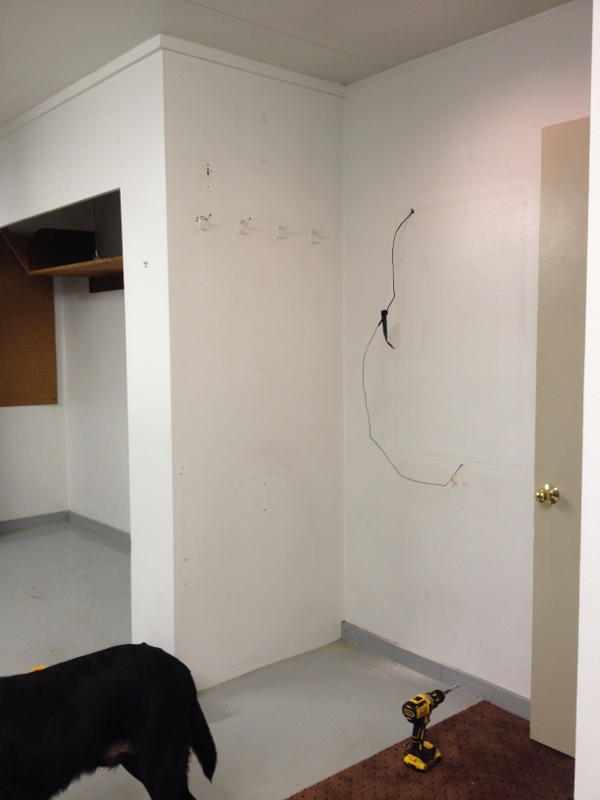
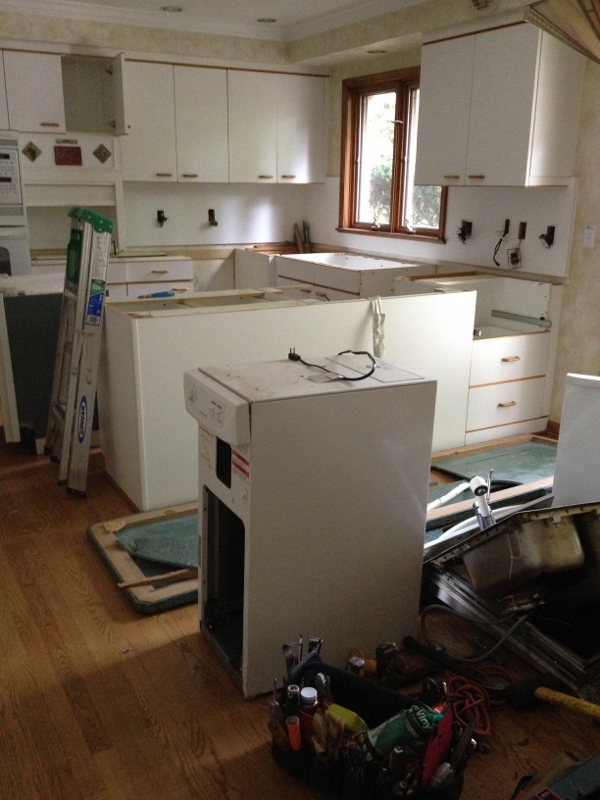
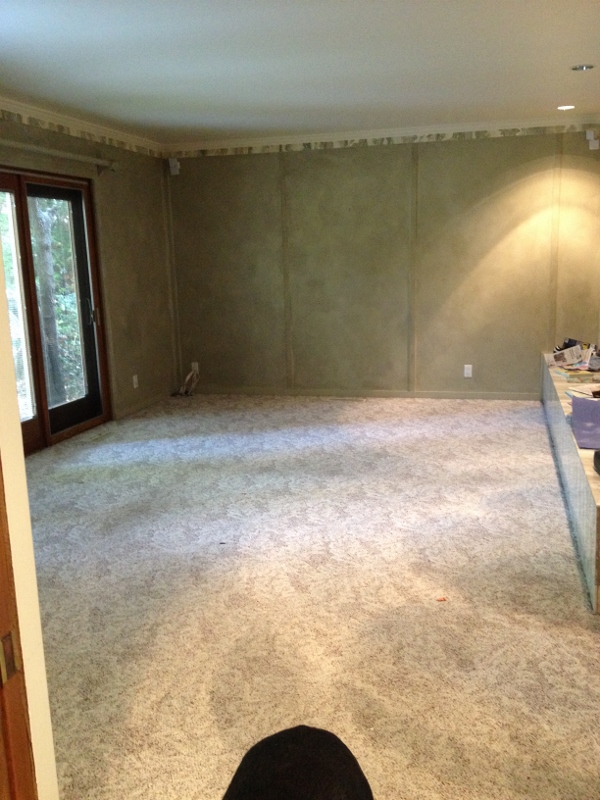
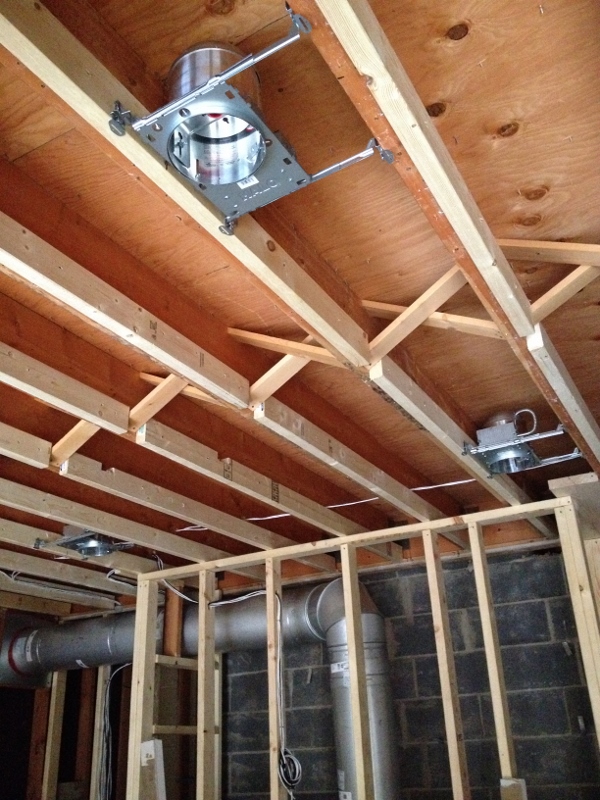
Recessed can lights were installed in the family room and kitchen. Four in the family room and seven for the kitchen.

IMG_8762 (600x800)
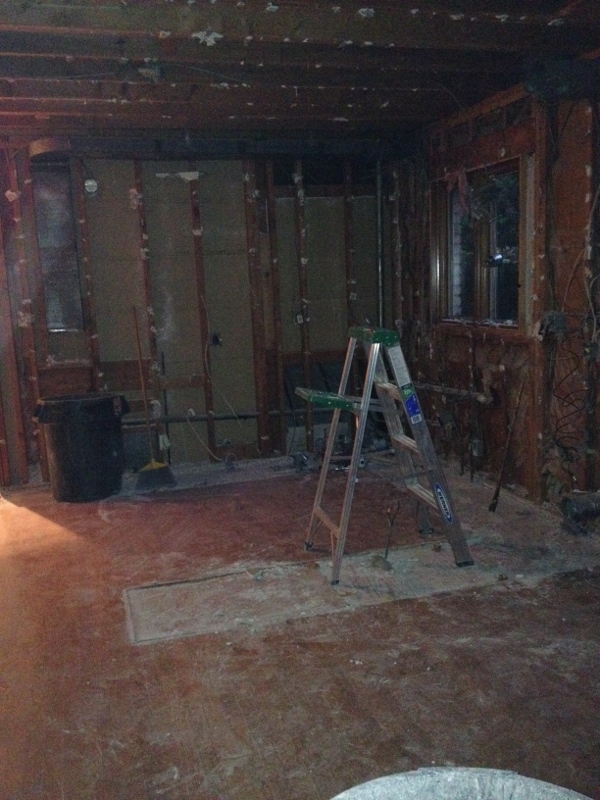
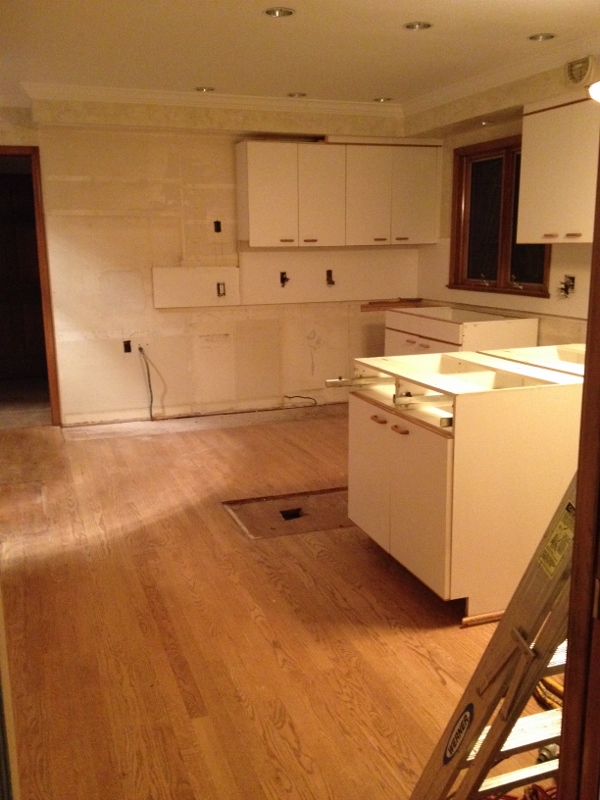
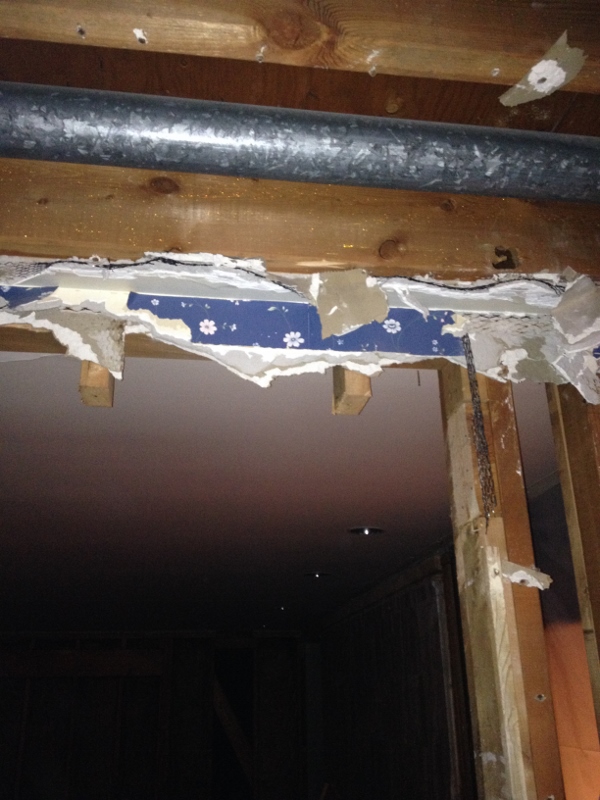
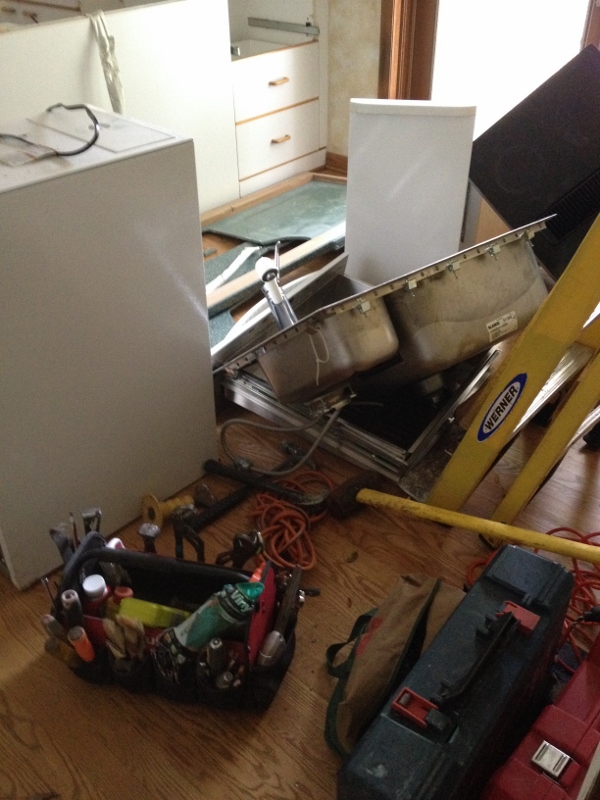
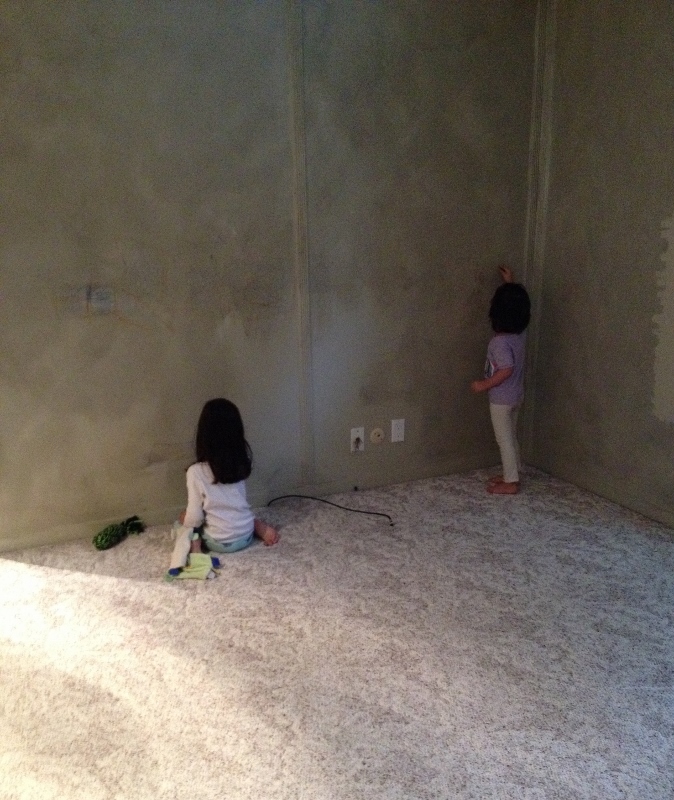
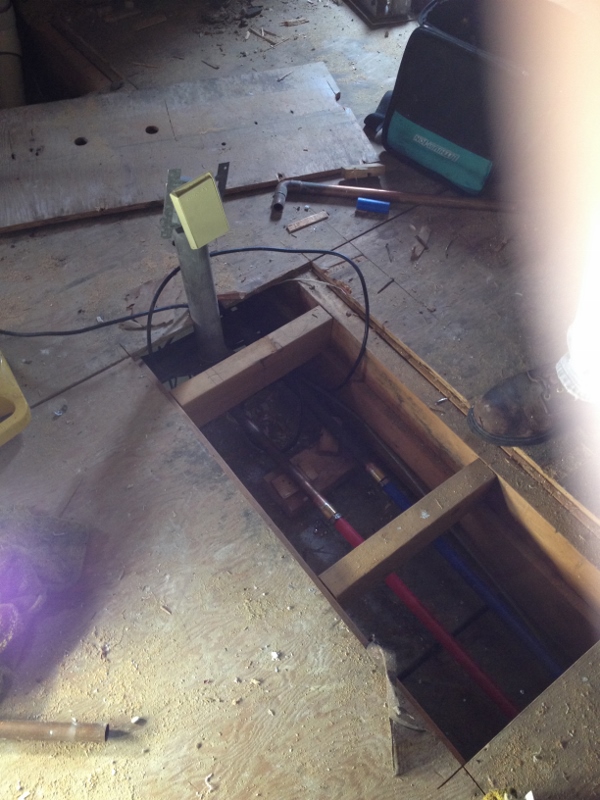
The waterlines in the wall we knocked down were relocated (blue and red) and the central vacuum vent (that gray pipe sticking up) was moved (below pic) to the far wall that adjoins the family room and kitchen.

IMG_8808 (600x800)

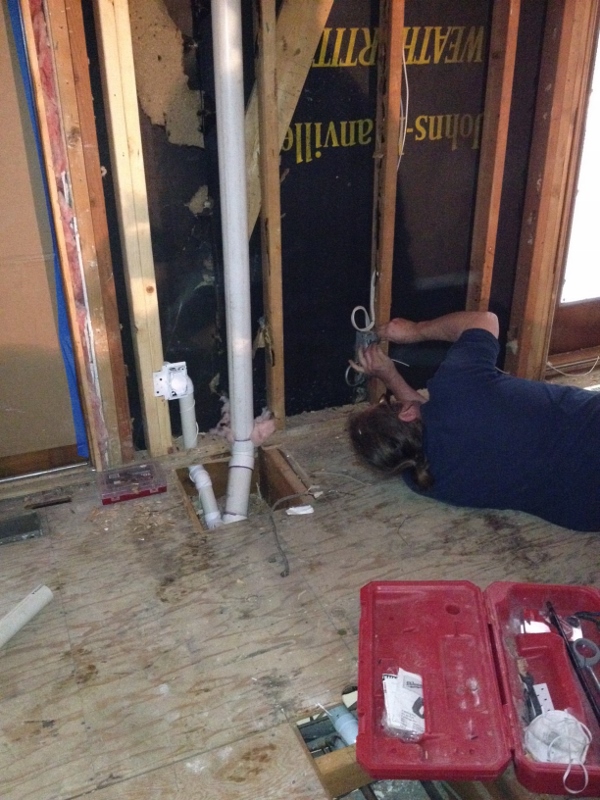
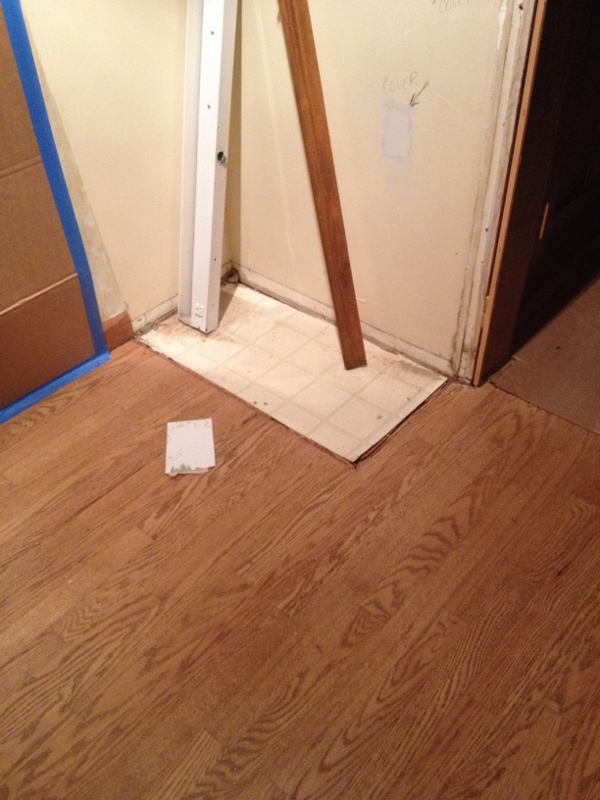
New vac vent outlet on kitchen wall (old location was sticking out of the floor near red toolbox).

Speaking of central vacuums, (and after having typed vacuum so many times, I think I may actually remember how to spell it from here on out), have I told you how much I love ours? It’s super powerful, doesn’t spew dust around (there’s a vent running to the backyard where any excess dust goes) and clean-up is easy (I’ve only emptied it twice since we moved in six weeks ago).

The only thing is that the hose is really long, which means it’s kind of a pain to take in and out of the closet (and takes up half the closet). The vacuum guy told me which attachments to use on which surfaces (I’ve been using the wrong one for the hardwood floors – oopsie. I’ll blame the scratches on the dog) and like any good vacuum salesman, talked up the newest central vac system.
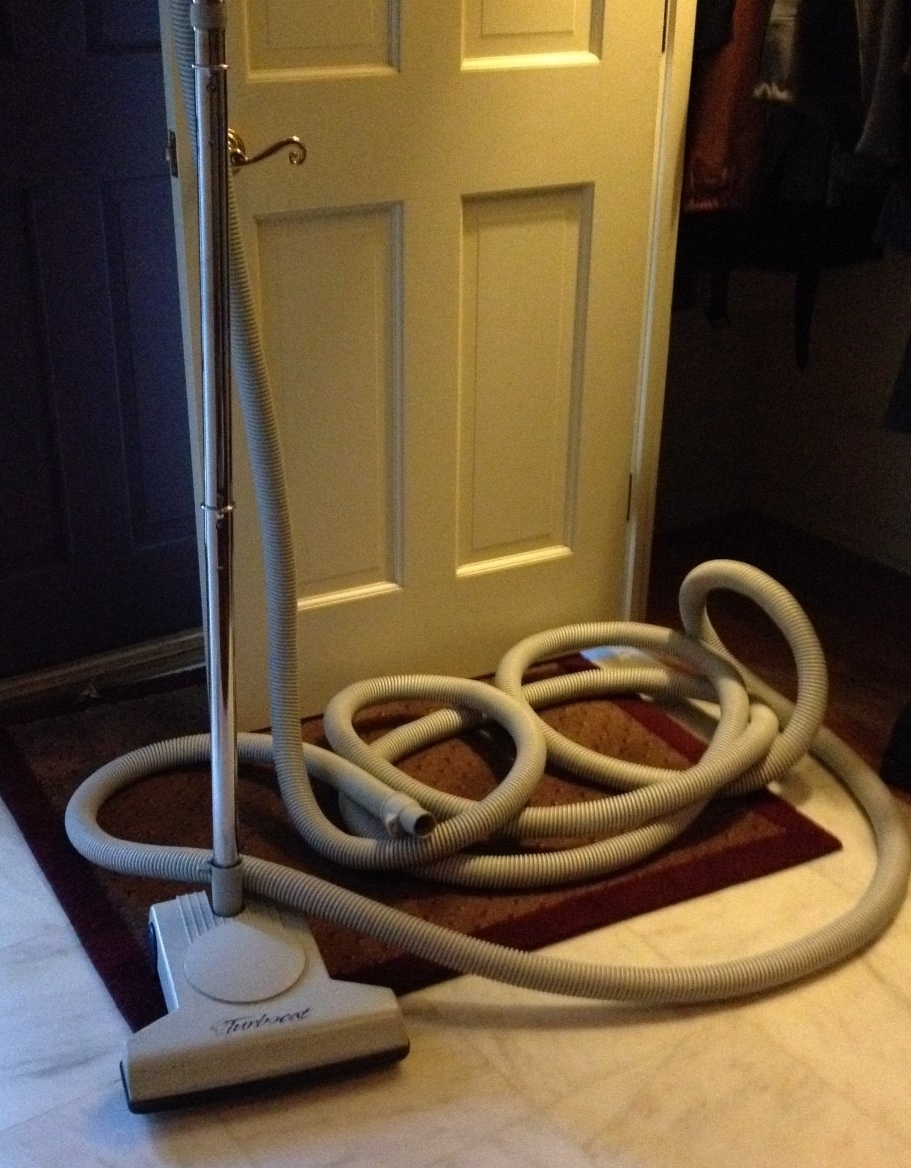
IMG_8825 (2)

The Turbocat.

There’s “nothing wrong with” our current vacuum, but it’s over 15 years old. And of course their best unit is on sale right now. For just $1200, we can upgrade to a system that is lighter, more powerful and has a head that you don’t have to switch out for different surfaces (I want!). I asked how much it costs to install a central vac system, and I was surprised by the answer: on the low end, roughly $800-$1000 for a house our size. That doesn’t include the actual vacuum or accessories, but still. A lot less expensive than I thought.

I wondered which “regular” vacuum he considered the best, since people seem to love Miele or Dyson (or sometimes another brand).  He said a few things about both (and I get the impression he’s anti-bagless, which would put him in the Miele camp) and said something to the effect of, “I mean, how often do we talk to people about vacuums.” Ummm…obviously he’s unaware of the Facebook post on my page that went on for miles and miles.

We won’t be upgrading our system in the near future (hello, kitchen remodel!). We’re good with our “perfectly fine” (per vacuum guy) Turbocat, thank you.

Kitchen Demo – Day Three

IMG_8687 (600x800)At the end of Day Three, the flooring is gone. There were very nice oak floors in the kitchen, and had we only been redoing that room, we would have patched the flooring where needed. Since we are also redoing the family room (which did not have wood floors), we decided to go ahead and replace the whole kit and caboodle. Painful pocket-wise, but it was the right thing to do.

There was a question as to whether or not they were going to be able to take down the brick surrounding the fireplace (which was behind the marbled tile). Their (the kitchen people) thought was that they may have to go in with serious power tool action and even then, it may not come off, which would mean we would lose two inches of space.

It’s a long story. First of all, the room is narrow to begin with. Our new fireplace will be centered, and therefore needs to come forward in the room a bit, because of the fireplace in the adjacent room.

fireplace

The real estate photo of the fireplace.

SIDE NOTE: When we first saw the house, we hated the ledge in front of the fireplace. But we used it ALL the time. The girls could do art projects on it and it was a great place to sit. Everyone who came over somehow gravitated towards that ledge. It will be missed in a weird sort of way.

It was a relatively easy job in the end. By mid-day on Day Three, the red brick wall was down. Success.

IMG_8689 (600x800)There were two layers of subflooring in either the family room or kitchen (I don’t know which, but I overheard the guys talking). Here’s one layer, in the dumpster. What are those? Wood parquet? (My husband would know, but he’s down in the basement watching the game and I’d have to go outside in the cold through the garage and then down to the basement to ask him, which I’m totally not doing).

IMG_8683 (600x800)I feel a little better on Day Three with a somewhat workable set-up in the dining room. We’ve got a fridge, the espresso machine, toaster and microwave hooked up. We brought an old dresser down from upstairs to help with storage and counter space, and we have a variety of containers (milk crates, plastic bins, cardboard boxes) for snacks, other dry goods, utensils and the like.

IMG_8677IMG_8679Sure, it’s not ideal, but it could be worse. I miss my morning shakes (and they are SO good you guys), but still enjoy my cappuccino in the mornings, and have managed to make snacks and lunches for the girls without a complete meltdown. It’s super messy and time-consuming with our only water source on this floor down the hall (and a super small water basin to boot), but we’re doing it. Go team.

Kitchen Demo – Day Two

IMG_8666 (600x800)IMG_8643 (600x800)Here’s what it looked like at the end of Day Two. Bottom photo is Day One, top photo taken of the same space, Day Two.

IMG_8670 (600x800) Another view looking into the kitchen from the family room. And a “surprise” – a waterline in the middle of the wall we’re taking down. It needs to be moved, obviously, which they say shouldn’t be too difficult.

IMG_8669 (600x800)PreLooking into the family room from the kitchen. Top shot Day Three, bottom shot pre-demolition.

IMG_8673 (600x800)Look guys, original wallpaper! Which, okay, our house was built in 1960, but it was still a cool find. It looks very cheery. And very Grosse Pointe. IMG_8676 (600x800)IMG_8622 (600x800)The garage closet is down. We saved a row of kitchen cabinets to install in its place. Although I think we’re doing the install, not the builders. And by we, of course I mean my husband.

My husband’s office is in the basement. On Day Two, a bunch of plaster came falling down through the laundry chute. Lots of dust flying around and both of our throats were chalky and sore. The dog, not having his usual leather chair to sleep in, slept on our new floral couch (which now has dirt stains and hair all over). I bought paper plates and bowls. And did the Neti-Pot before bed. It’s going to be a long 6 – 8 weeks.

Kitchen Demo – Day One

IMG_8664 (450x800)At 7:30 in the morning on Day One of the kitchen demo, there’s a knock on the door. It’s the hauling service with our dumpster. “Where do you want it?” What, seriously? I’m in my bathrobe. Do I look like the Project Manager? Anyway, we figured it out and the dumpster gets dragged on our driveway. At this point I’m thinking to myself, wow, that’s one big dumpster. I guess they don’t mess around.

In the light of day (it was still dark when they came), there is a huge (I mean huge! Look at it!) scrape up our driveway. Turns out, it was in fact the wrong dumpster. We were supposed to get a smaller one with rubber tires (shown  ). The demolition hasn’t even started and we already have collateral damage.

IMG_8640 (600x800)

IMG_8641 (600x800)There was just one guy here (I met him, but am blanking on his name), taping off the doors (two doors, one leading from the family room to the entryway and the other between the kitchen and dining room), putting down cardboard and pulling the cabinets off the walls. This is what it looked like around lunch time (above).

IMG_8643 (600x800)And at the end of the day.

IMG_8646 (600x800)A patch of linoleum under the cabinet that was closest to the dining room.

IMG_8661 (675x800)Our Habitat for Humanity donation stacked neatly in the garage.

A few days before the demo, I posted on Facebook, asking for crock pot recipes. Maybe I didn’t have a kitchen, but I still had electricity, right? After just one day of demolition, I put the crock pot in the basement. It is not seeing the light of day until that kitchen is done.


And We’re Off!….The Day Before Demolition

PreAfter weeks of planning and designing, the kitchen remodel (and when I say kitchen, I mean kitchen and family room) is finally underway. The day before demolition, we let the girls draw on the walls (I had already defaced them with my paint samples), which they were super excited about. Of course I had to join in with my own drawing. It was really fun.

IMG_8629 (674x800)
It’s hard to see the crayon in the photo, but they colored quite a bit!

IMG_8623 (600x800)That afternoon (a Sunday), my husband also re-wired the thermostat in the garage, as it was located in the closet that was going to get torn down. He crawled up into the roof and did whatever one has to do to re-wire these things (I’m so glad I married a handy man because I am extremely unhandy).

As he was walking around up there, he punctured his head with a nail (“Hey, remember when I went to the doctor and she gave me a tetanus shot?” he yells down).

IMG_8622 (600x800)New thermostat location where wire is coming out of the wall. And a drill. So a drill was involved.

IMG_8625 (600x800)We also had to move the fridge in order to get the couch down to the basement. Which meant disconnecting the water line. Or something. Not to mention move everything out of the kitchen cabinets and pantry closet (I am so done moving!!).

IMG_8626 (600x800)One last shot of the family room before the demo. And Sam, once again, getting in the shot.