Kitchen Remodel – Before and After

IMG_9254 (882x1024)
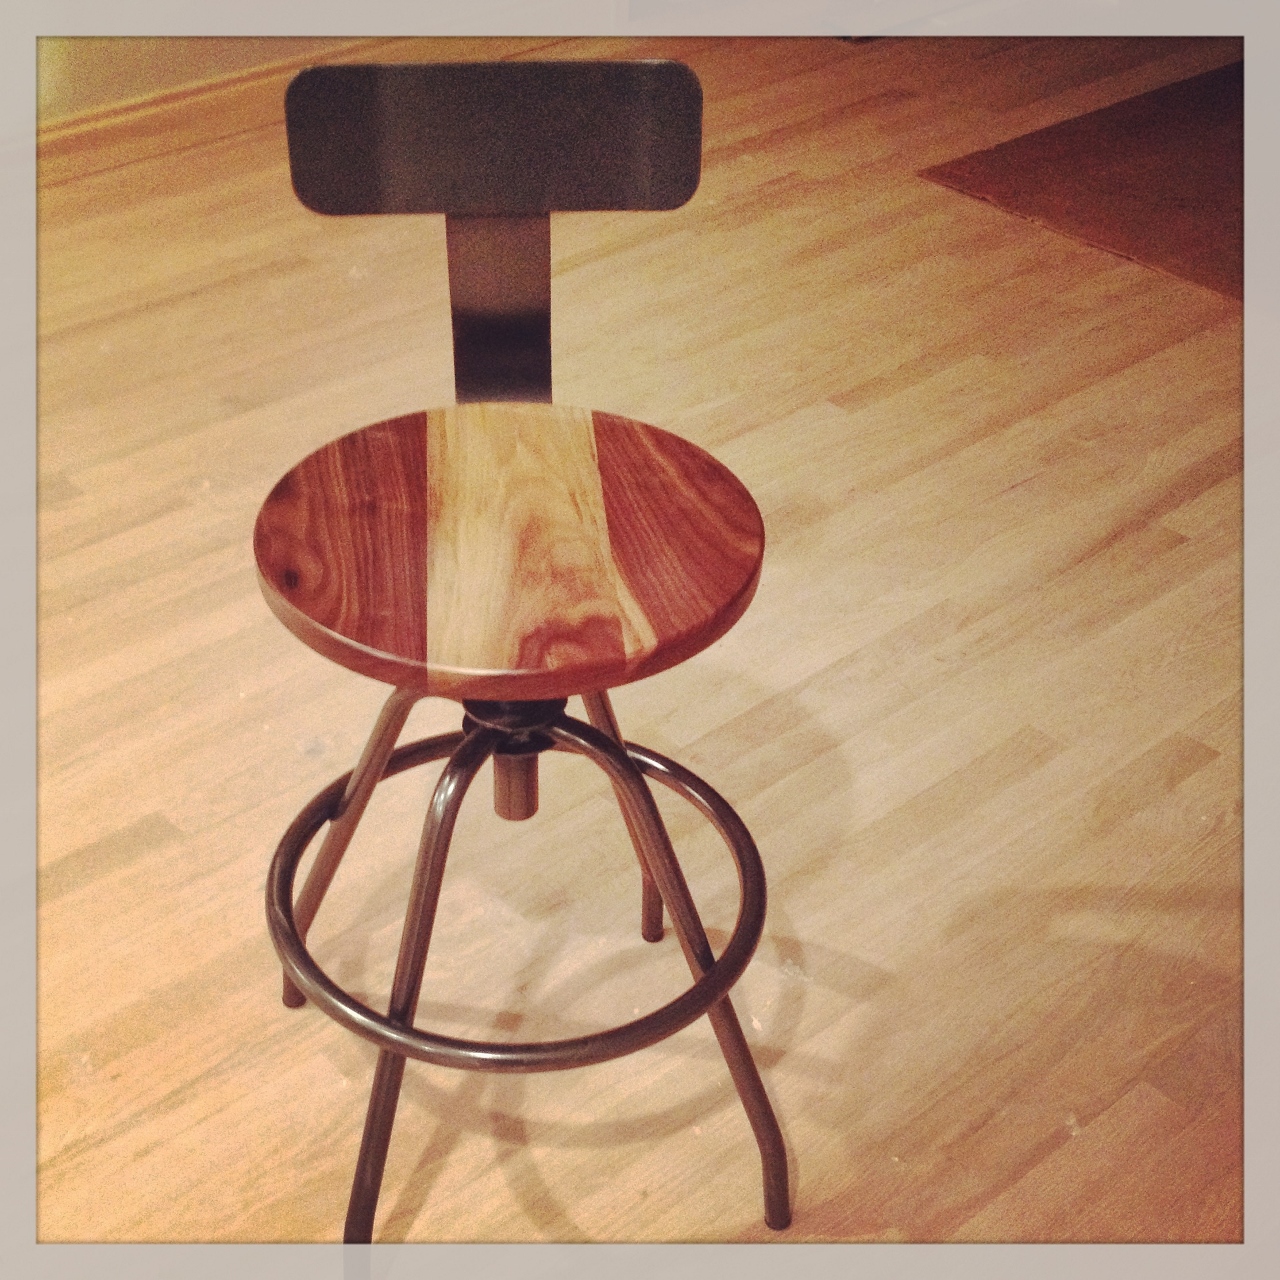
We’re in!! The painters were done with the bulk of their work last Friday night and we were given the green light to move in. My husband and I stayed up til the wee hours, assembling our kitchen table and chairs, dusting and doing little things like putting felt on the bottoms of furniture legs. And then we poured ourselves a glass of Cabernet and took it all in.

There are a few outstanding issues (paint drips, a wonky faucet, motion sensor lights not working, waiting on new sofa and leather side chairs delivery, etc.), but otherwise we are D.O.N.E.

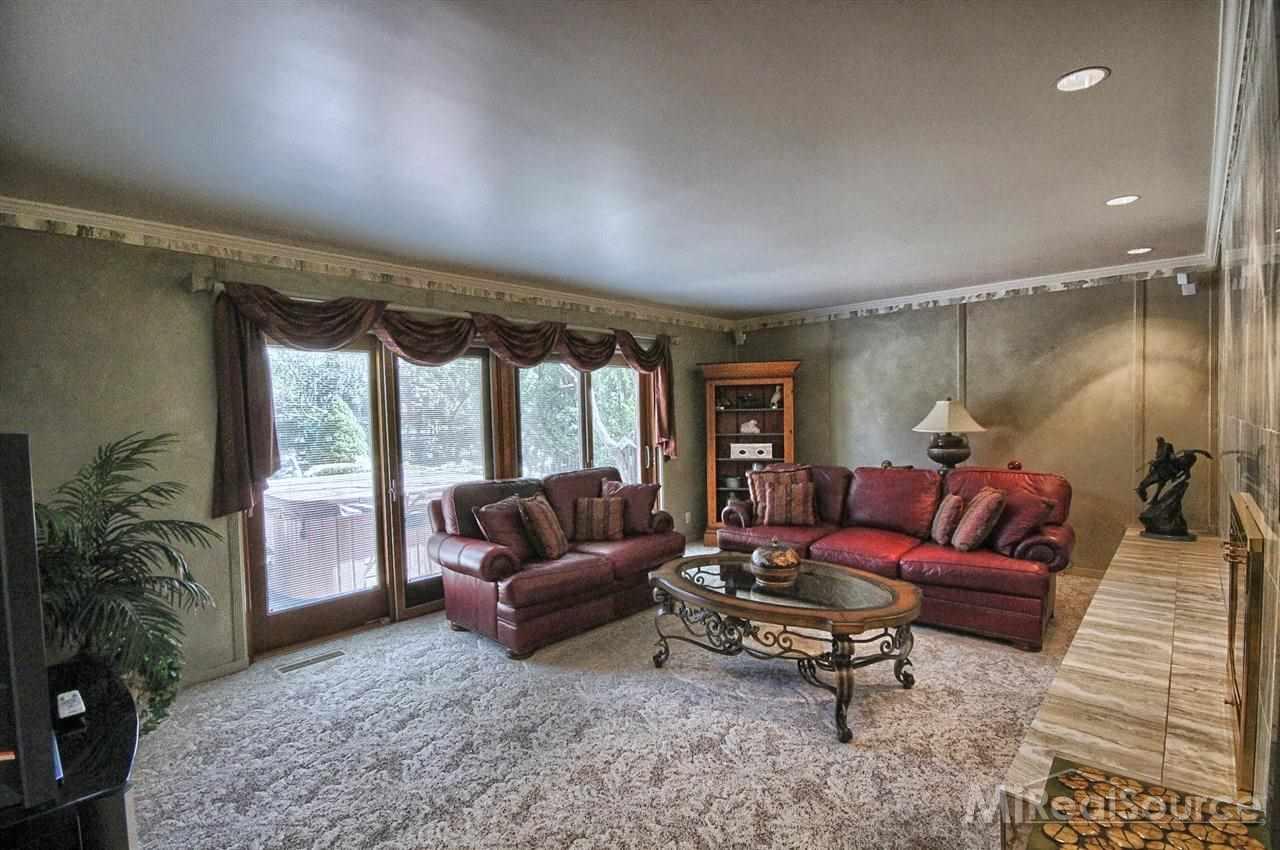
Let’s take a look at some before and after shots….

WallIMG_9255 (1024x768)
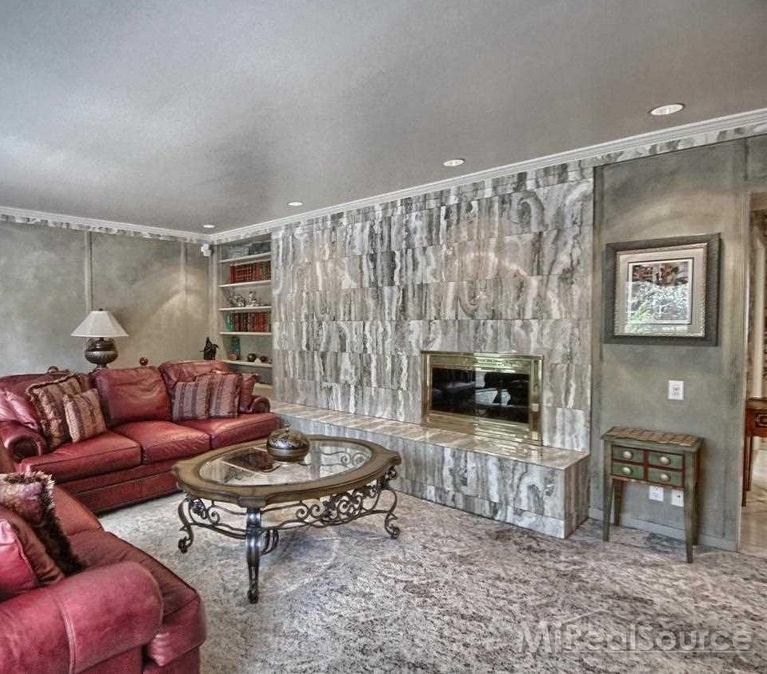
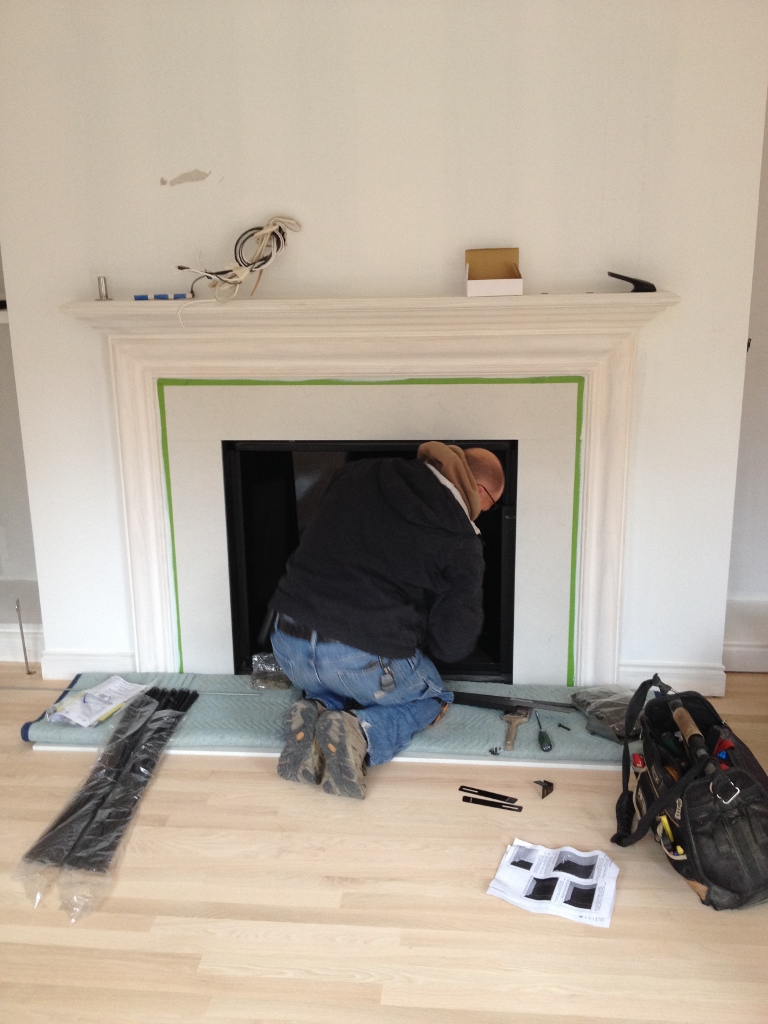
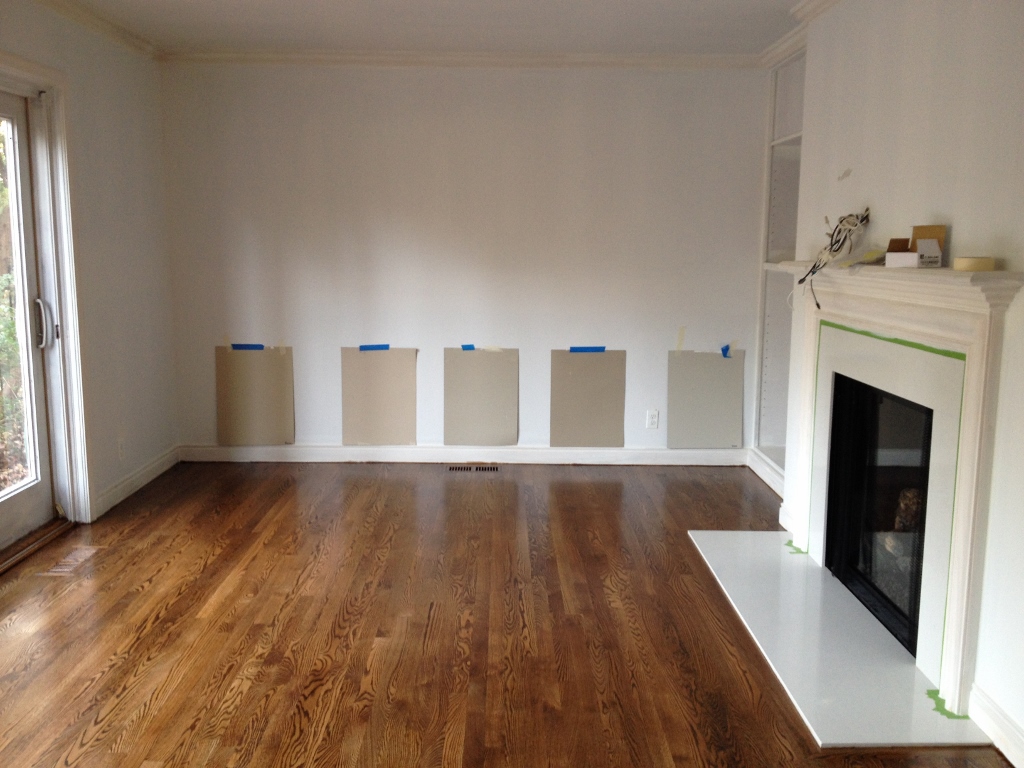
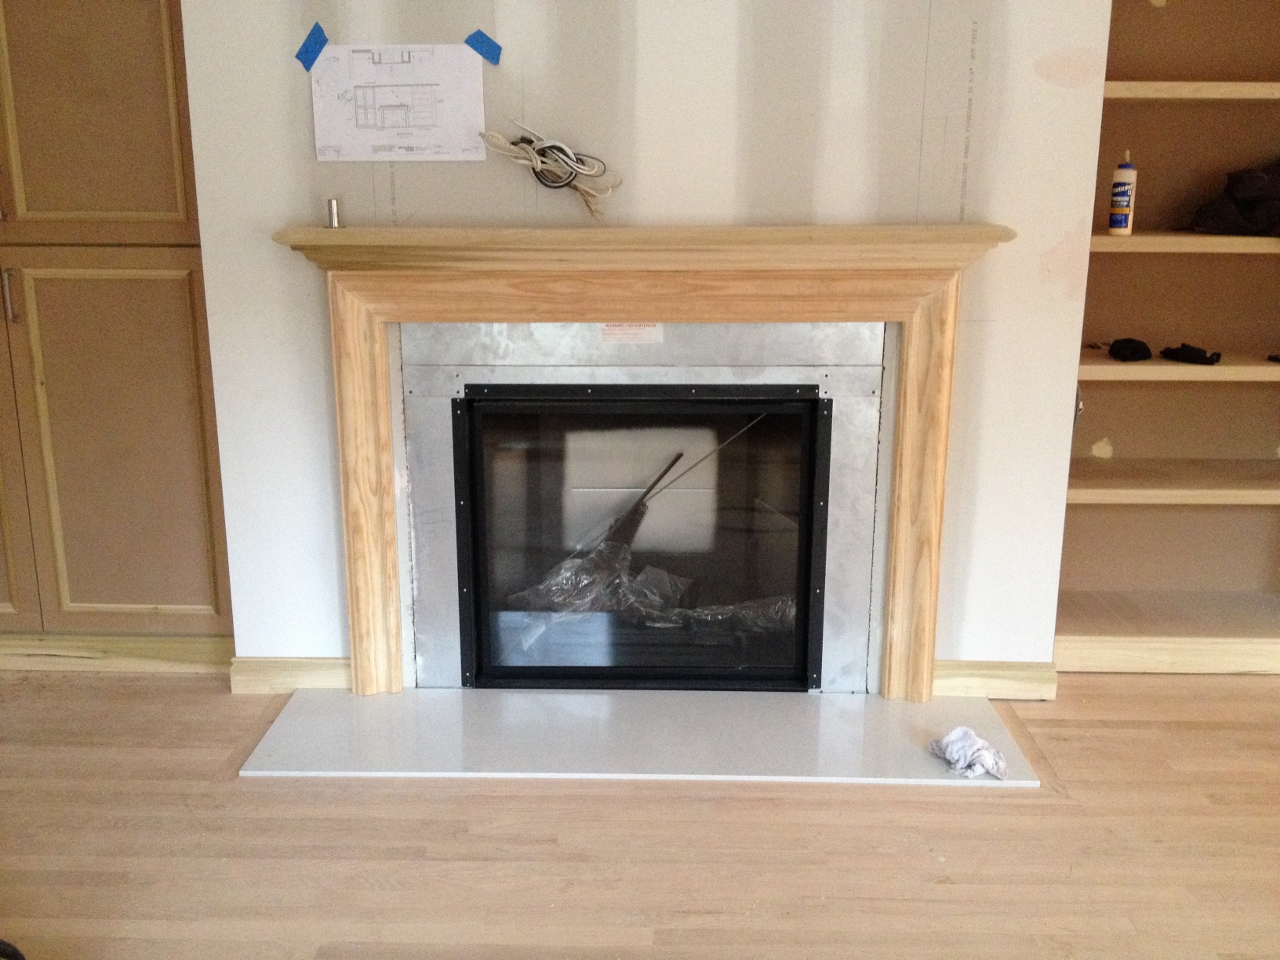
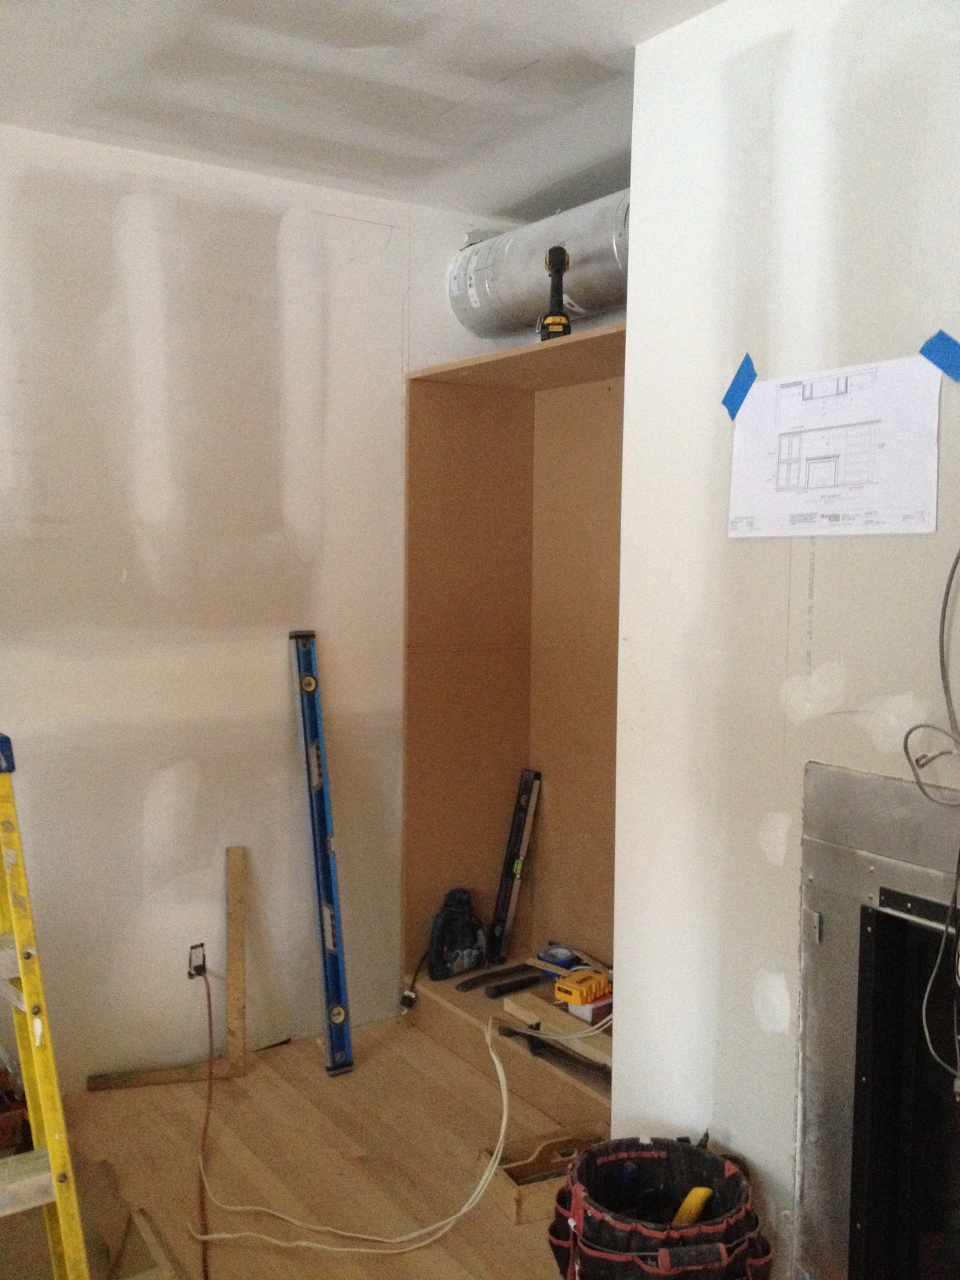
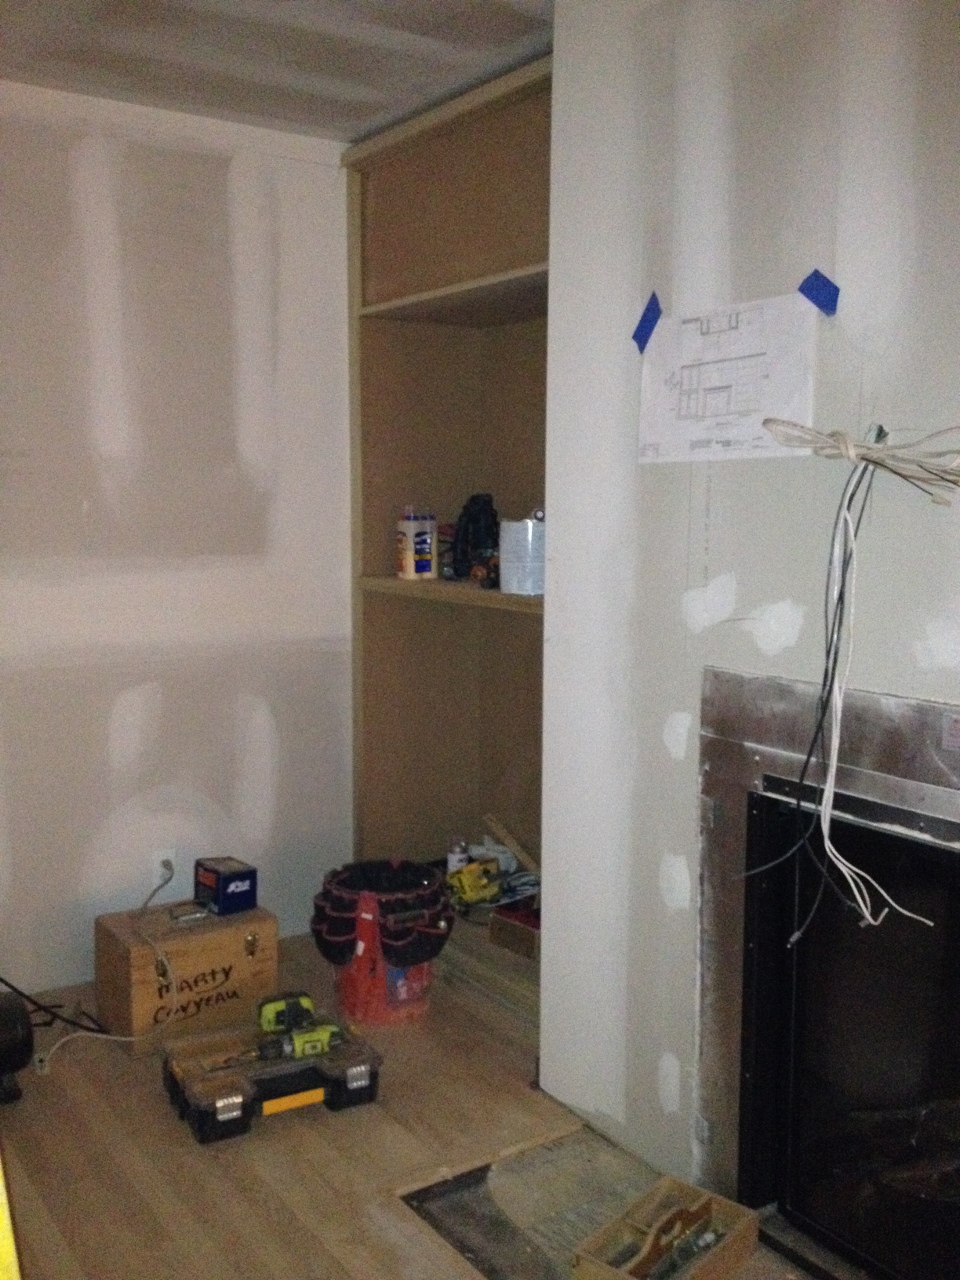
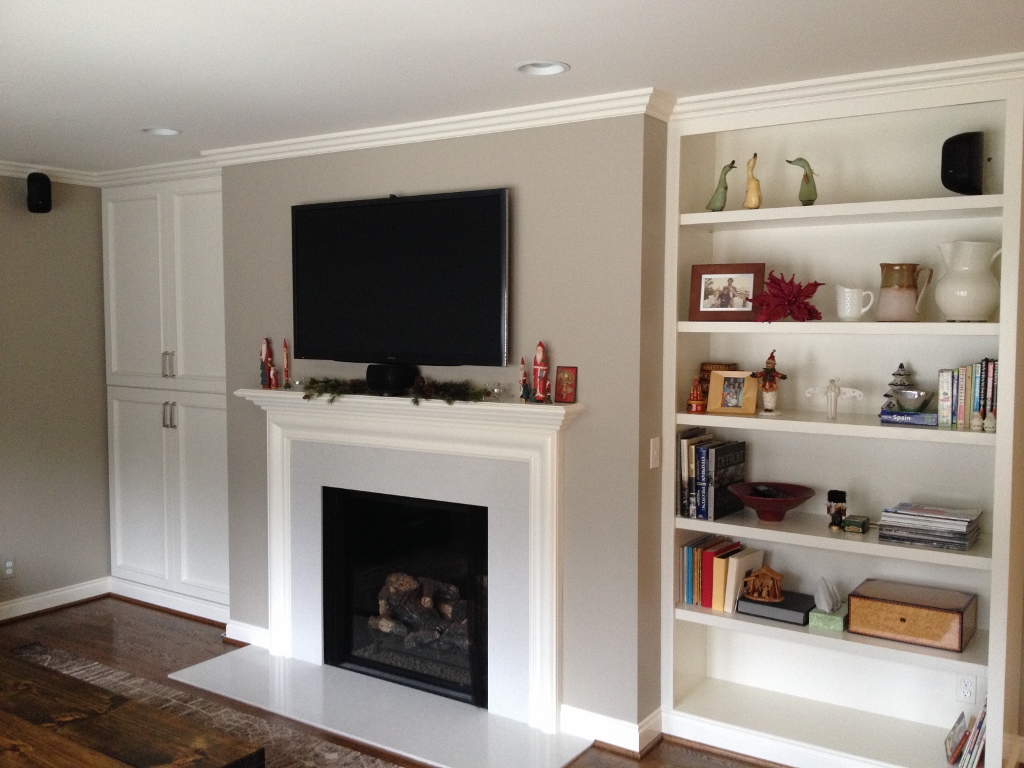
The marble tile around the fireplace was taken down. The old fireplace was covered up and a new gas fireplace was installed, with built-ins flanking the sides (the closed cabinet on the left hides the flue).
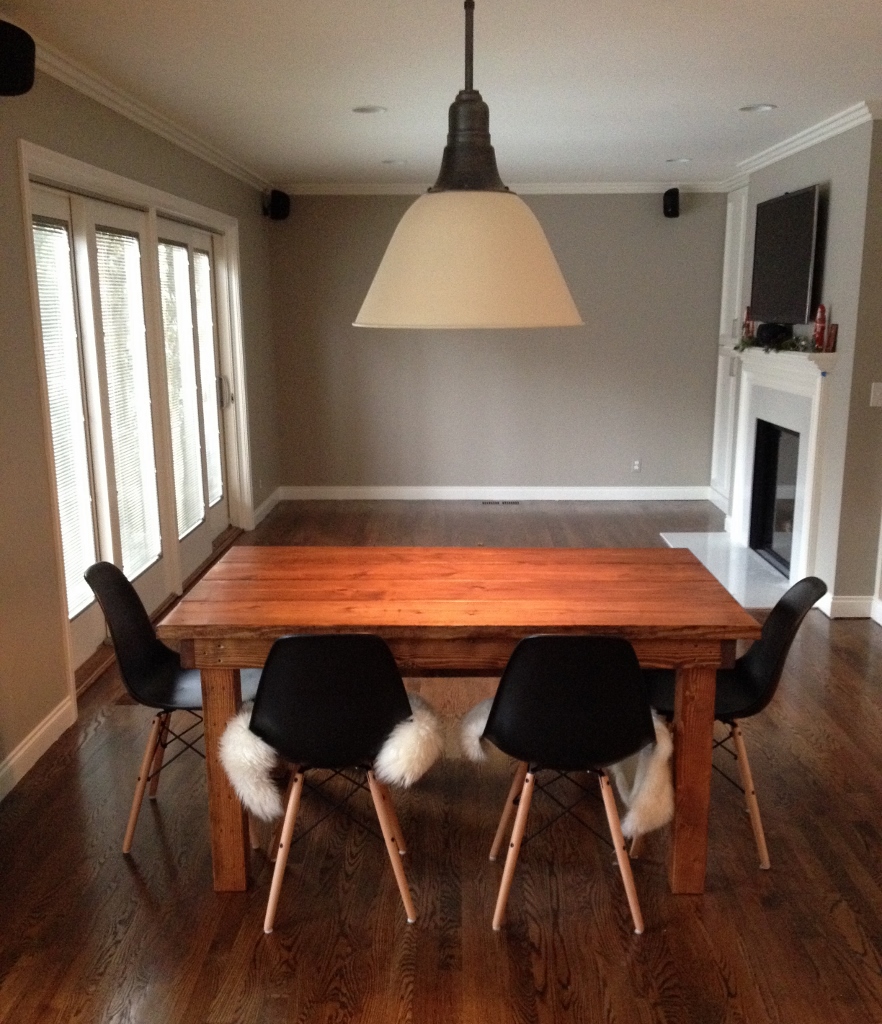
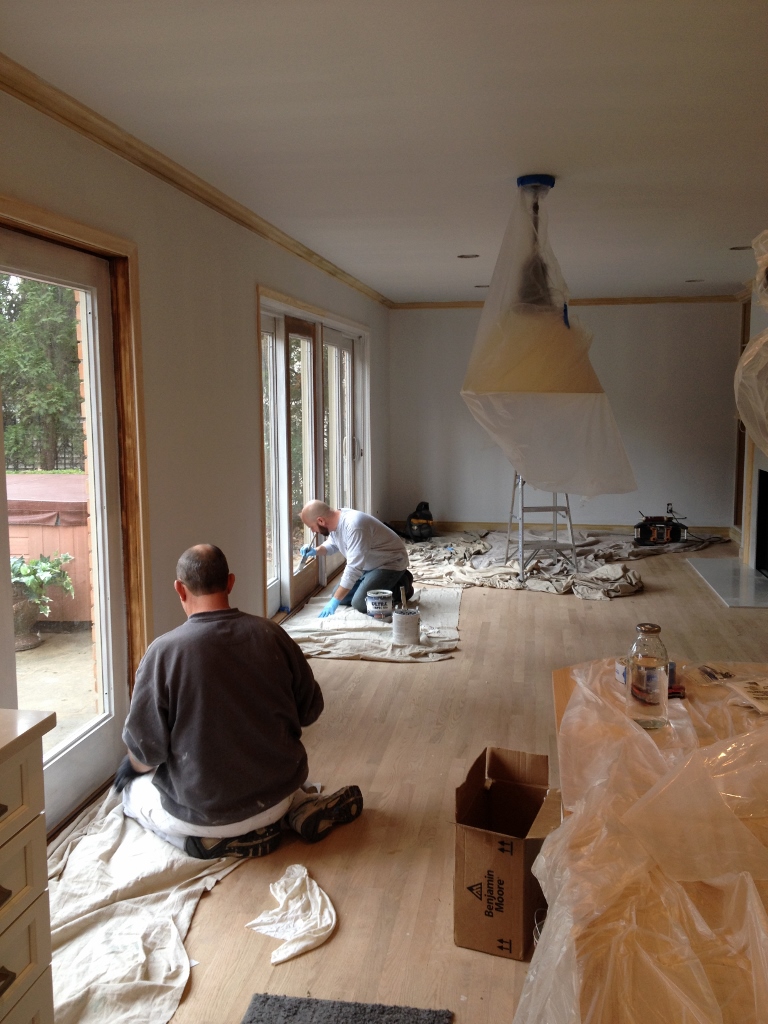
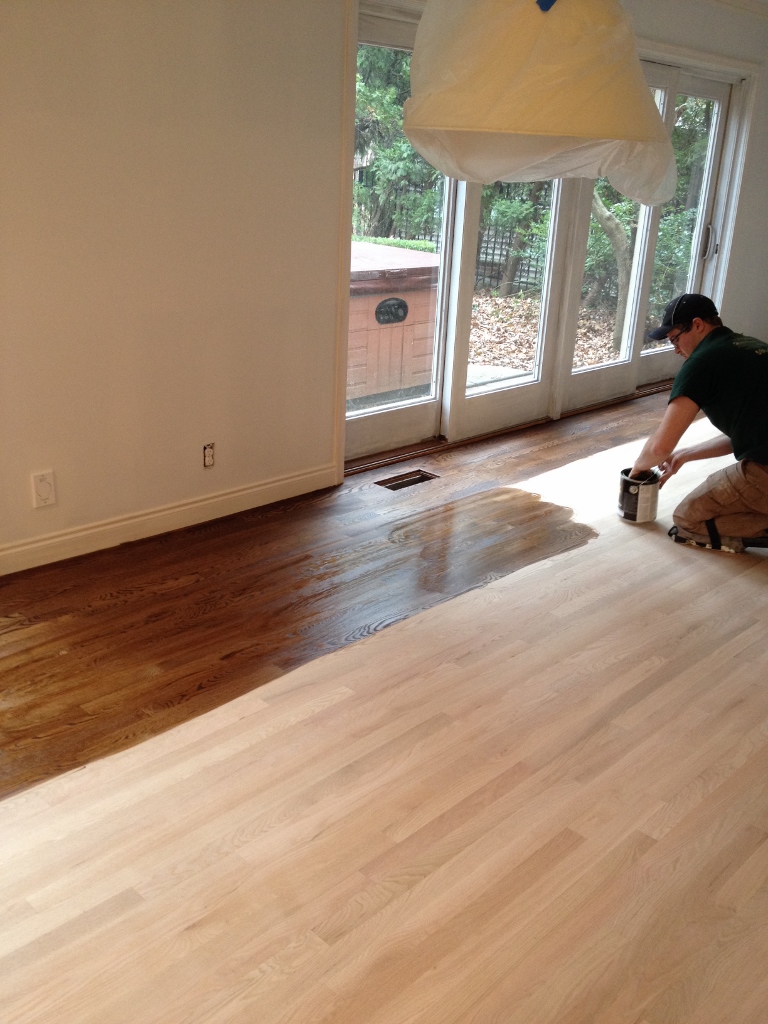
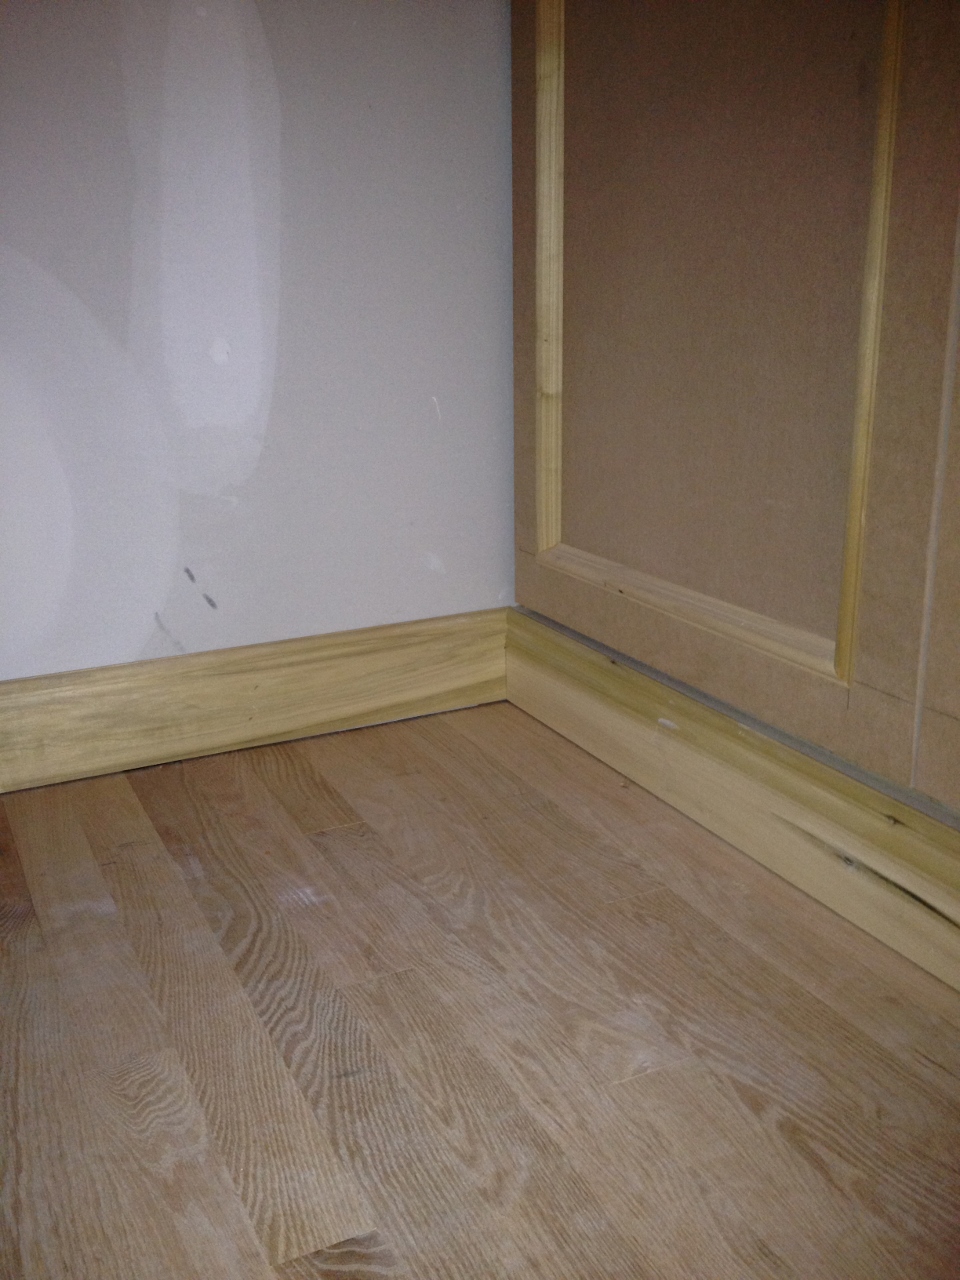
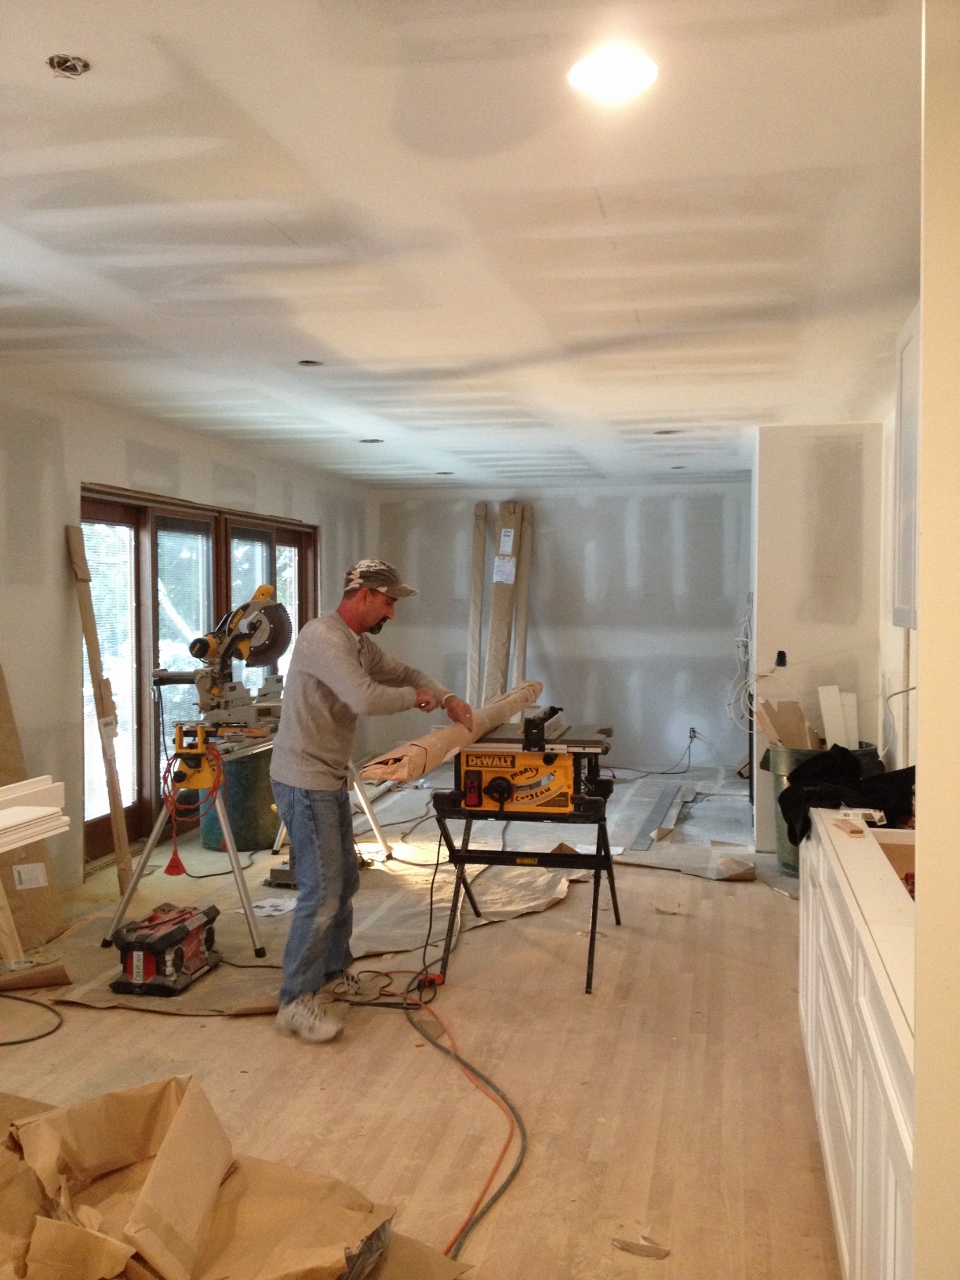
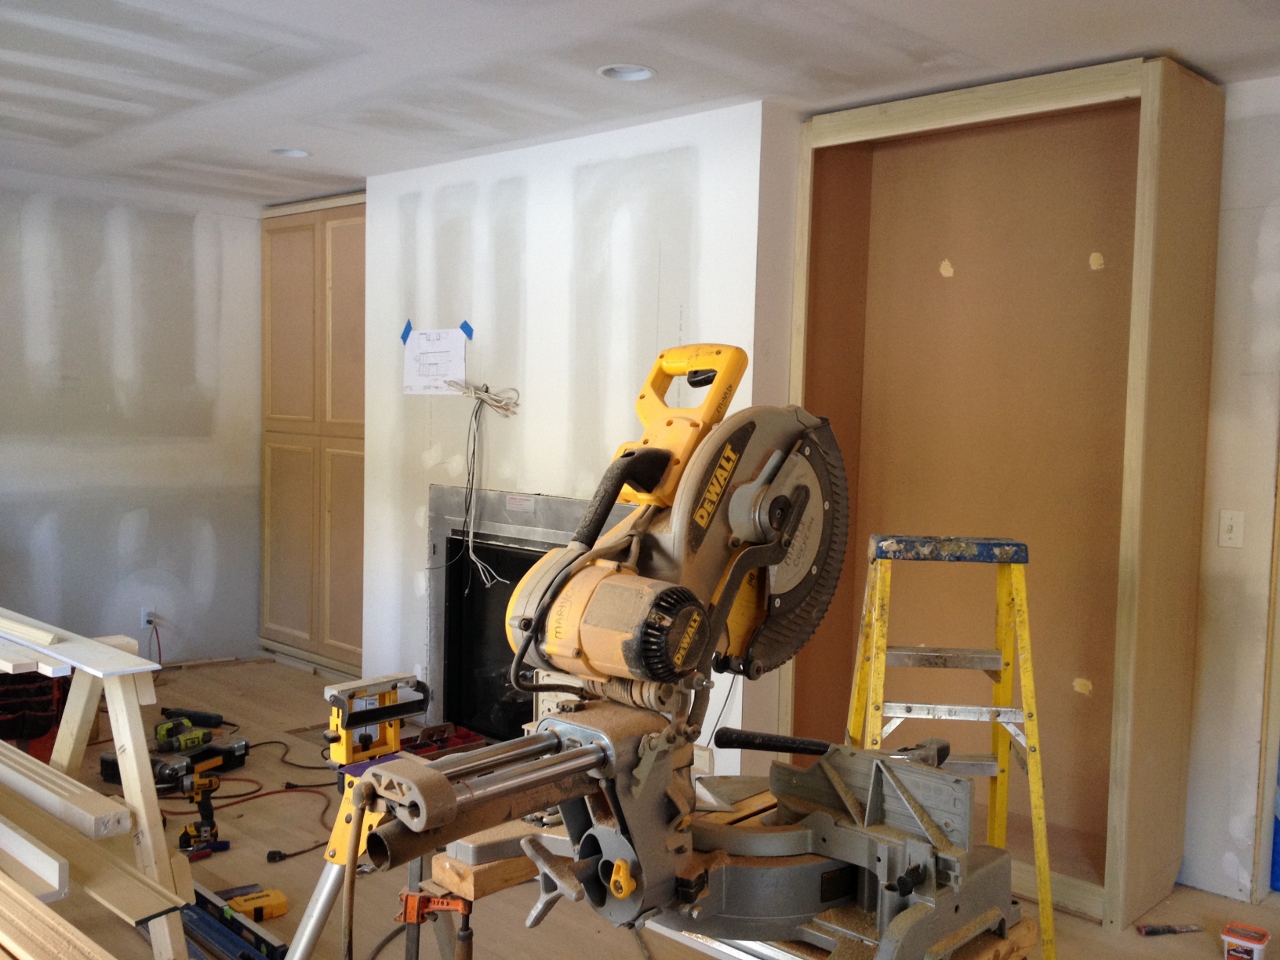
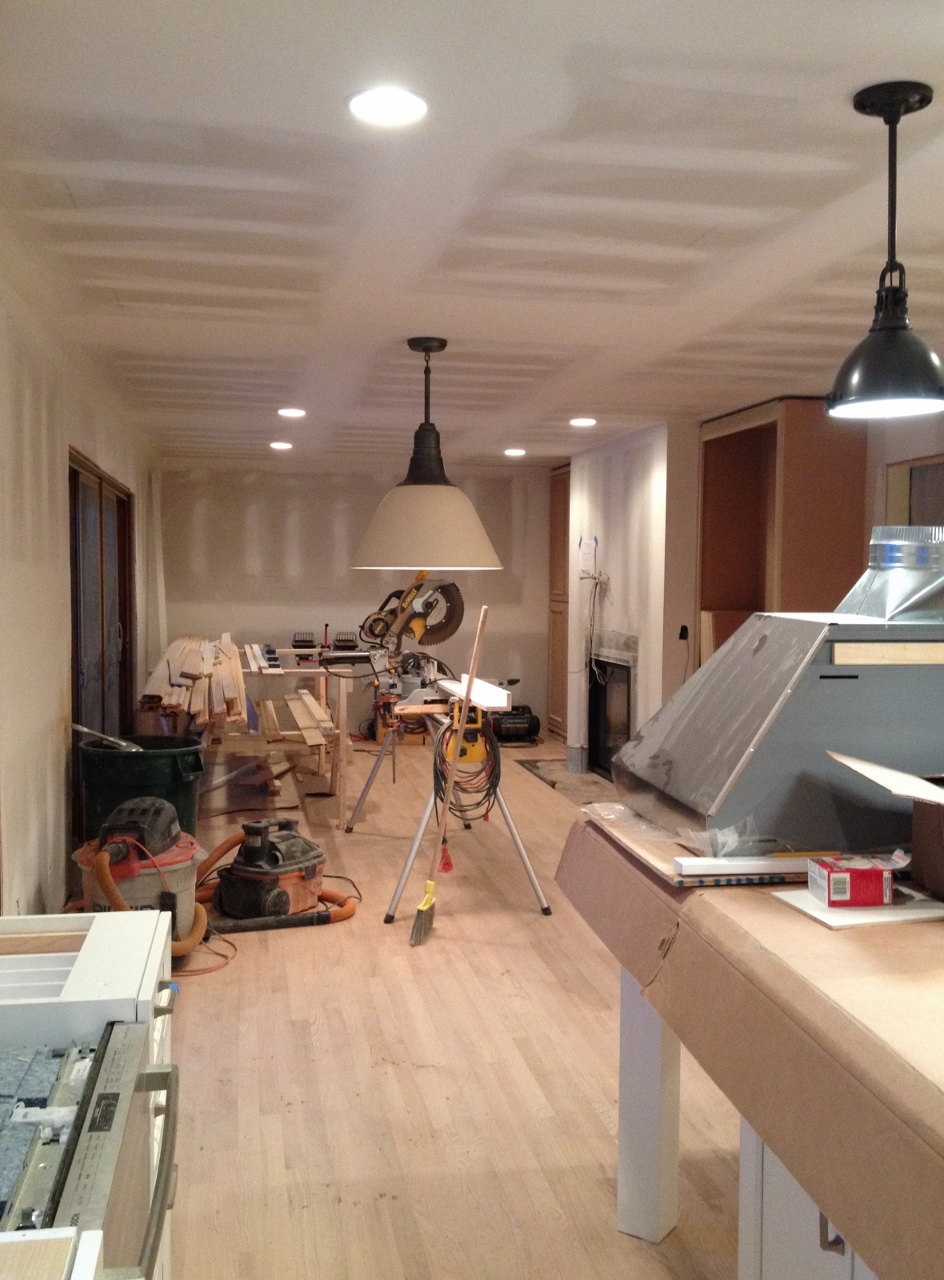
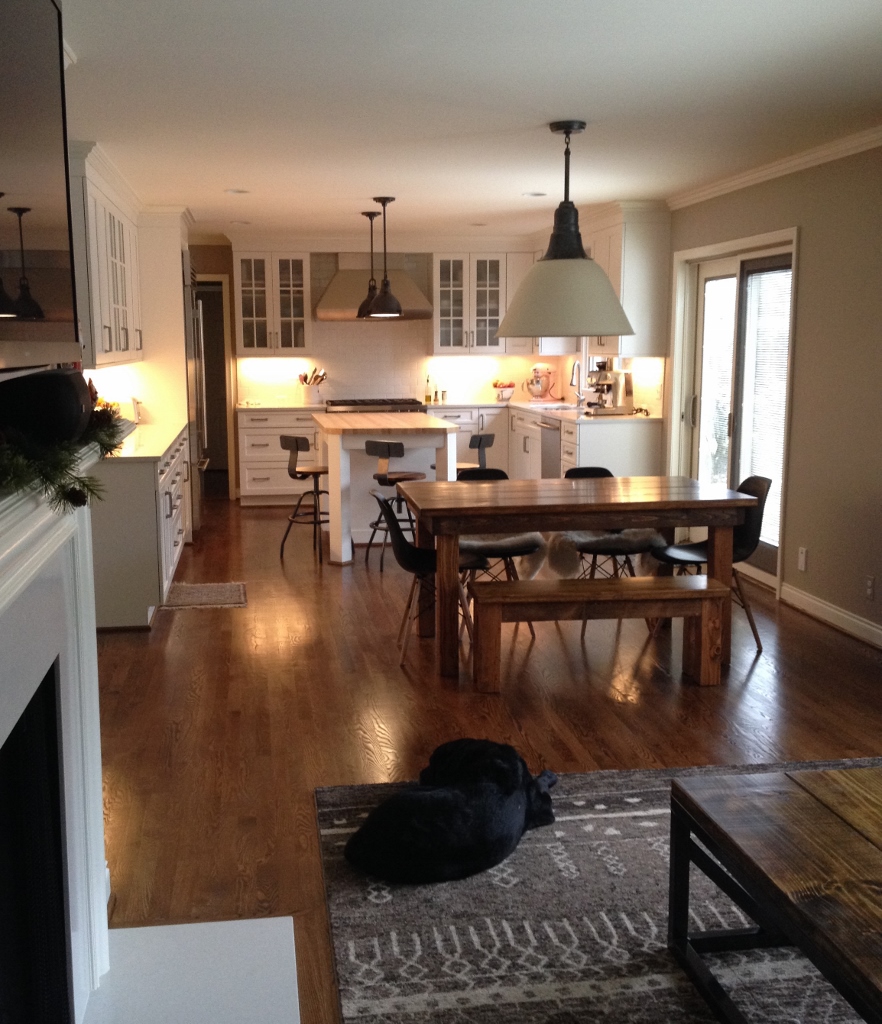
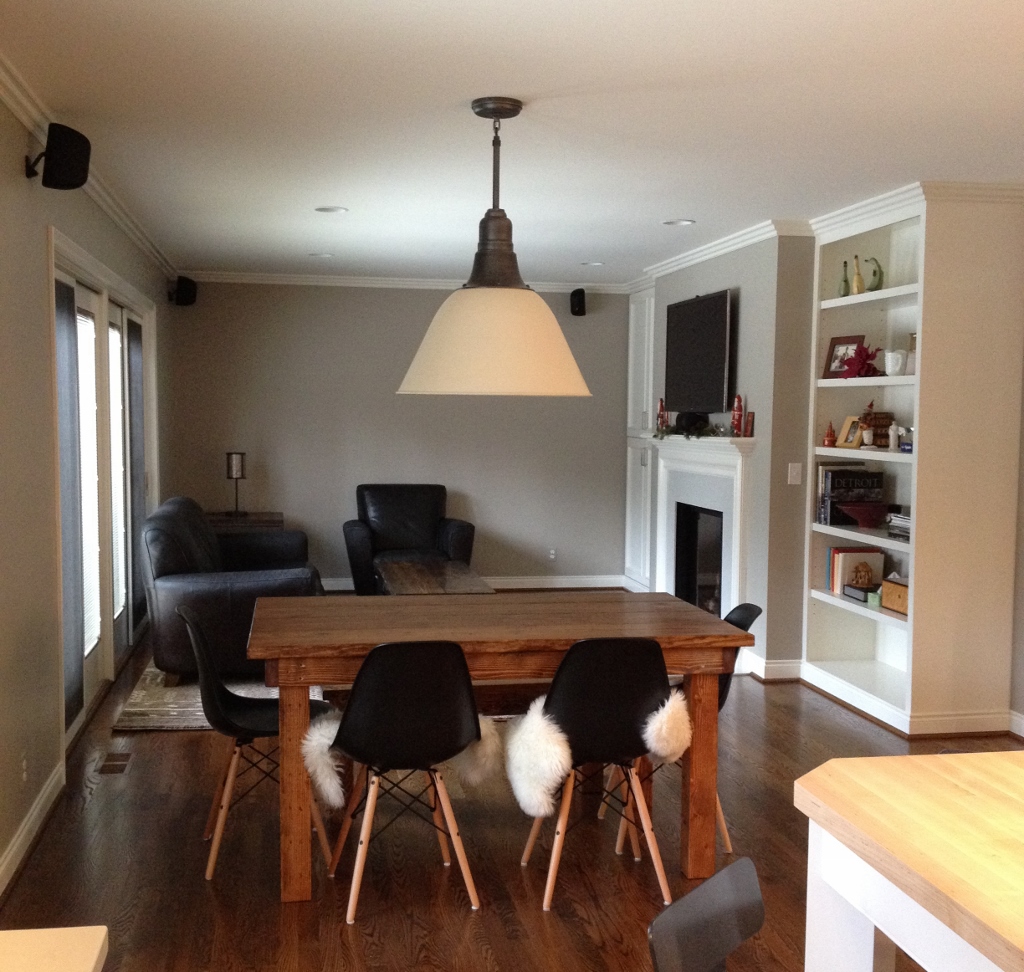
house.kitchen3 (1024x681)IMG_9239 (882x1024)

house.family2IMG_9256 (1024x972)The wall between theĀ  family room and kitchen was taken out and the light fixtures were replaced. New hardwood flooring was put down throughout both rooms and stained. New drywall, baseboards and molding. Sliding doors were sanded and painted.

MicrowaveIMG_9258 (768x1024)
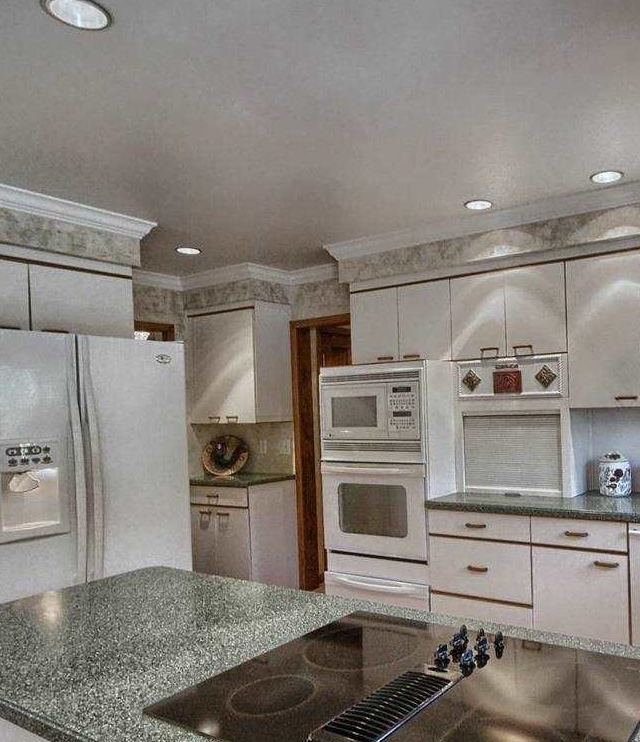
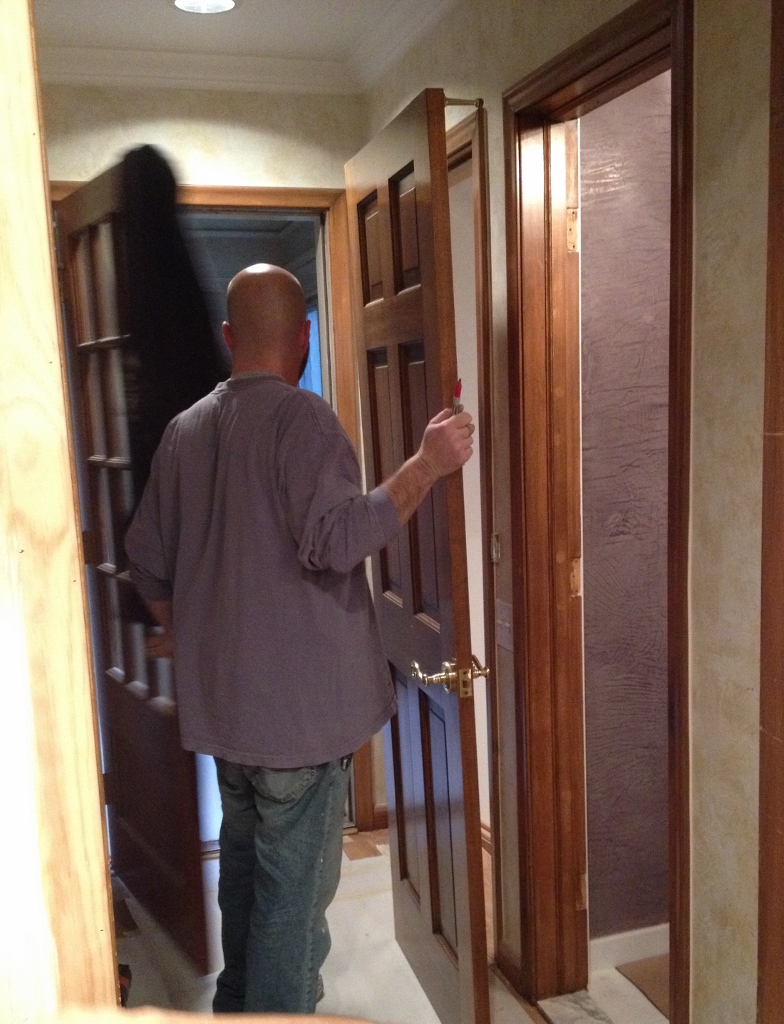
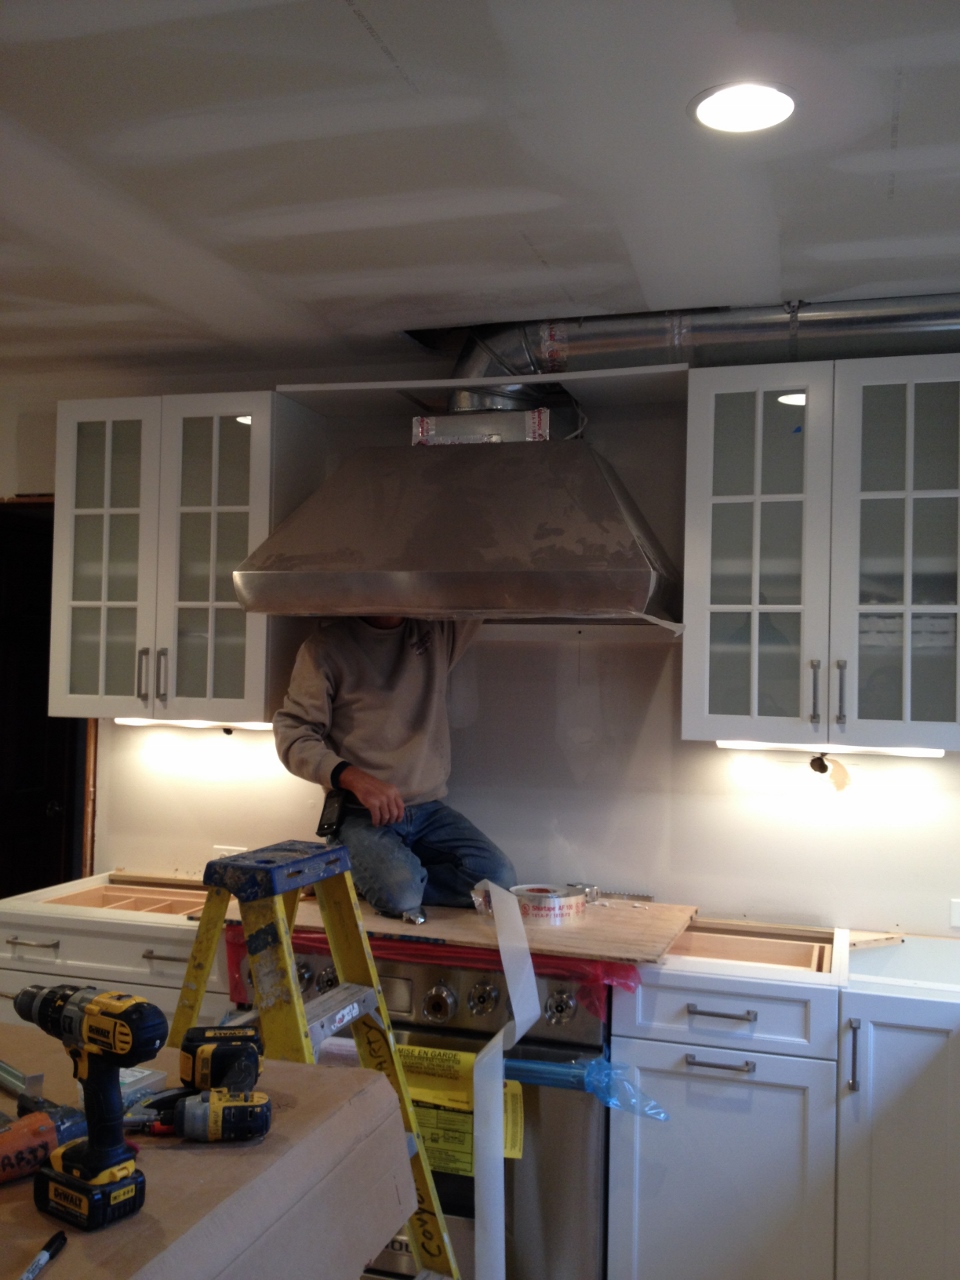
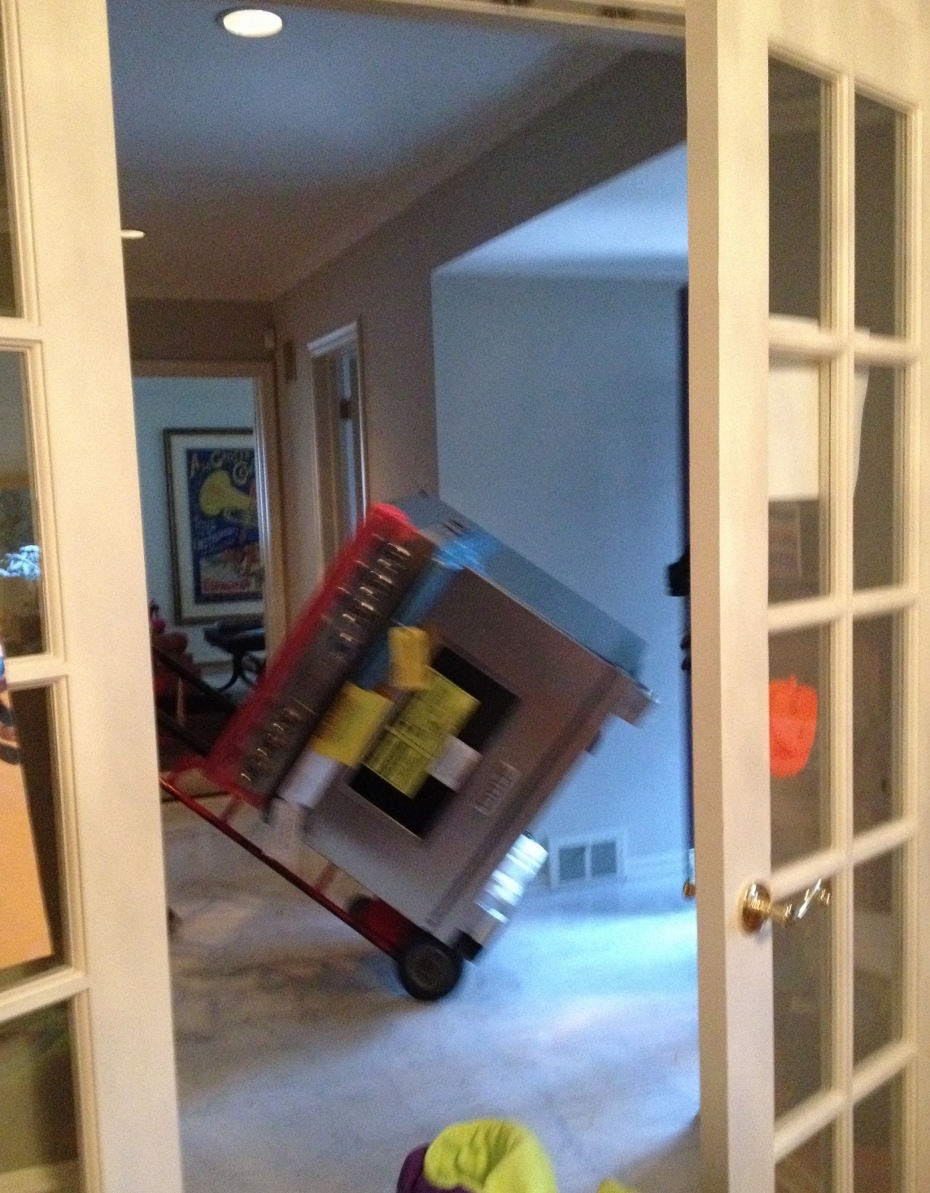
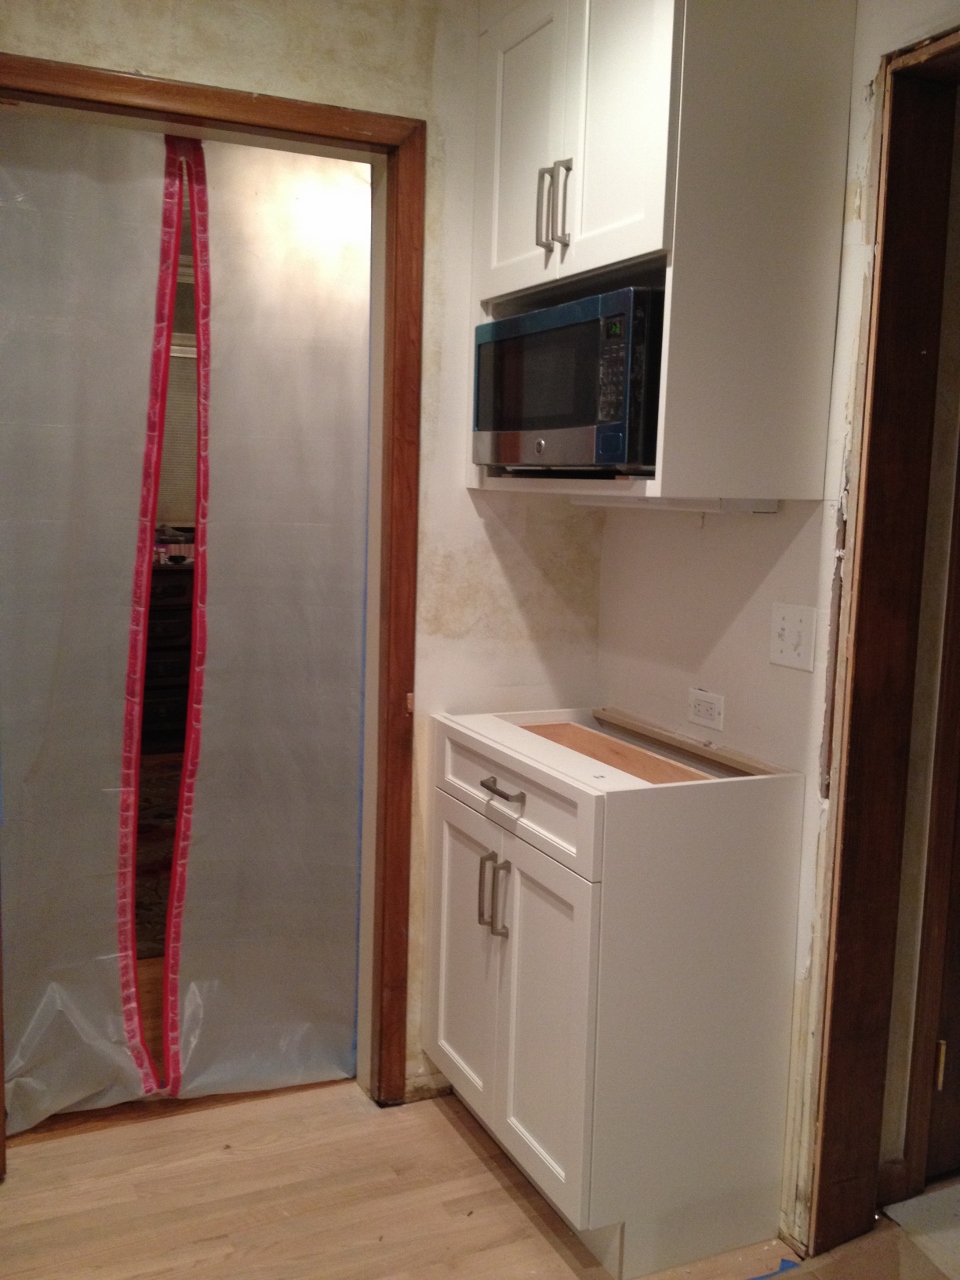
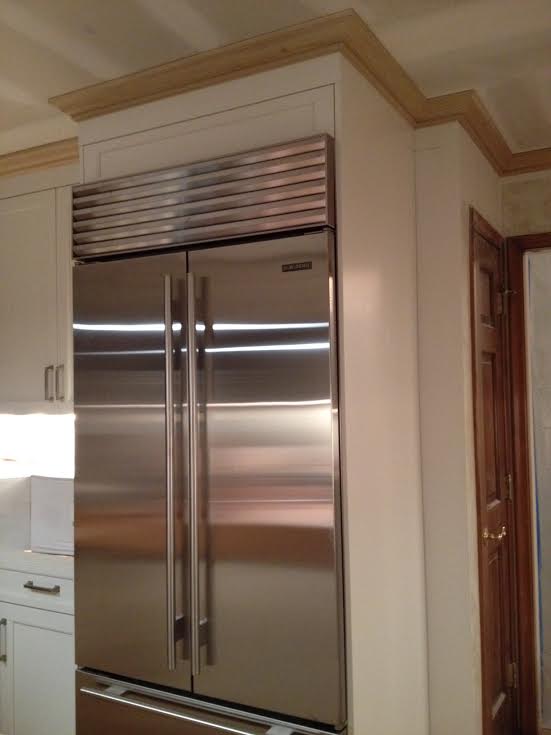
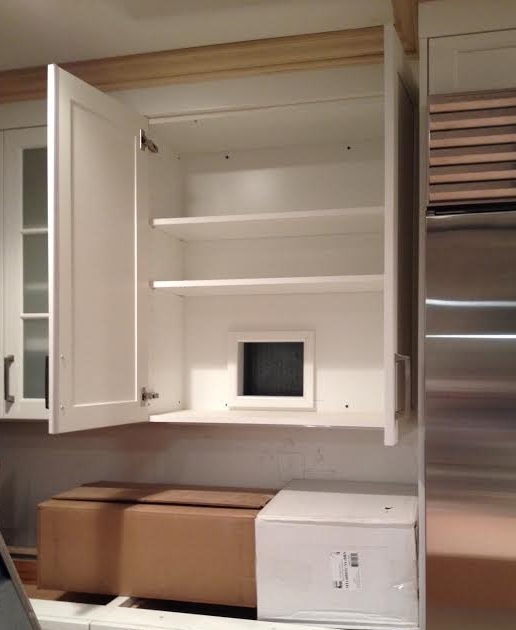
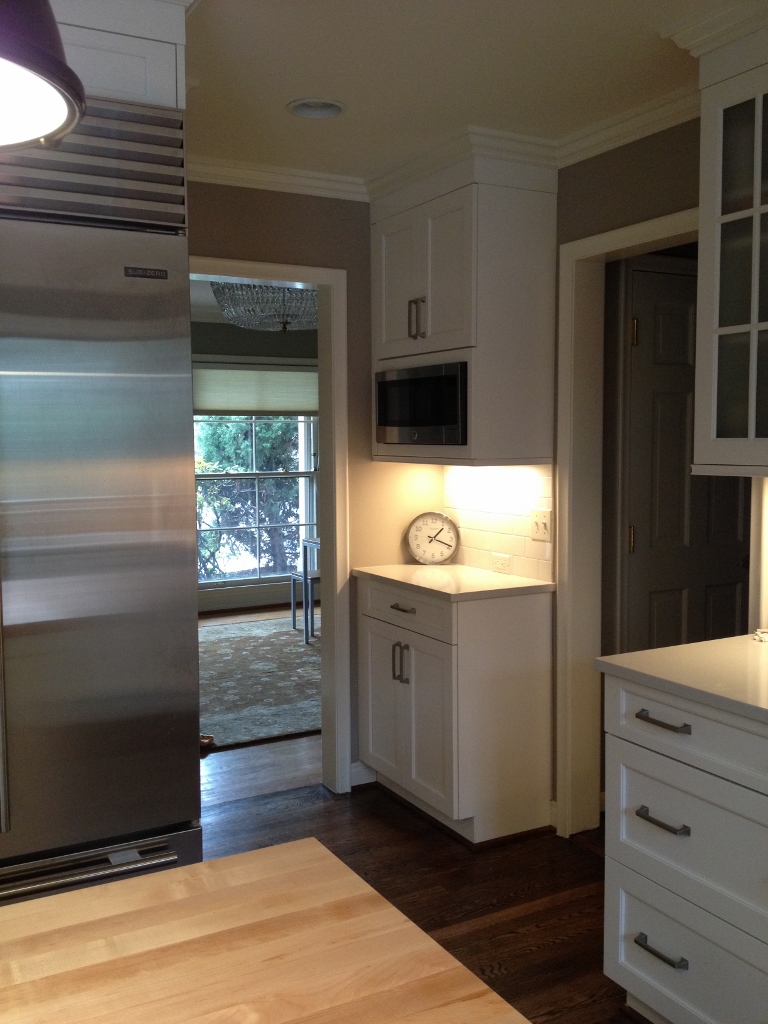
All appliances were replaced. We kept the location of the fridge (but changed it to a french door style for easier use), but moved the range and oven location. We installed a small microwave on the back cabinet area to keep it out of the way. We removed the swinging door that separated the kitchen from the dining room.

house.kitchen (1024x681)IMG_9252 (1024x976)
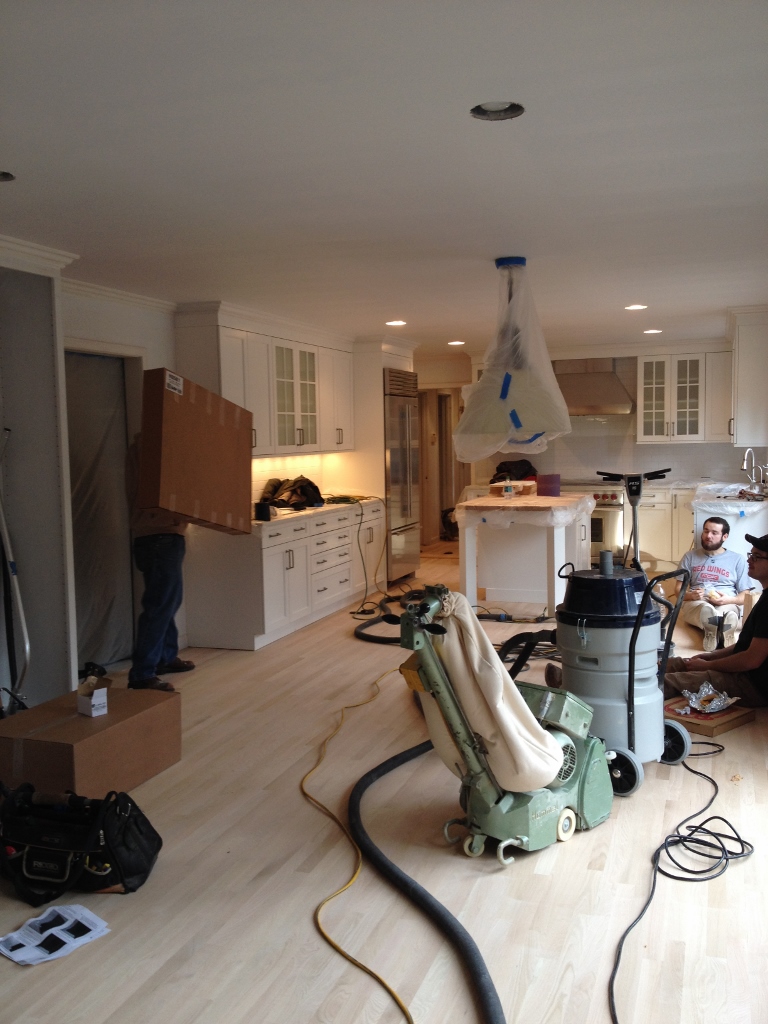
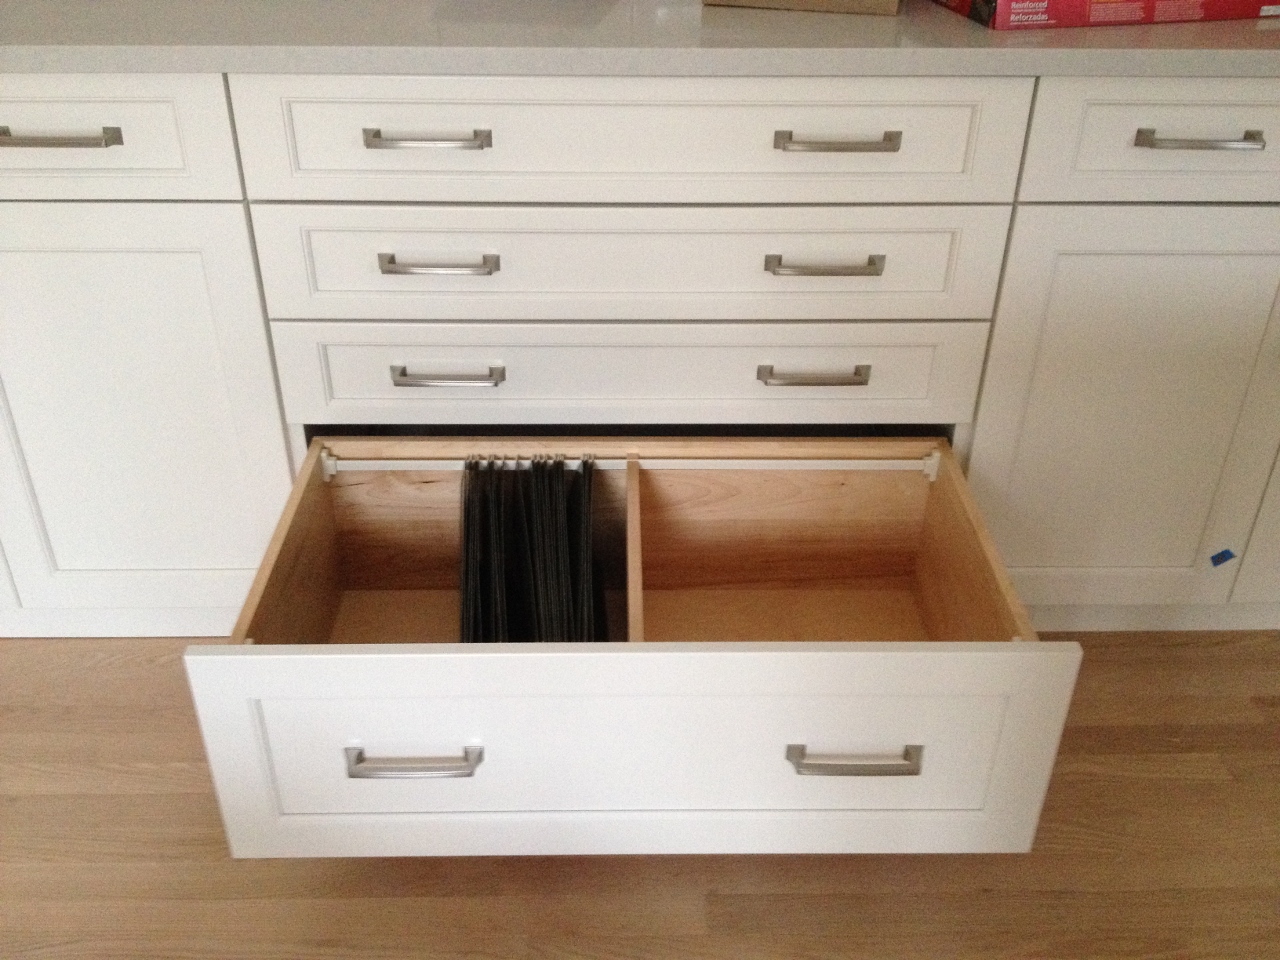
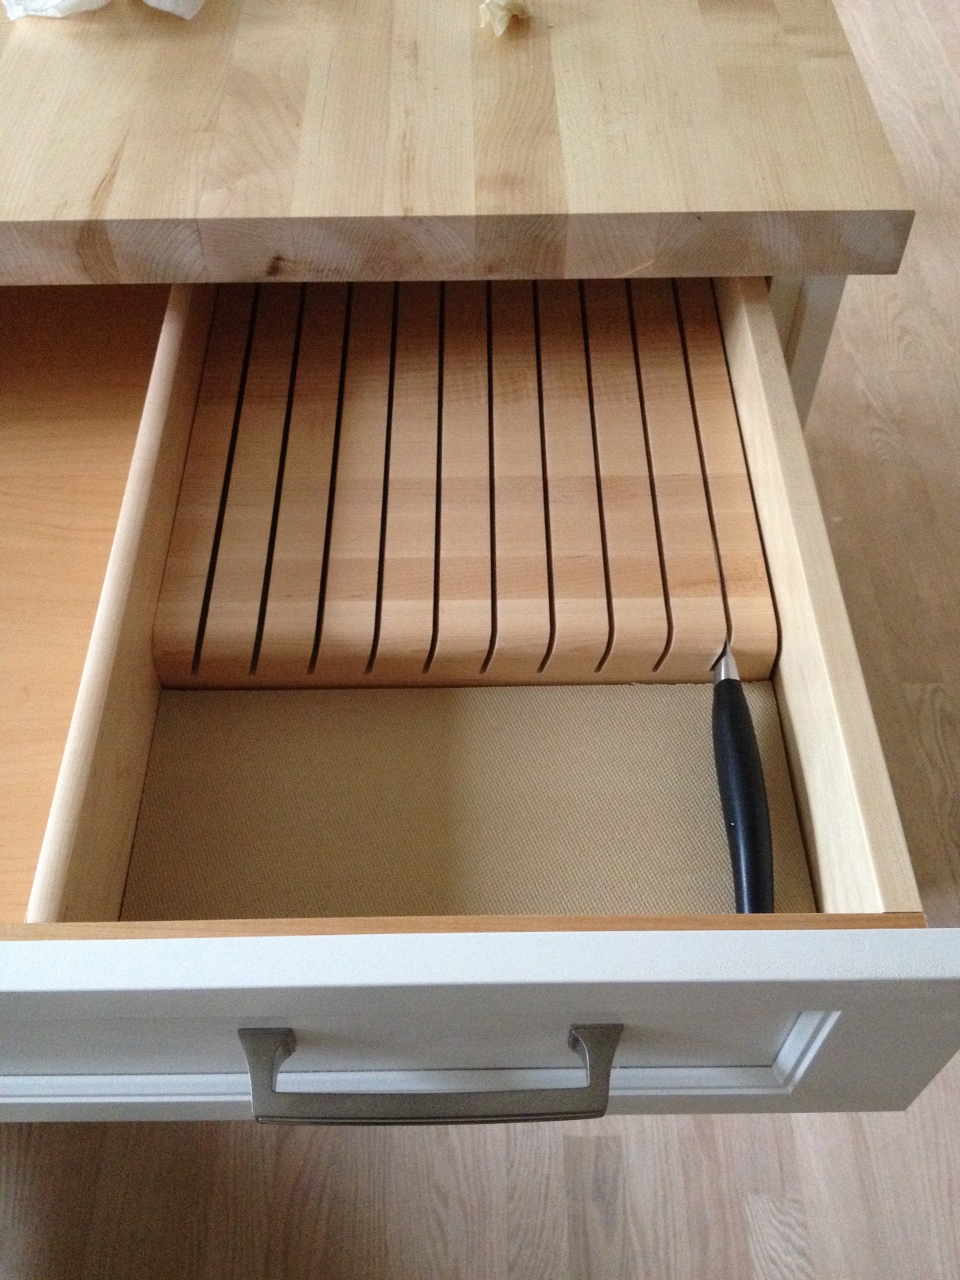
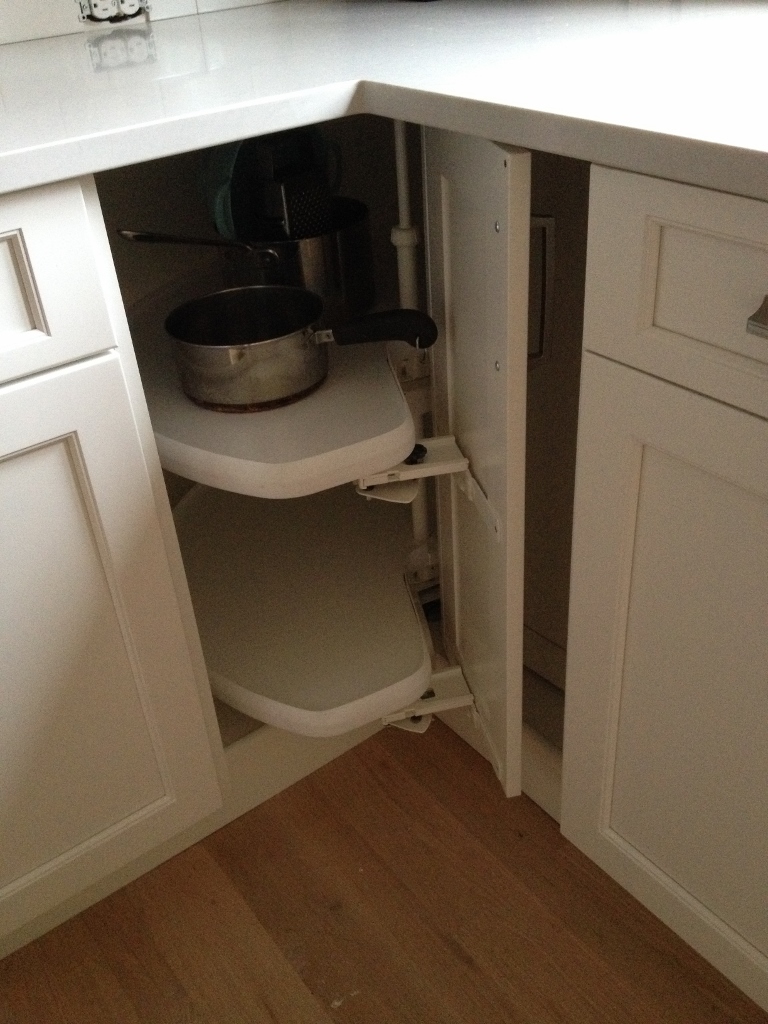
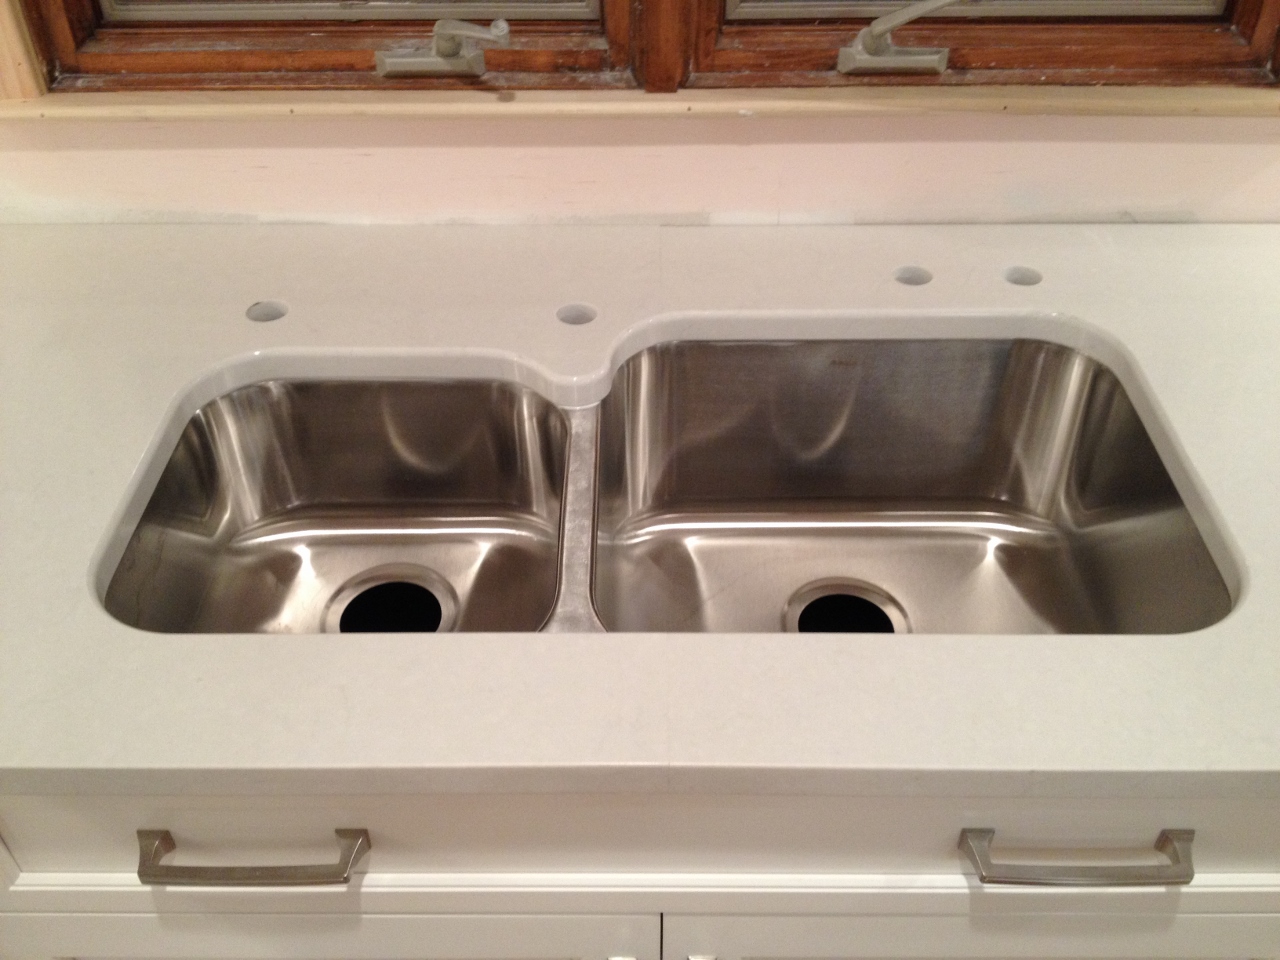
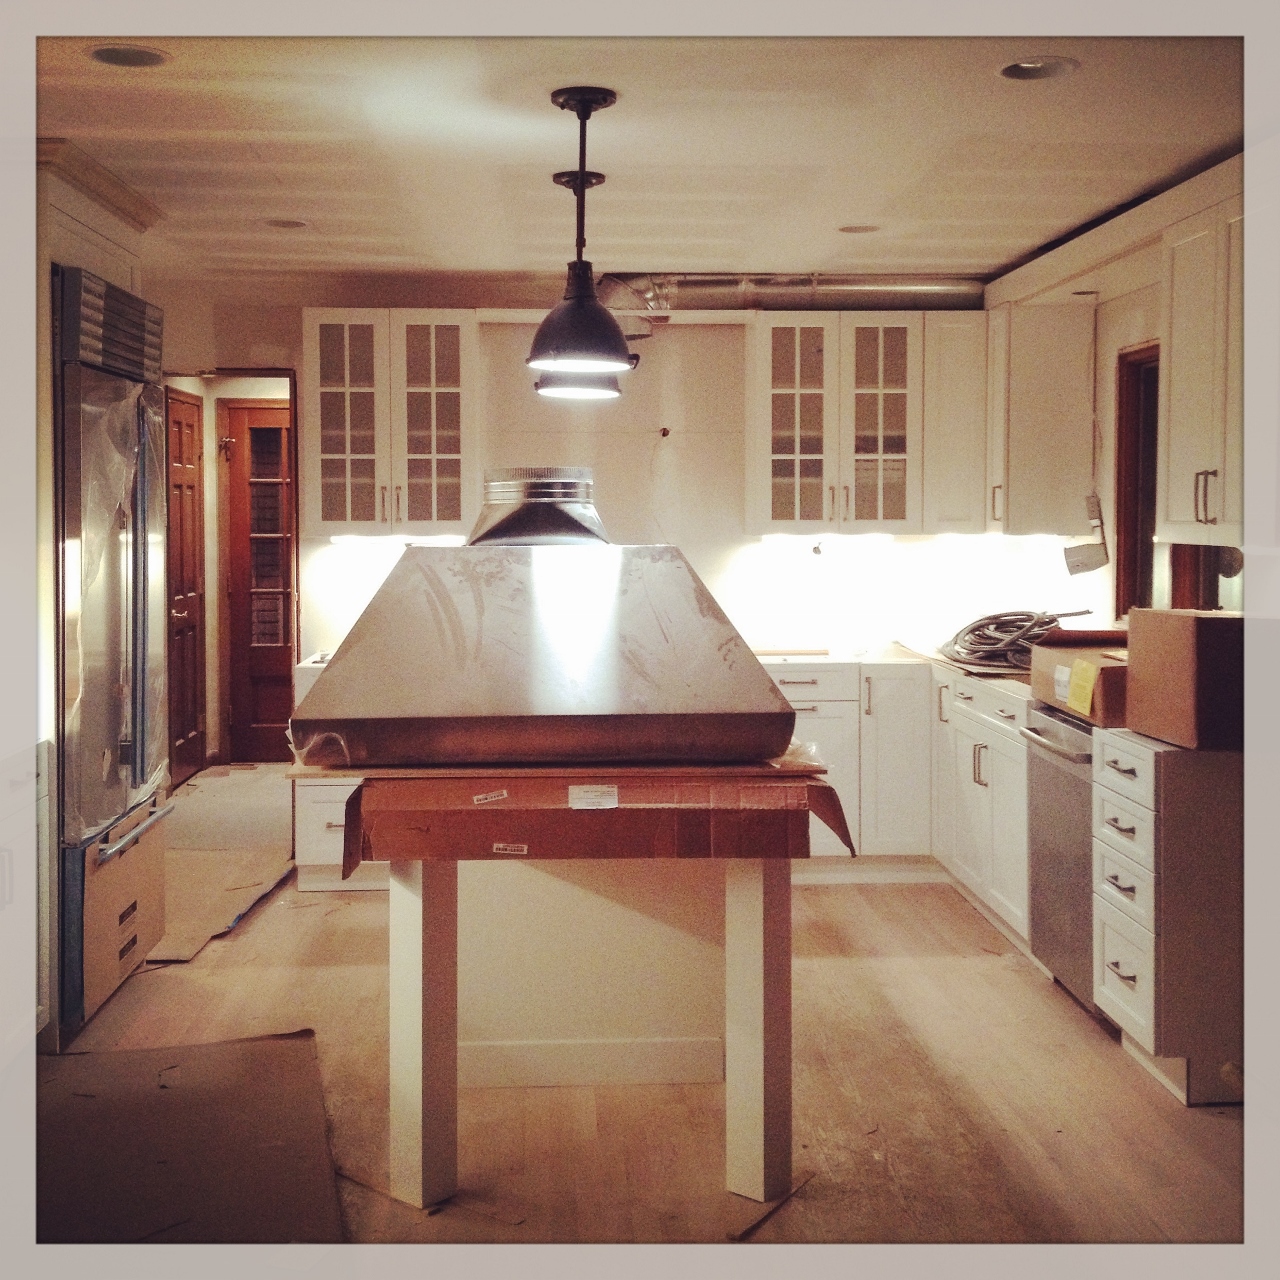
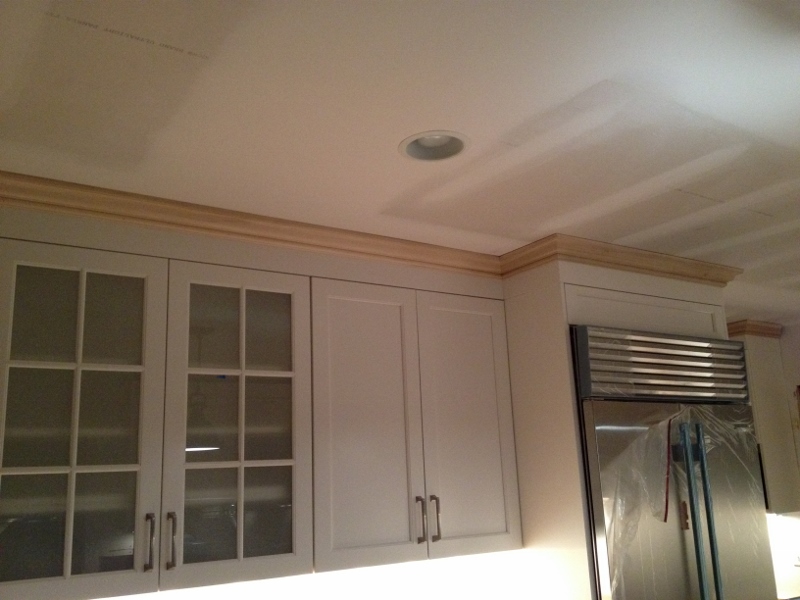
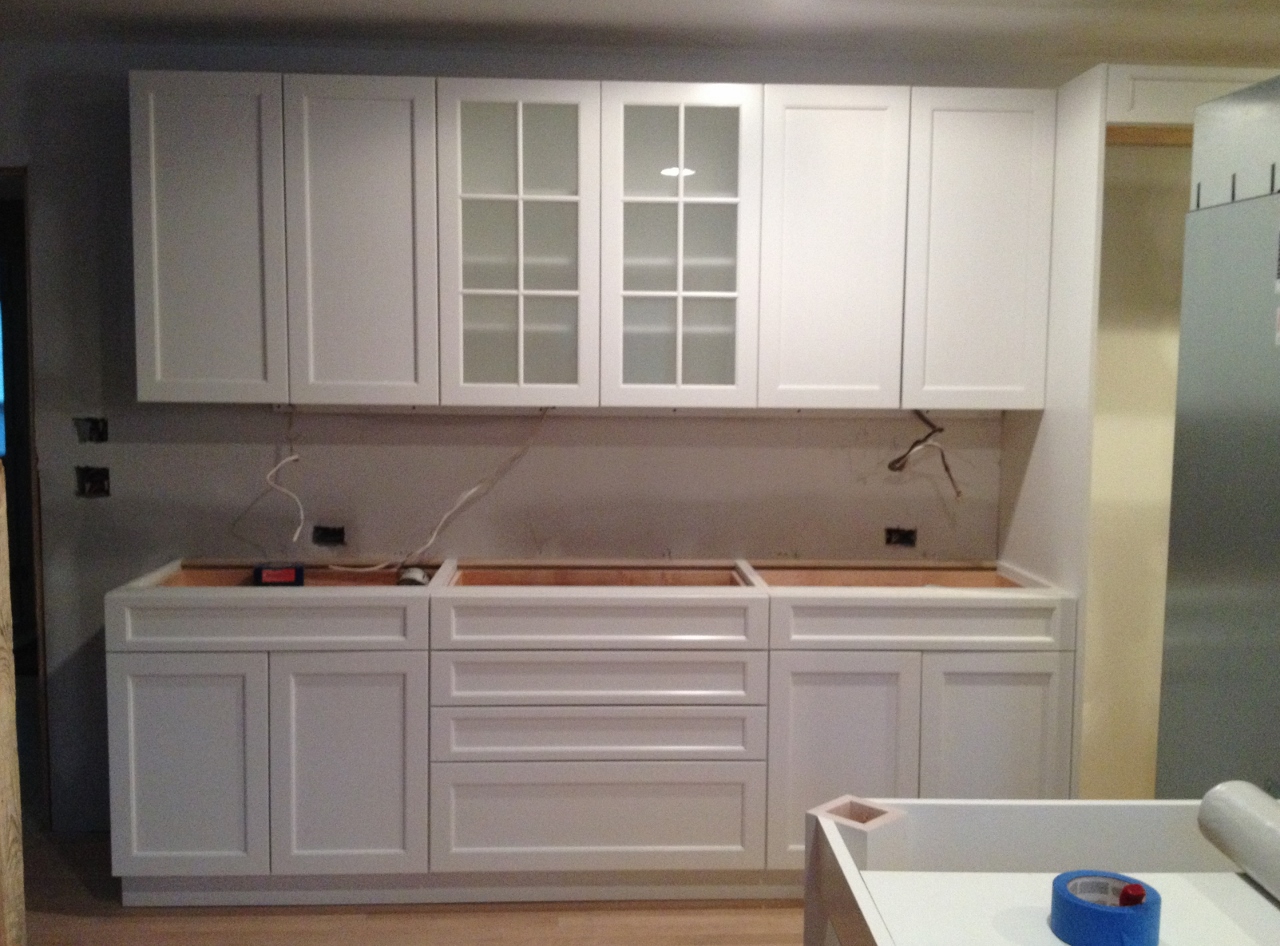
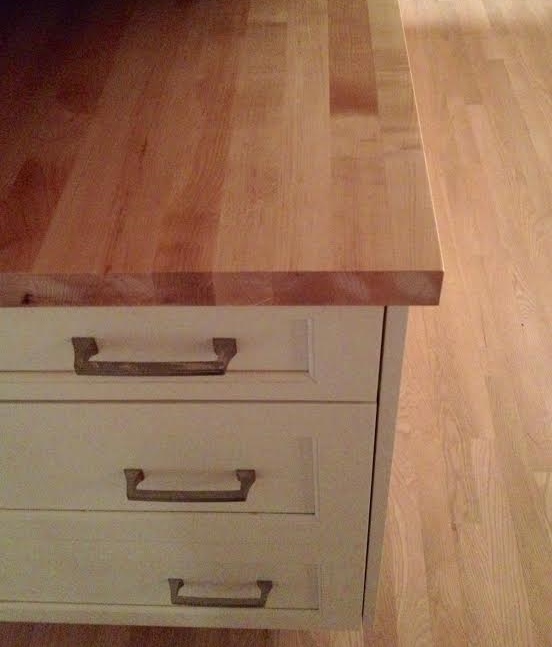
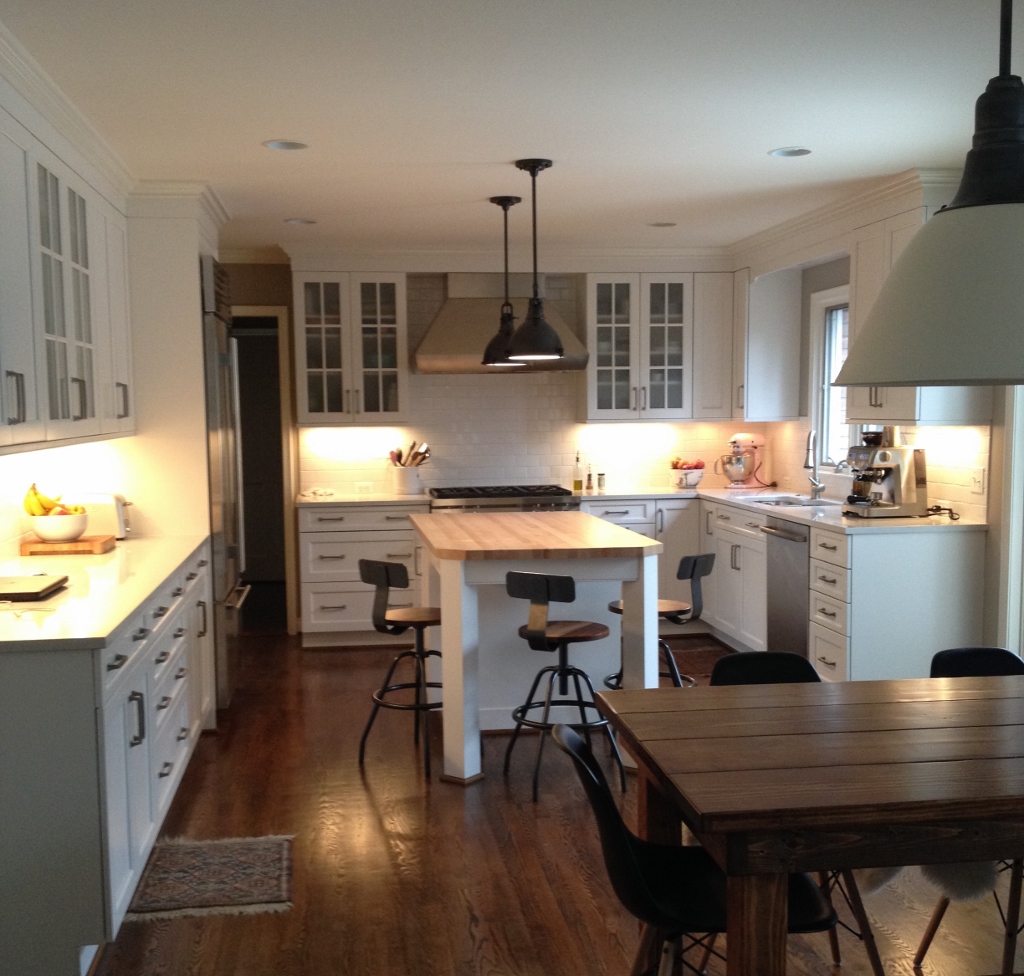
Peninsula with induction range was removed and an island was put in lengthwise. New everything. Cabinets, appliances, backsplash, molding, baseboard, lighting and paint. Kitchen window was moved eight inches to the right in order to maximize the corner space. Shoe molding was stained to match the floors and installed around the perimeter of the room and the island.

I’ll post more photos once all our furniture comes in and some art goes on the walls. Thanks for following our remodel! Although, now what am I going to write about!? (I’ll find something, don’t you worry).

Kitchen Remodel – Weeks Seven and Eight: Painting, Fireplace and Floors

You guys. I don’t even know what week we’re in on the remodel (okay now I do, I just looked. Week nine!). I’ve been going nuts with Christmas approaching (family arrives in three days!) and have been behind on the blog. I spaced taking photos of some things (like the three different stains we chose from for the floors), but at least I have some documentation of weeks seven and eight.

IMG_9160 (768x1024)The painters started doing their thing at the beginning of week seven, so our access to our new kitchen was short-lived. More sanding (aka more dust) and priming.

IMG_9161 (768x1024)And doors were taken off to be sprayed at the warehouse.

IMG_9065 (784x1024)The fireplace was set up.

IMG_9168 (768x1024)And the floors were sanded…

IMG_9169 (768x1024)

Heavy-duty vac.

Heavy-duty vac.

And stained.

IMG_9170 (768x1024)I prefer light wood floors and my husband prefers dark. For some reason, though, I didn’t put my foot down on the floor color. We had dark floors at our flat in San Francisco and they were quite nice. Plus, since the floor had to run through both rooms, I felt a darker stain would warm up the family room section and would be a nice contrast to the white cabinets and backsplash.

We had to move out for a couple days while the floors were being finished, as the fumes from the process are extremely potent. Luckily we have a huge attic fan, which really helped air out the house when we got back.

With the floors complete, all that was left was our final decision on the paint color.

IMG_9190 (1024x768)I won’t even tell you how long I spent just narrowing it down to these five. Most people whose opinion I asked chose Revere Pewter, a neutral gray color (far right). It IS a lovely soft color (duh. I chose it out of thousands). But in the end, I went with my gut, which was Pashmina, a light grey-brown neutral with a hint of green (middle). I felt Revere Pewter was too close to our hallway color, and I wanted this room to feel separate.

Since we’re already in week nine, I can tell you that I’m very happy with my choice (whew!). Pictures soon.

A Closer Look – Cabinet, Fridge and Stove Interiors

Being displaced from half of the house was/is really not that bad. We still had our morning (and afternoon) coffee, still had a usable sink (albeit the smallest sink you’ve ever seen) and other conveniences like a microwave and fridge. But I say “was/is” because even though we’re finally allowed in there (floors were finished Monday), I still feel like I can’t actually start using it, because the painters start up again in a couple days.

So, while I wallow in my first-world misery, I’ll show you some features of the kitchen that I love, and can’t wait to use.

The french door refrigerator (and I still can’t spell refrigerator)…

IMG_9070 (960x1280)The freezer section is quite limited in terms of space, but we plan to buy a small freezer to keep in the basement, which will help a lot. One of my favorite things about this fridge is that it comes with a plastic pull-out help card that tells you which foods to put where and how long they will keep.

The kitchen cabinets have a few extras, my favorite being the file drawer, since my office (I run payroll for my husband’s company and deal with the girls’ school and medical paperwork) is in the kitchen. Now I wont’ have to go down to the basement whenever I need to file something or look something up.

IMG_9154 (1280x960)And there’s the knife drawer.

IMG_9147 (960x1280)I’m used to having my knives at the ready – in a block on the counter or on a magnetic strip near the stove. So I wonder how I’ll do with having to turn around and open a drawer (two extra steps – I’m sweating just thinking about it!).

I think I will love the spice drawer which is just to the right of the stove (although in hindsight, maybe the knives should have been there and the spices behind me!? Or better yet, knives to my right, spices to my left and the utensil drawer behind me – curses!

IMG_9155 (916x1024)And the lazy Suzan corner cabinet that’s nothing new, but it’s still a great space saver and you aren’t breaking your back trying to reach things deep in the cabinet. We had one at our condo in San Francisco – good stuff.

IMG_9156 (768x1024) One of the great features of the cabinet are these lovely metallic brackets (or whatever they are officially called). No more grabbing pliers to get one of those suckers out of the hole. They are easily moveable and are weighted so that they automatically fall into place. Perfection.

IMG_9148 (960x1280)And lastly there is the beautiful interior of the Wolf oven. Cobalt blue. And I’m using a stock photo because I’m too tired to walk the 20 steps to the kitchen to take a photo of my oven.
WolfI did spend some time today organizing the kitchen, figuring out where everything should go. I almost got killed by a cabinet shelf (those metallic brackets are slippery suckers), but otherwise all went well and I made some decent progress. One. More. Week!

Kitchen Stools

IMG_9078 (1280x1280)We splurged on our stools for the kitchen island and I am in love. I first saw them in Petoskey this summer at the American Spoon restaurant (best Bloody Marys, by the way). The stools are pewter powder-coated steel with a black walnut seat, made by Makr, an American company based in Florida.

I searched online for (you guessed it, HOURS), looking for a similar chair (and they had to be 24″ height in order to work with our island) and found this one for $199.00 at Grandin Road…

Twin Peaks Counter Chair / 24.4 / 199

and these lovelies from Schoolhouse Electric for $295…

Drafting Chair | Schoolhouse Electric & Supply Co. 295

And several others that of course I didn’t like because once you see the beauty that is the Makr swivel stool you just can’t settle for anything less (budget be damned). I’m so glad we went for it because not only are they nice to look at, they are comfortable and very heavy (girls can’t easily tip over) and the best part is that they were made here in the USA.

Kitchen Remodel – Week Six: Blower, Countertops, Backsplash and Our First Meal

IMG_9093 (1280x1043) Here’s the kitchen at the end of week six! We are sooooo close.

On Monday, the blower and hood got installed over the range…

IMG_9059 (960x1280)On Tuesday, some dry wall touch-ups…

IMG_9064 (942x1280)And the countertops arrived. I selected a light gray quartz, which is actually somewhat lighter than I remember in the showroom, but I think they compliment the white kitchen and stainless steel appliances beautifully (whew. Was nervous about that one).

IMG_9067 (1280x960)Quartz was also put down for the fireplace hearth (and will frame the fireplace as well, but pieces were cut a fraction too small) and the mantel was built.

IMG_9088 (1280x960)On Wednesday, the backsplash was installed…

IMG_9087 (960x1280)I chose 3 x 6 ice white subway tiles. Grout will be done this coming week.

IMG_9089 (960x1280)Baseboards were put down…

IMG_9068 (960x1280)And the painters came to take the hallway doors away (to sand and spray at their warehouse).IMG_9065 (980x1280)

There’s always some sort of small issue to be dealt with and this week for me it was the case of the two red knobs. If you’re anything like me, this photo makes you want to shield your eyes and run the other way. I’ve been promised new knobs. I’m hoping for the maroon red vs the cherry red, but I’ll be happy with either, as long as they’re the same shade.

IMG_9122 (1155x1280)The best part of the week was being told that our kitchen was ready to use! Even though this was such good news, we haven’t really utilized it yet. Knowing that painters are still sanding, grout hasn’t been done and the floor people will be kicking up more dust this Friday….I don’t want to have to clean the whole room and then do it all again next week.

We have started doing dishes in the sink and I did move the espresso machine and coffee grinder out of the dining room to the kitchen counter, because clean-up in the tiny bathroom we’ve been using is such a pain. And I did break in the Wolf range. I have been fantasizing about the first meal I would make in our new kitchen. Sometimes it’s carnitas tacos, sometimes lasagna, sometimes turkey chili.

IMG_9144 (1280x1181)It’s never once been boxed macaroni and cheese. But it was yummy.

Kitchen Remodel – Week Five: Appliances, Cabinet Installation, Carpentry, Lights, Butcher Block

IMG_9051 (1280x1280)We’re more than halfway to the finish line! Week five of the remodel was really exciting, as all the work done was visible, so we were able to notice daily changes.

IMG_8973 (930x1280)The appliances arrived Monday afternoon (my only shot of the actual delivery is blurry).

We settled on stainless steel appliances. It was a pretty easy decision. What wasn’t easy was deciding which brands and/or models to buy. We went back and forth over whether or not a high-end fridge and range were worth the investment and ultimately did spend the extra money (gulp). Wolf, please don’t let me down!

We also got our zippered door on Monday…

IMG_8974 (960x1280)

In the dining room, looking toward the kitchen.

IMG_9045 (960x1280)

Looking into the dining room. The basement is through the hallway to the right.

It was perhaps the most anticipated event of the week. Having a zipper means no more traipsing through the freezing cold (literally freezing – it was in the teens a couple days last week) and snow (!) to do laundry or grab something in the basement or take the dog out. Now we just zip, step through and we’re in the other half of the house (with access to both the basement and backyard via the sliding doors).

Marty was in all week (including over the weekend), working on various carpentry jobs.

IMG_8971 (960x1280)He built the cabinetry surrounding the fridge and put up some of the crown molding…

IMG_9041 (800x600)
Fridge (551x735)…cut a new hole for the laundry chute and built a frame around the opening…

laundrychute (516x630)…and built the cabinets on either side of the fireplace.

Initially, on the left of the fireplace, we were going to have a false door on the top half of the cabinet, but the flue ended up being higher than originally speculated. Thus, he was able to box in the flue, leaving us with almost two feet of storage space we otherwise would not have had.

IMG_9006 (960x1280)IMG_9040 (960x1280)IMG_9049 (1280x960) In order to center the fireplace, which was a priority for my husband (the family room was “his” room to design vs. the kitchen, which was “mine”), we not only had to sacrifice a few inches of space lengthwise, but we were also left with another symmetry issue, caused by the flue having to vent out through the side (there’s another fireplace directly opposite this one, in the living room).

There were a few different choices including having two closed cabinets or no cabinet on the right of the fireplace. We thought about it a lot and chose the option that we felt was the best aesthetically.

Hardware was installed on the cabinets (I went with one of three (?) choices of standard hardware rather than pay additional dollars for a different kind of pull).

IMG_8977 (1280x946) IMG_8992 (1280x958)And the maple butcher block was installed on the island.

butcher (552x647)The lights over the island were put up. The electrician asked us if we wanted the longer rods or the shorter (he recommended the longer) and we chose shorter (and by we, I mean me, since the kitchen is you know, “mine.” I didn’t want anyone to bonk their head on the lights while cooking).

After they were installed, I felt like they were too short (#favoriteclient), so they went ahead and installed the longer rod for just one of them, so we could be certain of our decision by Monday (for sure the longer!).

IMG_9048 (960x1280)Our gigantor kitchen light was also installed…

IMG_9052 (944x1280)It’s definitely a biggie. But I got the size that was recommended to me by the good folks at Mutschler, so I’m trusting that once all the furniture is down (and our new kitchen table will sit centered for the most part under the light), it won’t look so in-your-face.

After the kids go to bed each night, my husband and I walk around the room and just take it all in (and of course find handles that are off center and fingerprint smudges on the white light fixture, etc). The decisions we’ve made are so far seem perfect. Fingers crossed that all the furniture we bought (most of which hasn’t arrived yet) will work with the space!