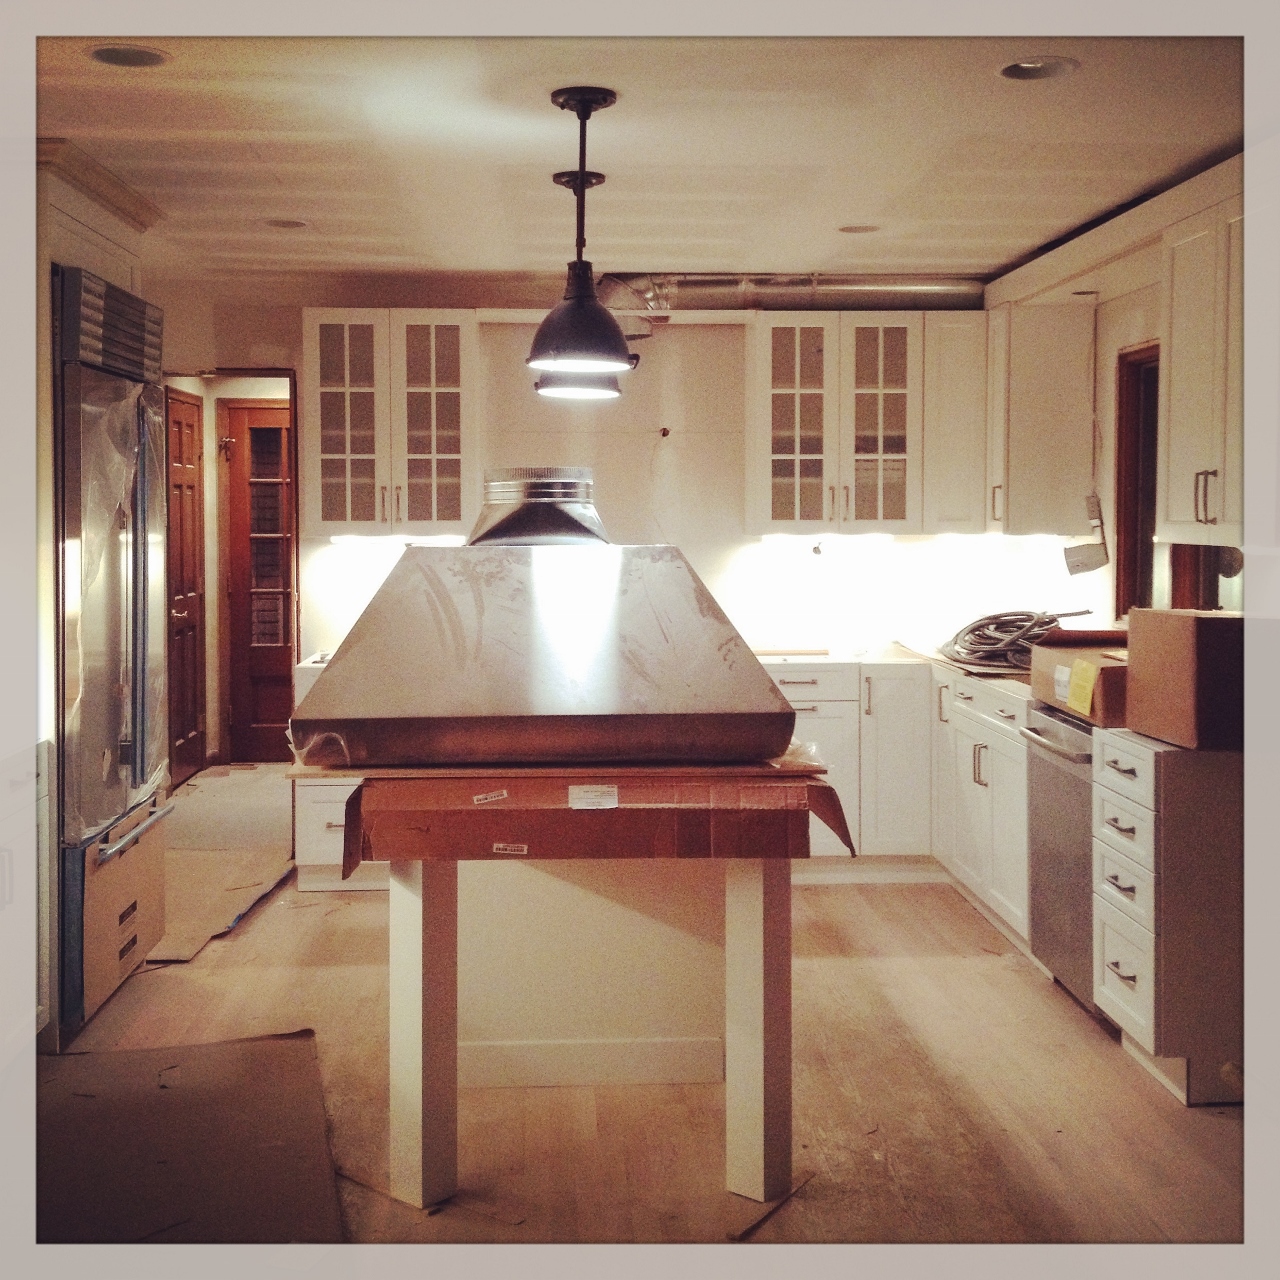
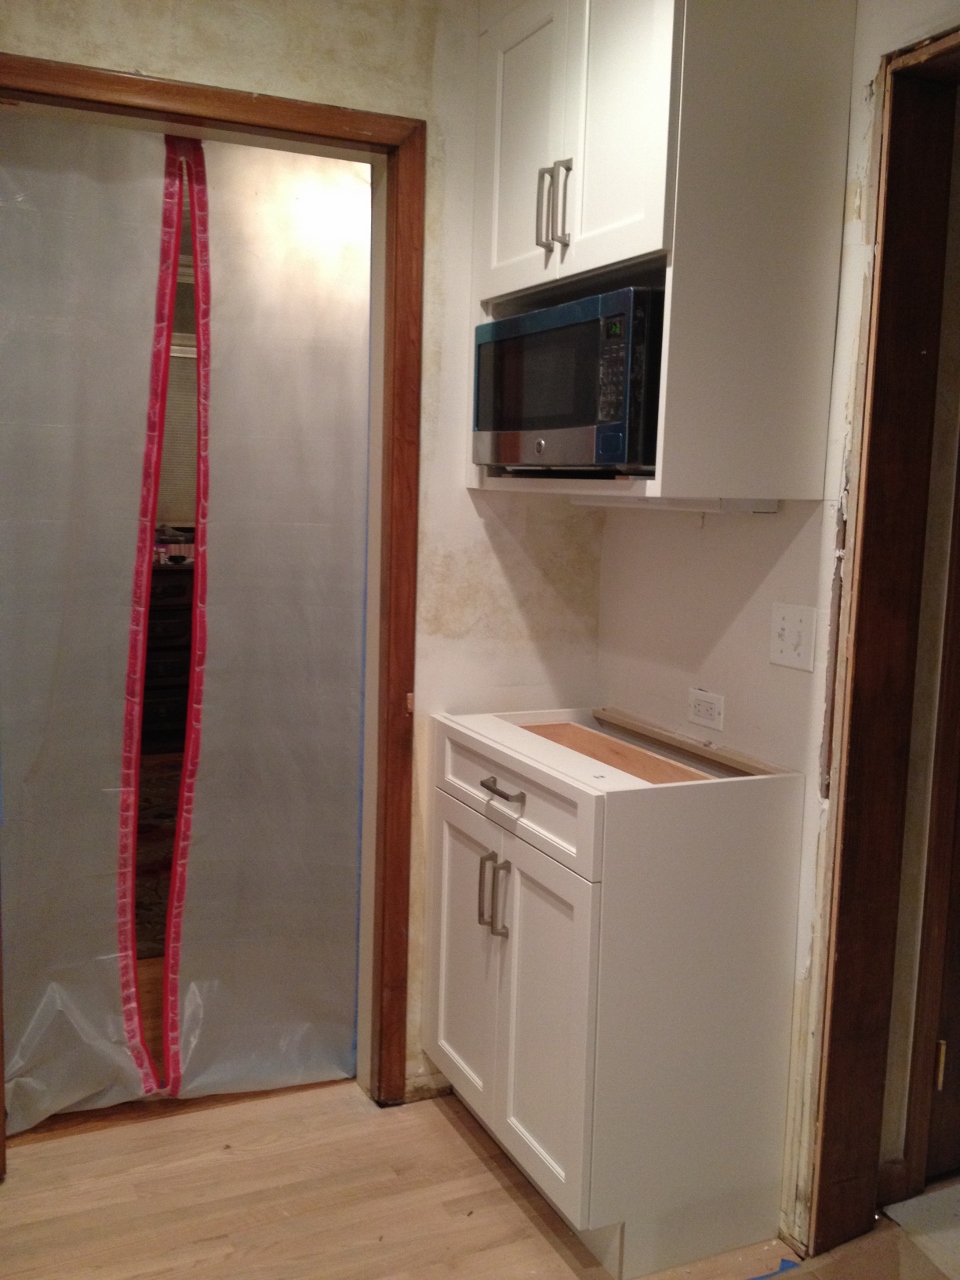
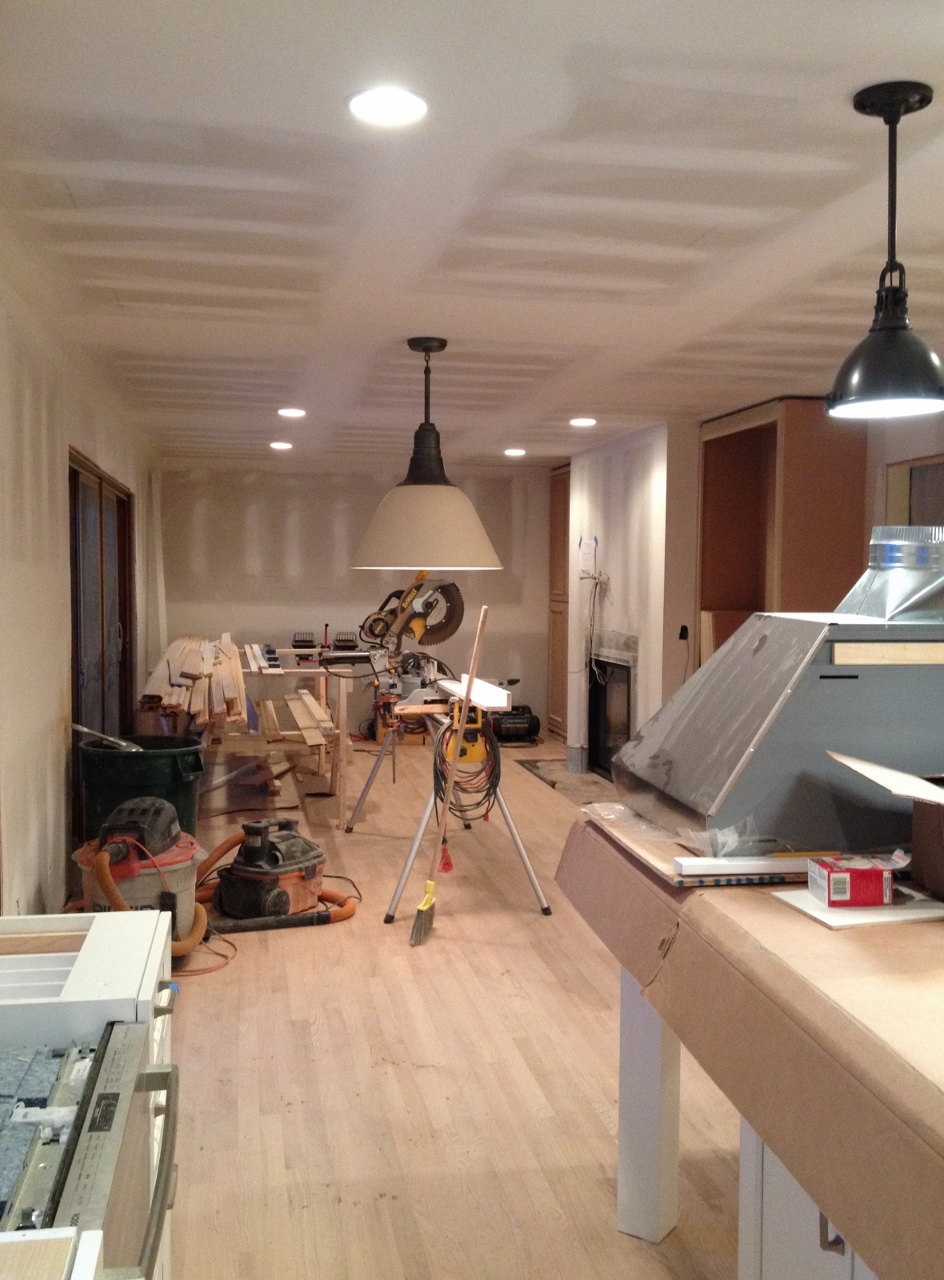
Being displaced from half of the house was/is really not that bad. We still had our morning (and afternoon) coffee, still had a usable sink (albeit the smallest sink you’ve ever seen) and other conveniences like a microwave and fridge. But I say “was/is” because even though we’re finally allowed in there (floors were finished Monday), I still feel like I can’t actually start using it, because the painters start up again in a couple days.
So, while I wallow in my first-world misery, I’ll show you some features of the kitchen that I love, and can’t wait to use.
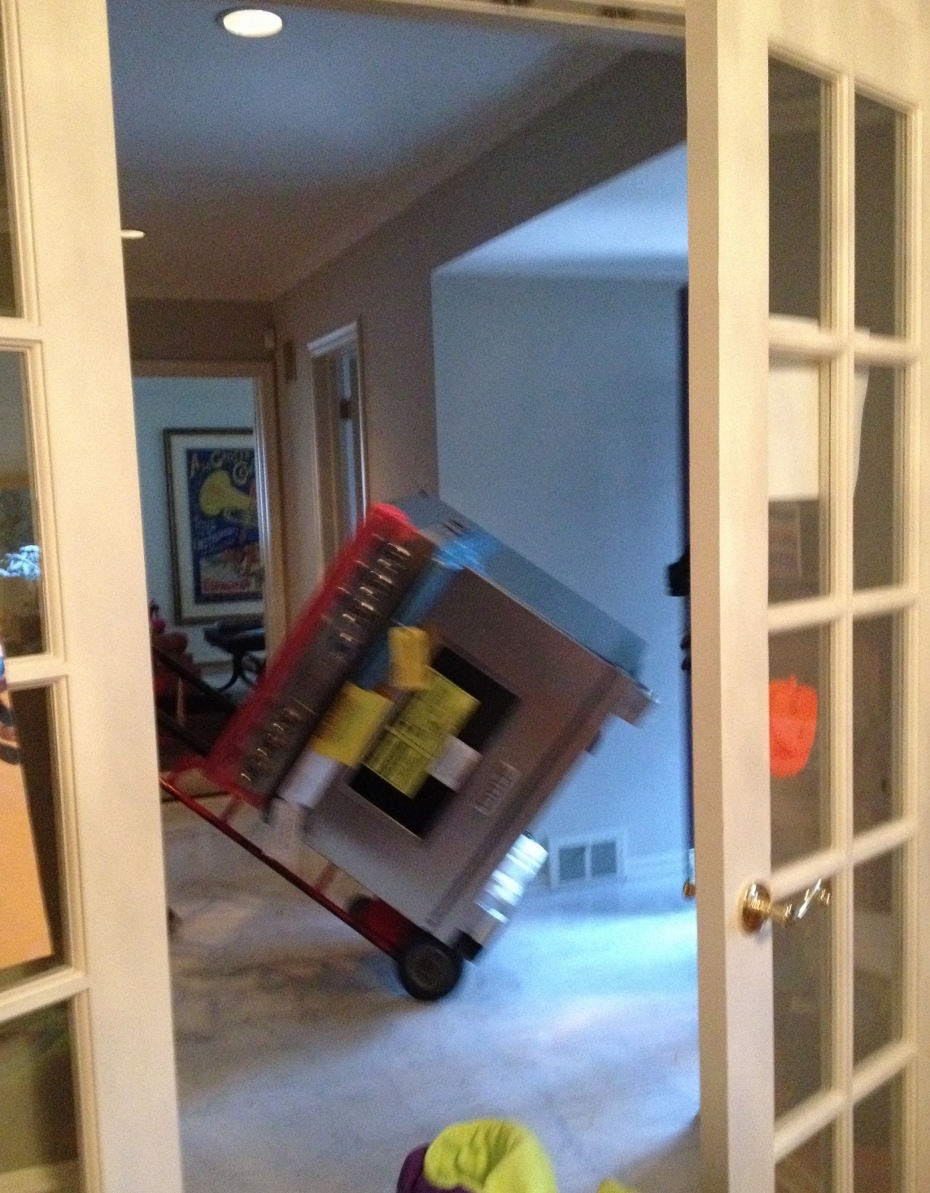
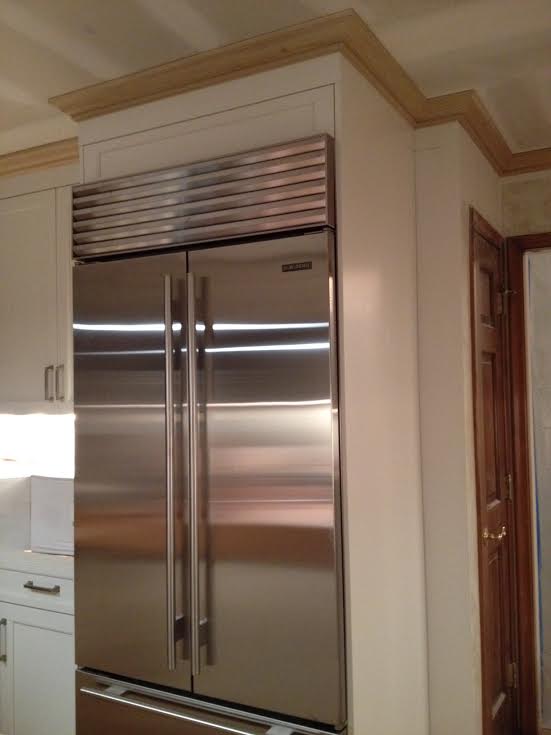
The french door refrigerator (and I still can’t spell refrigerator)…
 The freezer section is quite limited in terms of space, but we plan to buy a small freezer to keep in the basement, which will help a lot. One of my favorite things about this fridge is that it comes with a plastic pull-out help card that tells you which foods to put where and how long they will keep.
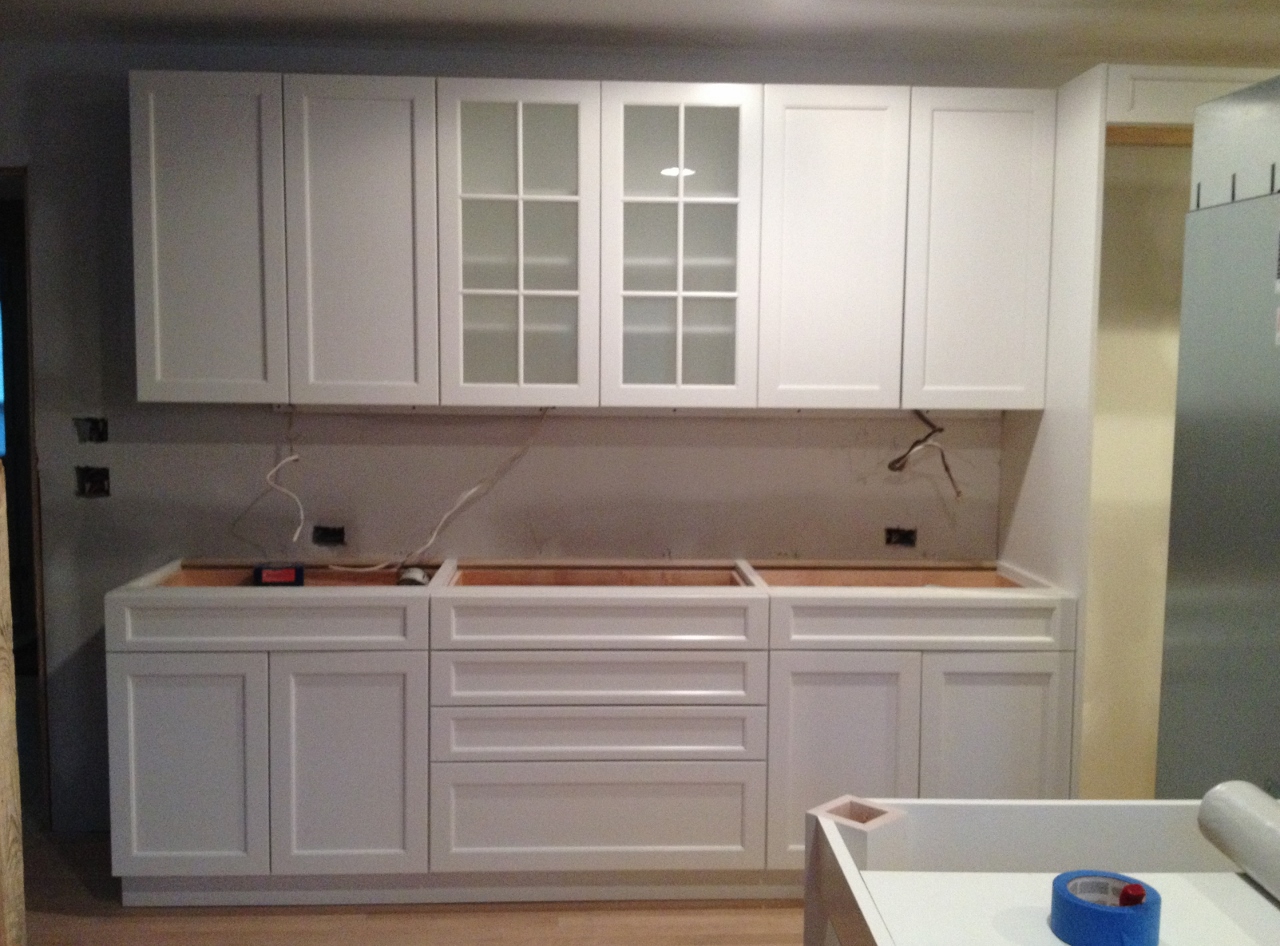
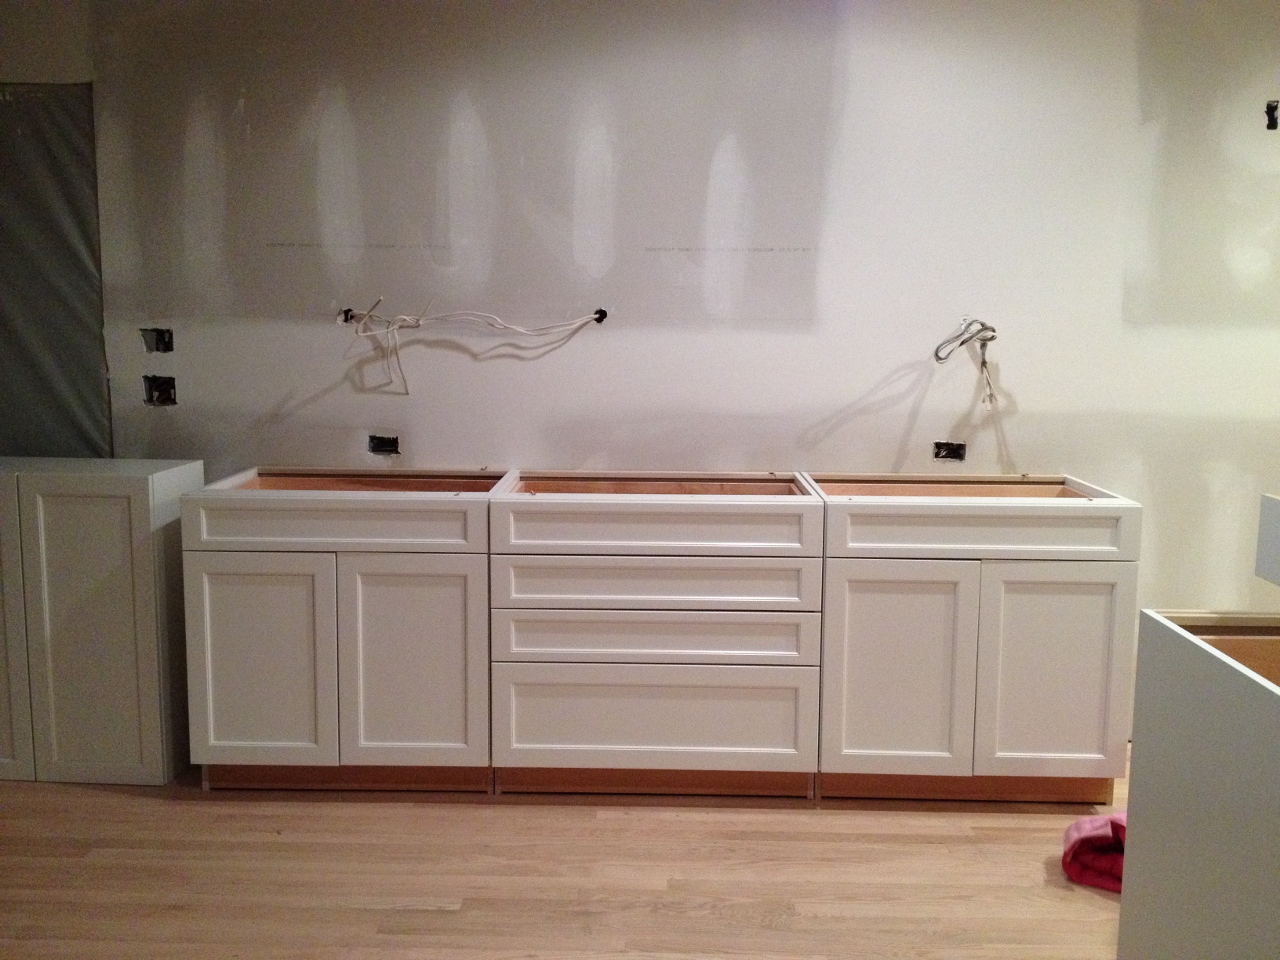
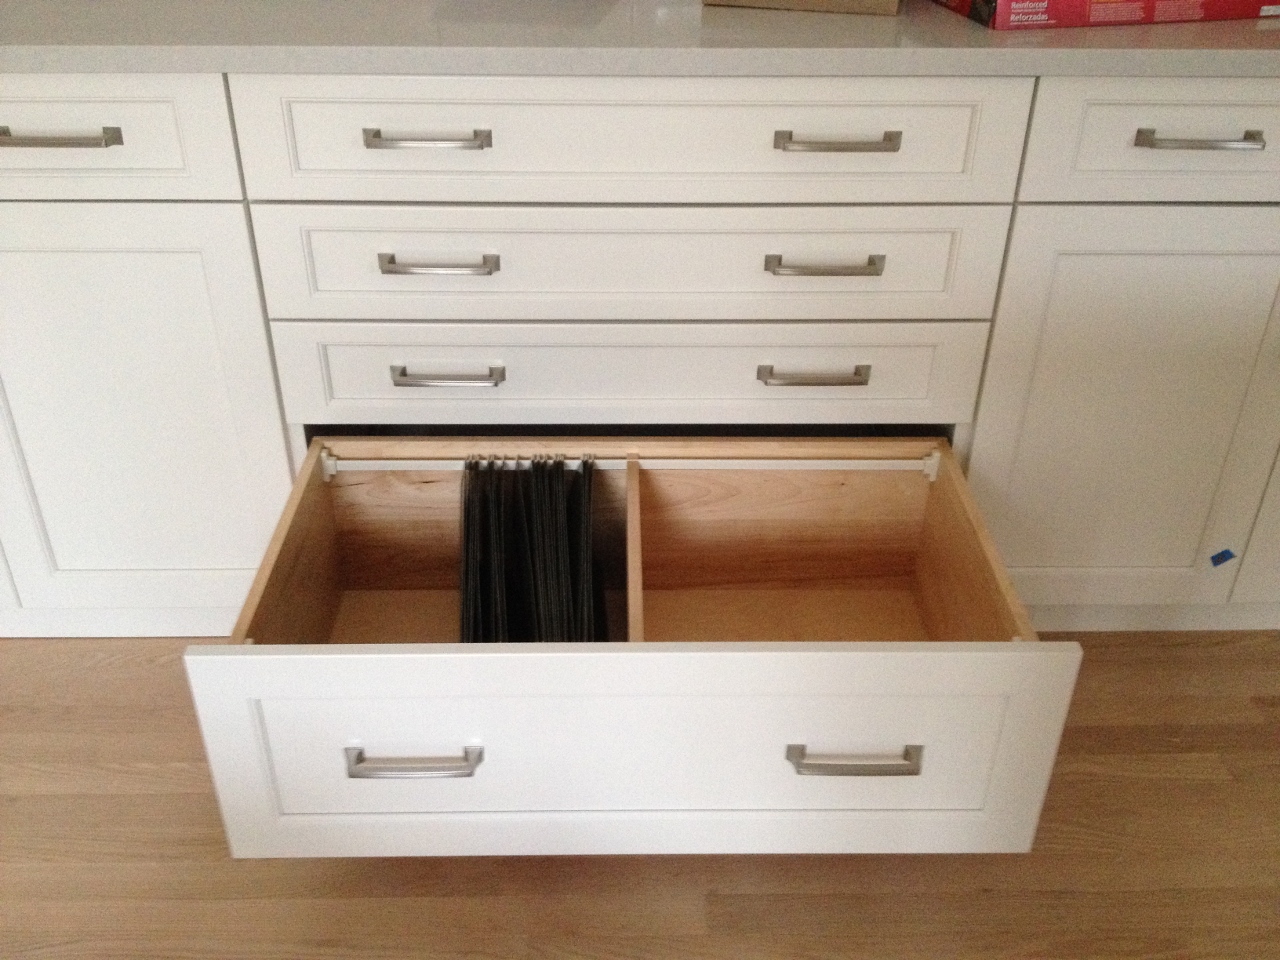
The kitchen cabinets have a few extras, my favorite being the file drawer, since my office (I run payroll for my husband’s company and deal with the girls’ school and medical paperwork) is in the kitchen. Now I wont’ have to go down to the basement whenever I need to file something or look something up.
 And there’s the knife drawer.
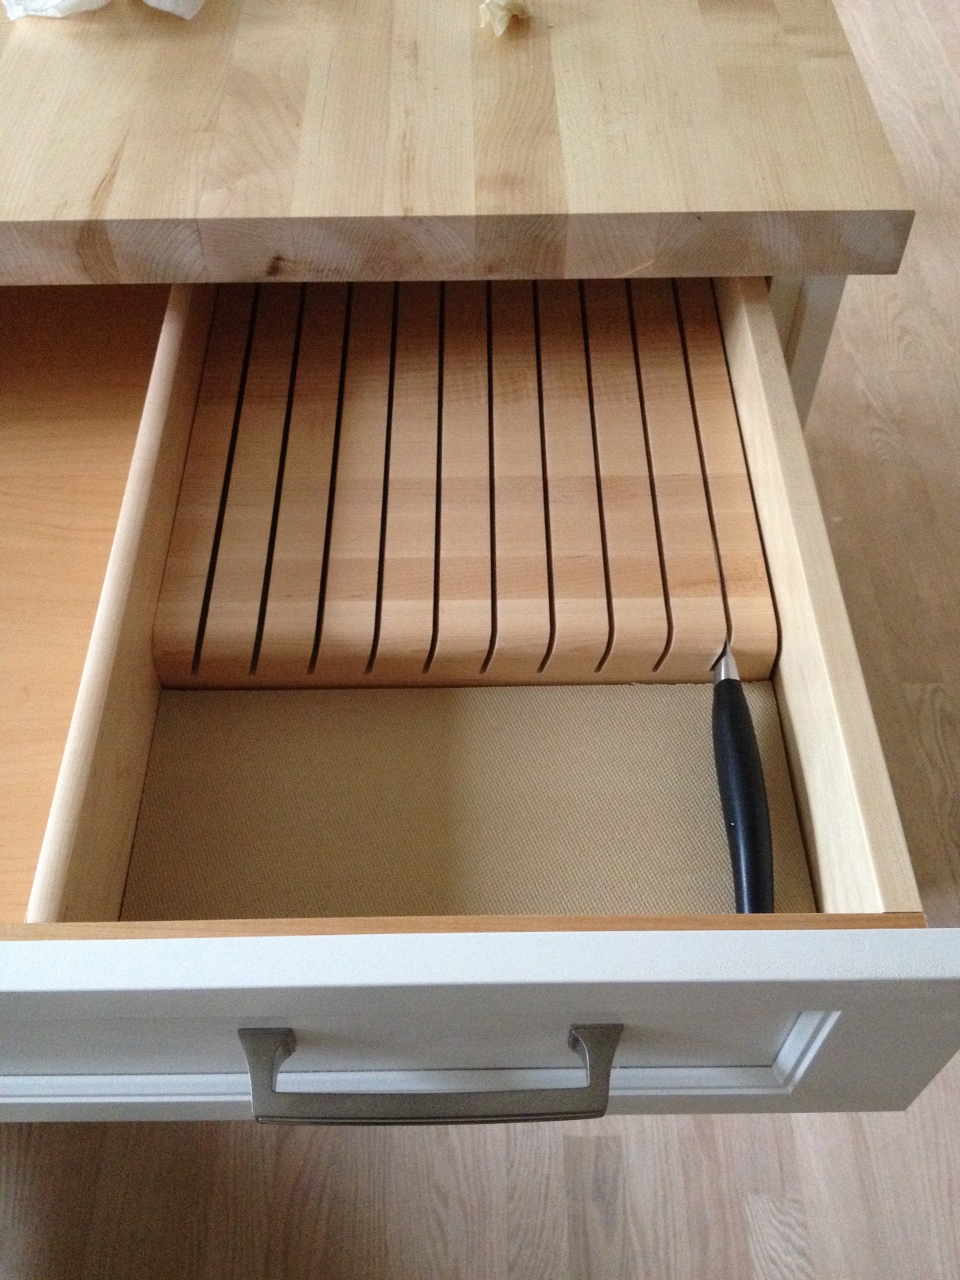 I’m used to having my knives at the ready – in a block on the counter or on a magnetic strip near the stove. So I wonder how I’ll do with having to turn around and open a drawer (two extra steps – I’m sweating just thinking about it!).
I think I will love the spice drawer which is just to the right of the stove (although in hindsight, maybe the knives should have been there and the spices behind me!? Or better yet, knives to my right, spices to my left and the utensil drawer behind me – curses!
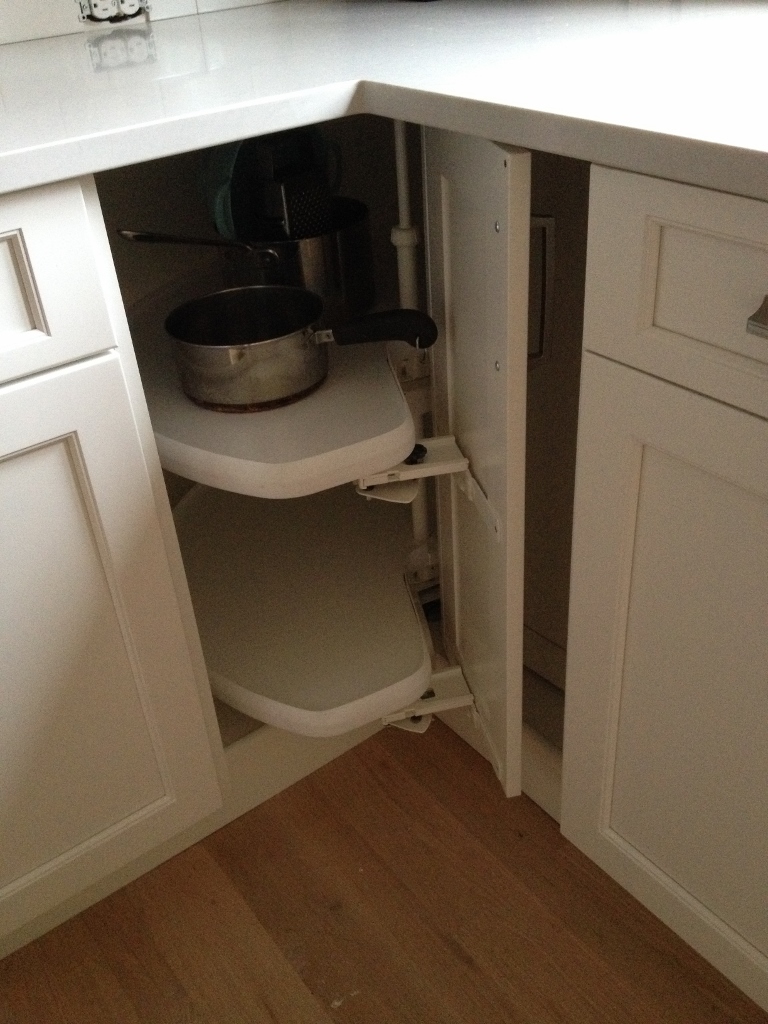
 And the lazy Suzan corner cabinet that’s nothing new, but it’s still a great space saver and you aren’t breaking your back trying to reach things deep in the cabinet. We had one at our condo in San Francisco – good stuff.
 One of the great features of the cabinet are these lovely metallic brackets (or whatever they are officially called). No more grabbing pliers to get one of those suckers out of the hole. They are easily moveable and are weighted so that they automatically fall into place. Perfection.
 And lastly there is the beautiful interior of the Wolf oven. Cobalt blue. And I’m using a stock photo because I’m too tired to walk the 20 steps to the kitchen to take a photo of my oven.
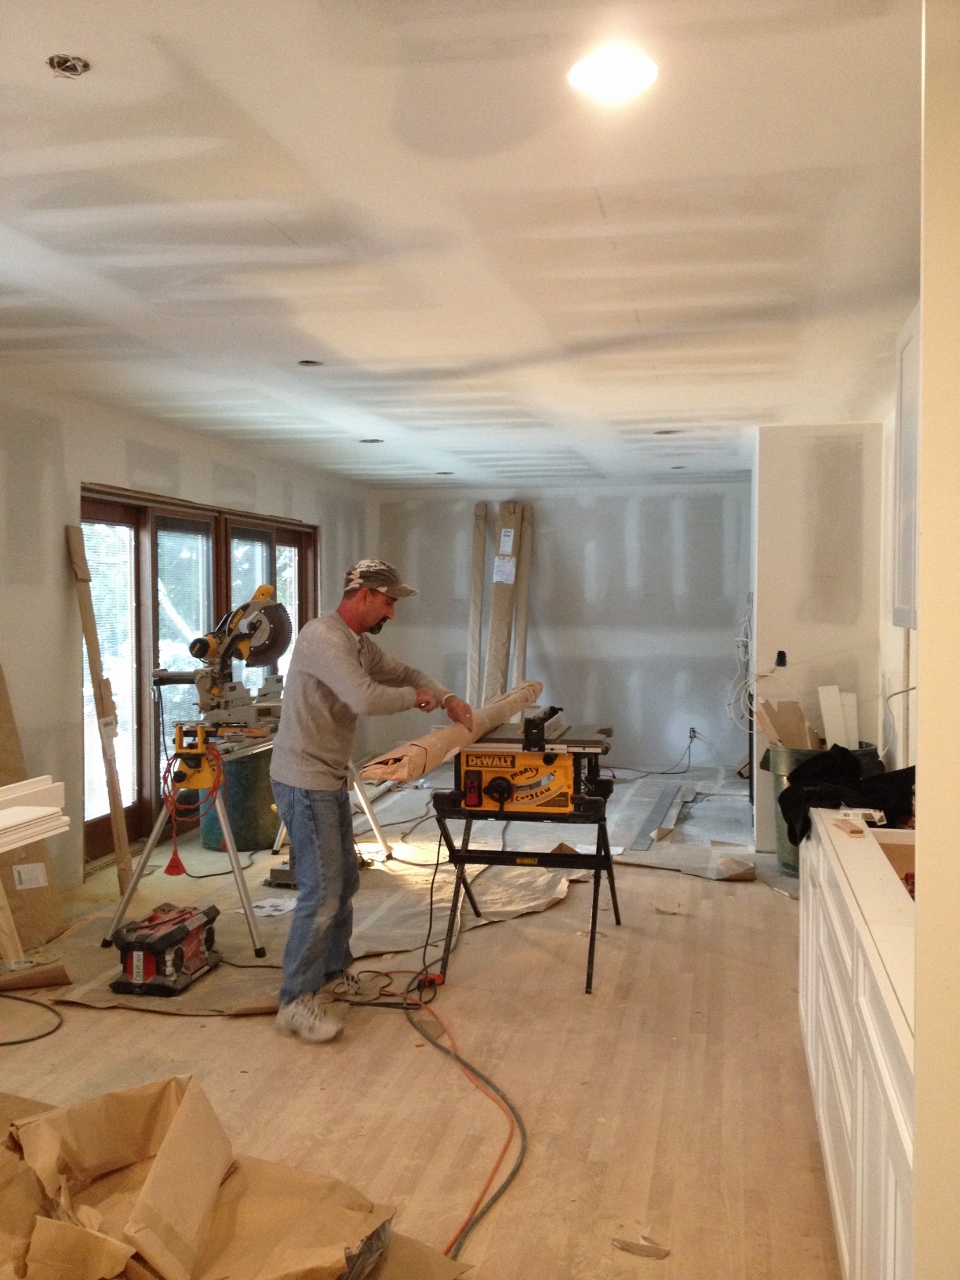
 I did spend some time today organizing the kitchen, figuring out where everything should go. I almost got killed by a cabinet shelf (those metallic brackets are slippery suckers), but otherwise all went well and I made some decent progress. One. More. Week!